Tag Archives: sew the rainbow

12 Comments

In October, Allie asked us to make ladders for her Quilts Unscripted Bee. She asked that we make blocks that are at least 8" on each side with a ladder going all the way across the block, edge to edge. "The ladder can be curved, straight, leaning, have mismatched rungs, be missing rungs, anything. It can go halfway up the block and make a sharp 90 degree turn. It can be wide at the base and narrow at the top or vice versa." Allie provided the white background fabric and asked us to use choose from a palette of bright, candy colors... mustard and pickle also welcome.
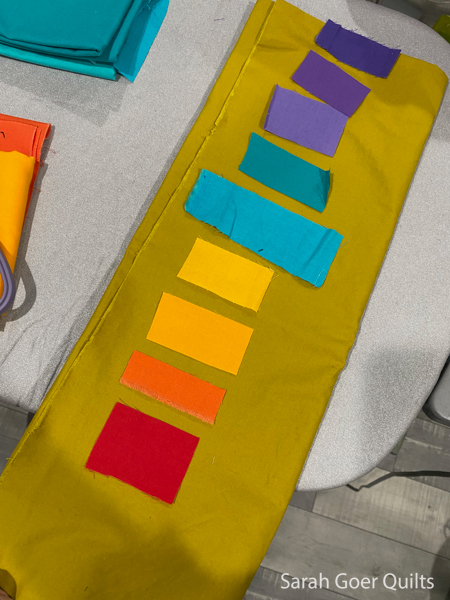
I always start by building a pile of potential fabrics for my bee blocks. I had yardage of pickle so I pulled some of that as well. The white background fabric here isn't shown, but wouldn't a rainbow ladder on a pickle background have been amazing!? I pulled scraps that were maybe big enough to be the rungs of my ladder. That's how I narrowed down my palette for this one.
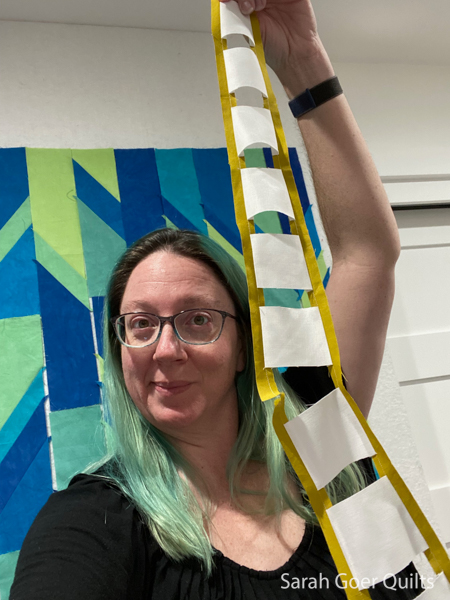
This is what the messy middle looked like. I freehand cut non-rectangular white quadrilaterals for the space between my rungs. Then I chain pieced them onto strips of pickle that would be the vertical sections of the ladder between the rungs. This was the order I worked in since I wanted my rungs to stick out of my rickety ladder. Note that due to the varying widths and angles, none of this lays flat at this point. I trimmed the pickle between each white section after this photo.
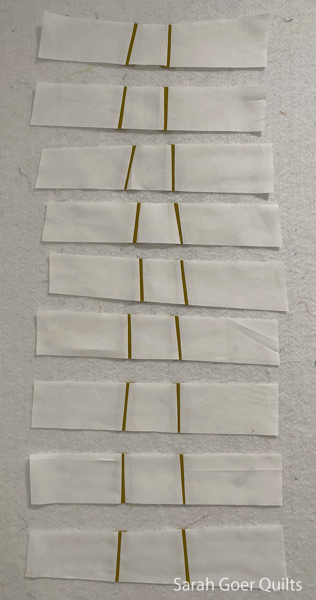
Then I added on the expansive white background to the right and left of each section. At this point I trimmed the top and bottom of each section in a straight line. Note that nothing is a rectangle here. Just embracing the chaos.
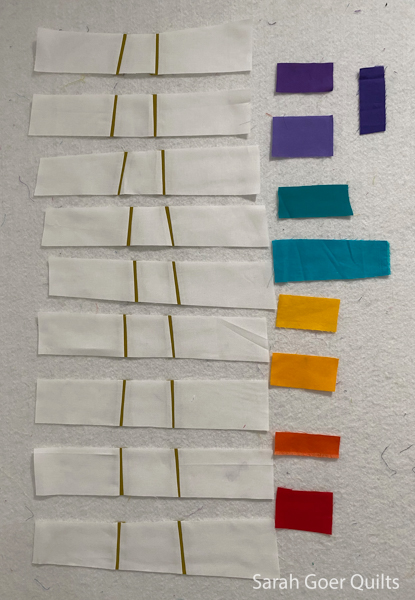
Auditioning the colors I realized I should have had one more section of vertical ladder pieces so I opted to edit out one of the purples.

Measuring for width so that I would mostly have the ladder rungs overhang the pickle, I recut some of the pieces. At this point I added white to the sides of each colored run (not shown).
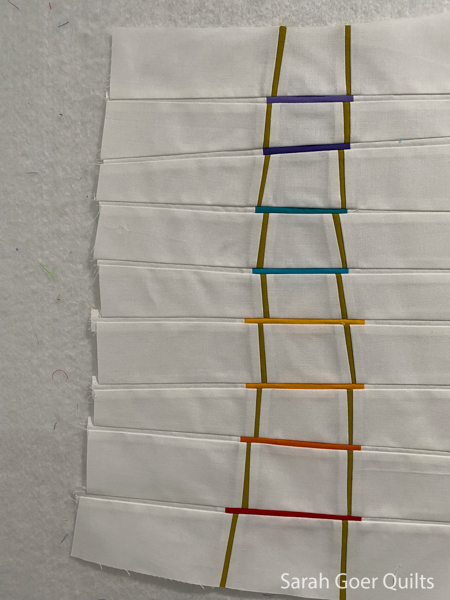
Here's what it looked like before I trimmed up the left edge of the block. I trimmed down a couple pickle sections before piecing in the rungs to increase the wonk and keep the ladder mostly moving straight up my block.
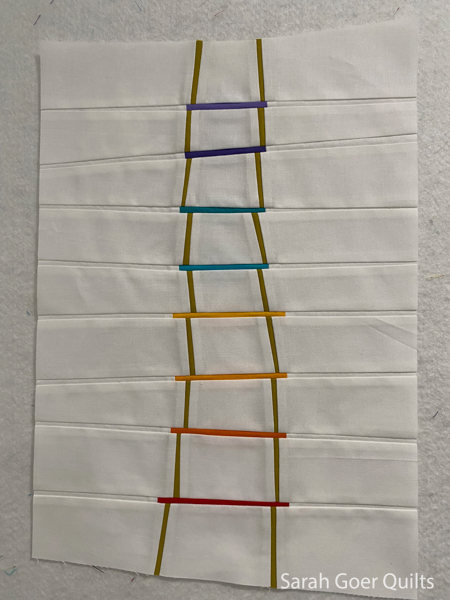
Tada! The finished block is 13" x 17"
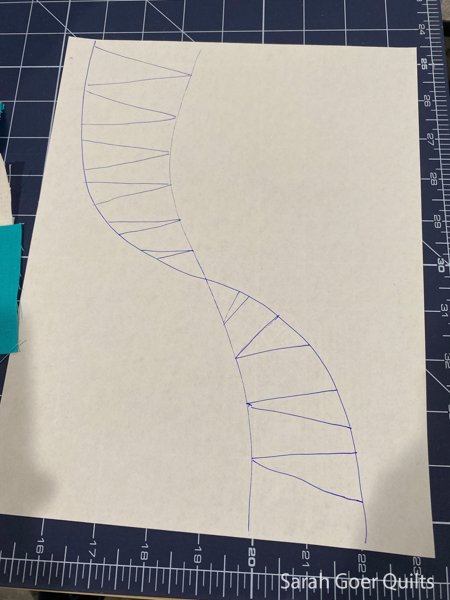
 

For my second ladder I took inspiration from a spiral staircase. This is the sketch I drew from a reference photo.

I decided each of my steps, or ladder rungs, would be turquoise so I pieced oversized pieces of white and turquoise.
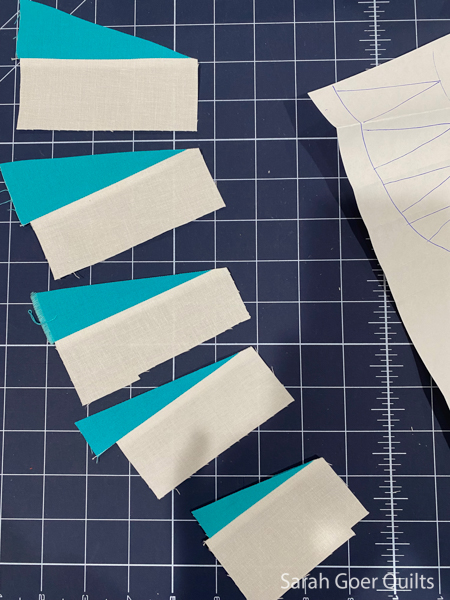
I used my drawing as my guide to trim my pieces at the same angles (adding seam allowance).
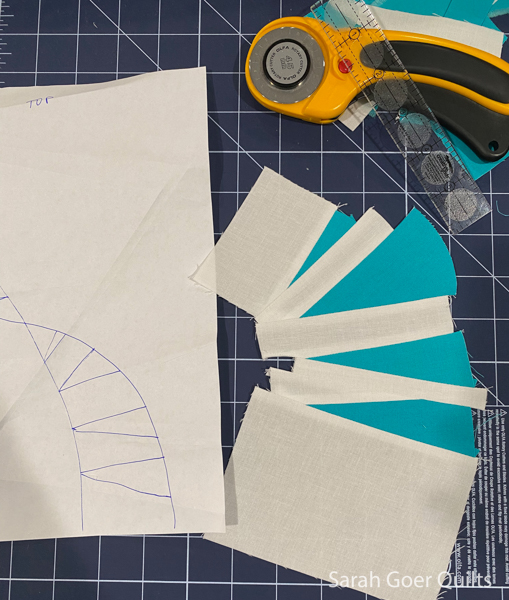
You can see the creases in my paper because I folded the portion I wasn't working on out of the way when I compared the paper to the fabric. This is the lower section all pieced before trimming.

And both finished sections, untrimmed. This was the easy part... because now I had to make it all go together and add in the curved "vertical" parts of my ladder.
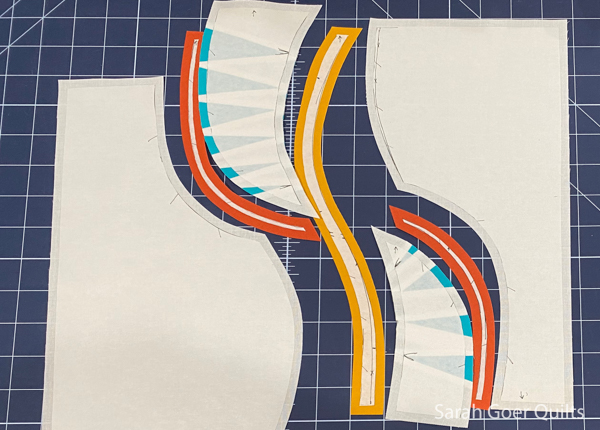
I created a freezer paper template for myself from my paper drawing (a technique I learned in Carolina Oneta's class), marked some reference points and labeled the top edge of each piece with an arrow. (I noticed after this photo that my two white pieces were switched.) Then I pieced each have by sewing the orange onto the turquoise and white sections and then added the large white background section. Once each side was together, I pieced each side onto the yellow.

I am so proud of this block. It finished at 12" x 13". There were so many make it work and trial and error moments that went into it. Is it perfect? No. But I won't point out the little mistakes I made and instead choose to revel in the engineering marvel of a spiral staircase turned into a ladder quilt block that lays flat. :-)

I'm looking forward to seeing how Allie intertwines all the ladders she has received!

6 Comments

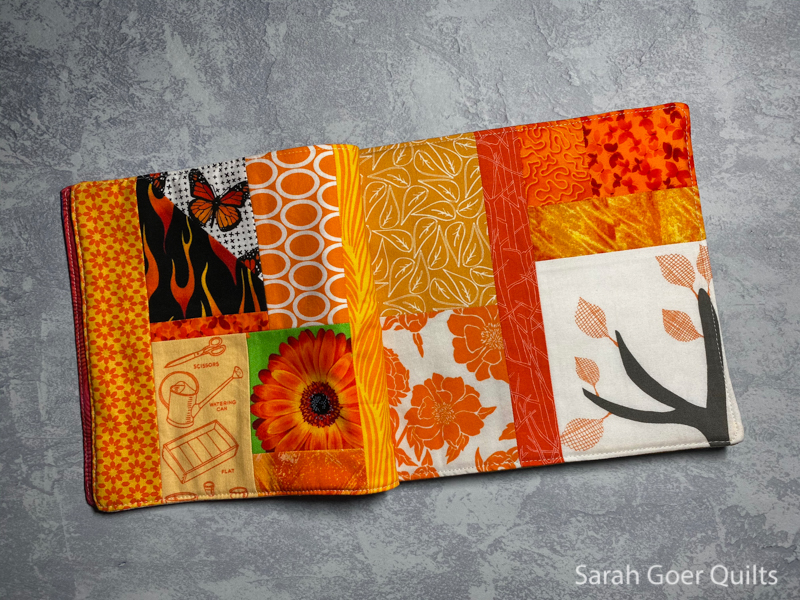
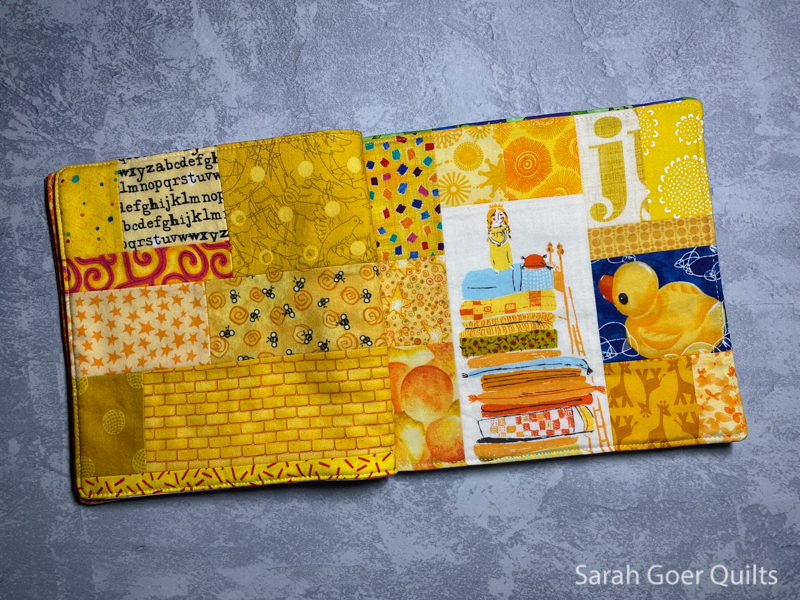
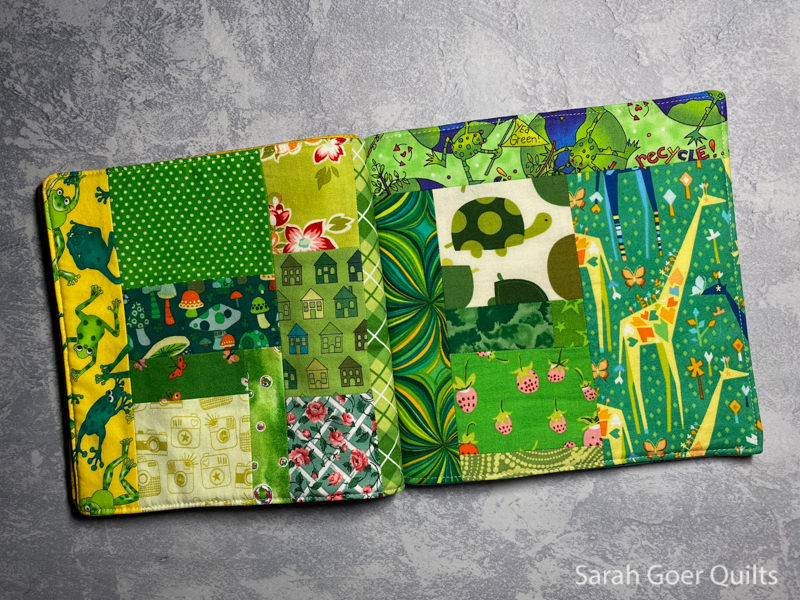
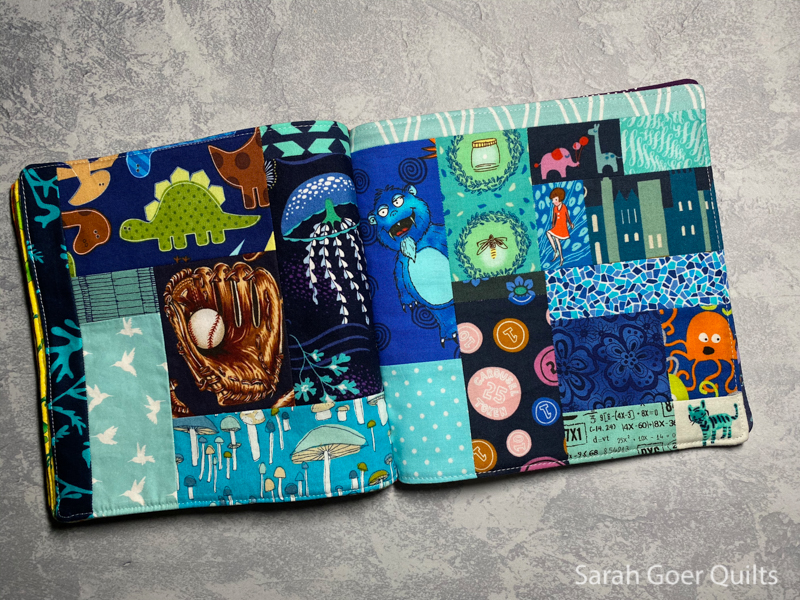
Two years ago, my son I started making these 8 1/2" monochromatic blocks from my scraps. As with many of my projects, these were set aside in favor of other projects... to be worked on from time to time over the last couple years. I finished it up in October just in time to send to my niece for her 2nd birthday. (I also finished her "baby" quilt.)

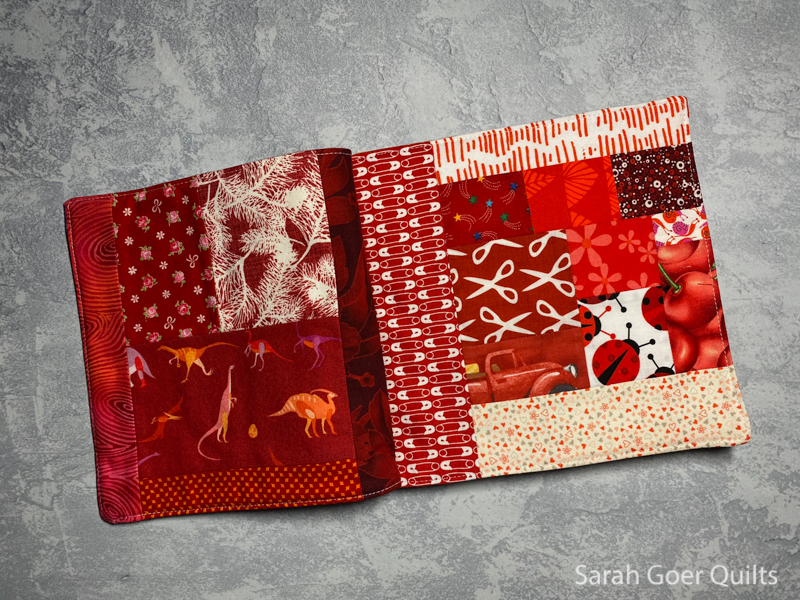
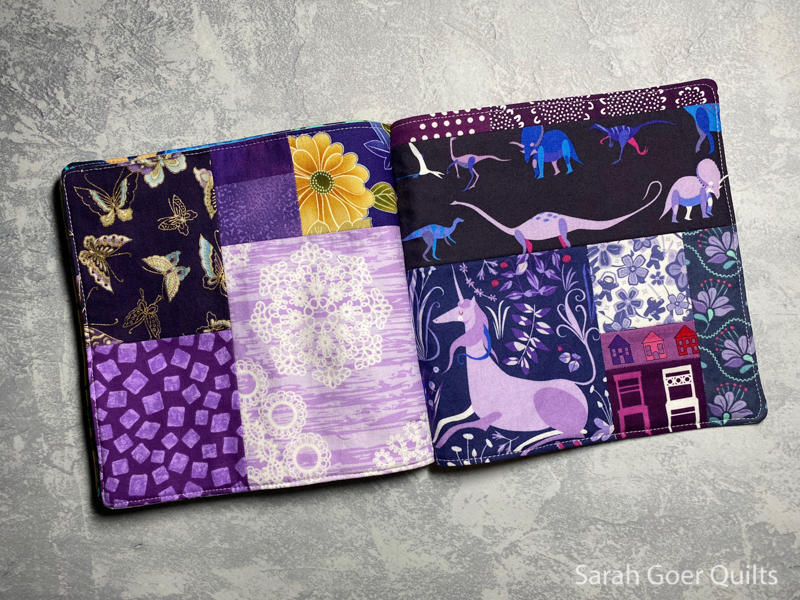
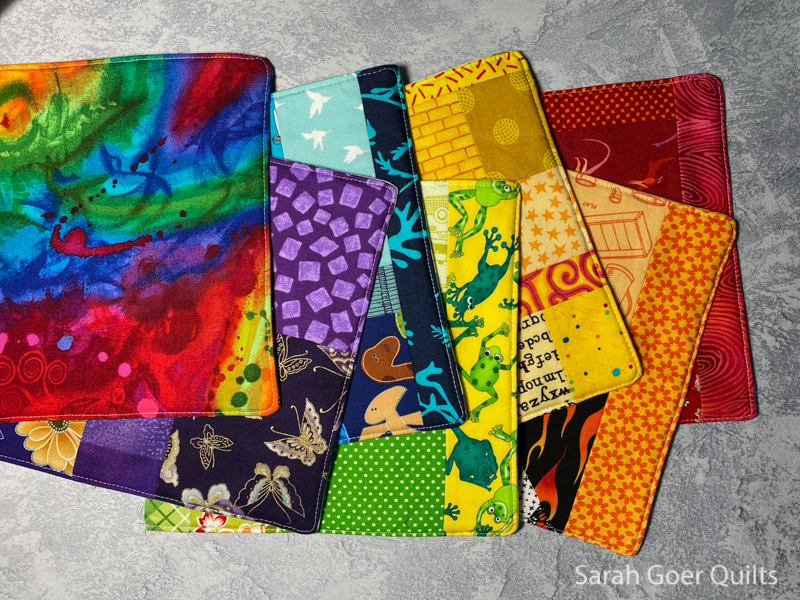
The project consists of twelve 8 1/2" x 8 1/2" scrappy slab blocks in monochromatic primary and secondary colors. I prioritized fabrics that had animals and other items, fussy cutting when possible.

I made each page by joining a piece of 8 1/2" x 8 1/2" batting with two blocks by stitching around three sides with blocks right side together. After turning the page right side out I topstitched around those edges, leaving open the edge that would go into the spine. I opted not to quilt the pages.

Then I machine stitched pages together two at a time, then combined those. Four pages (that's four layers of batting and 8 layers of fabric!) was the thickest my machine could handle so I hand sewed the two halves together.


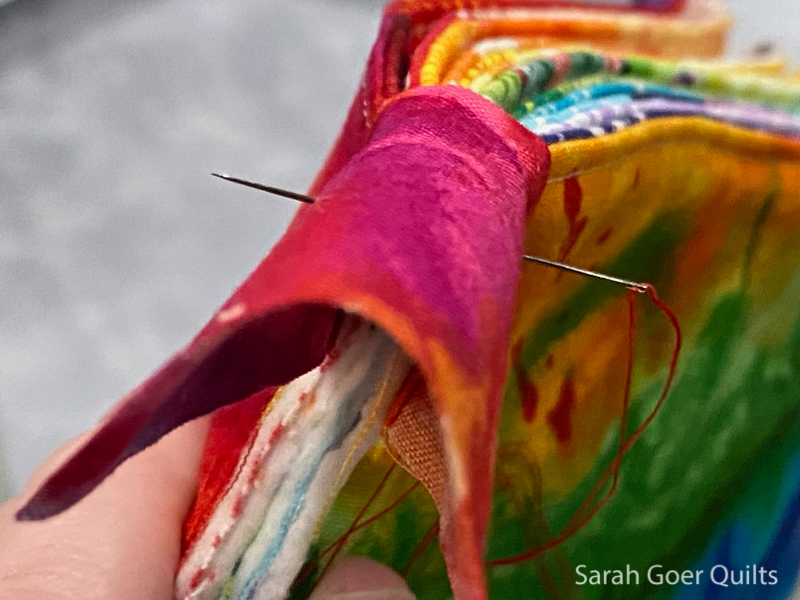
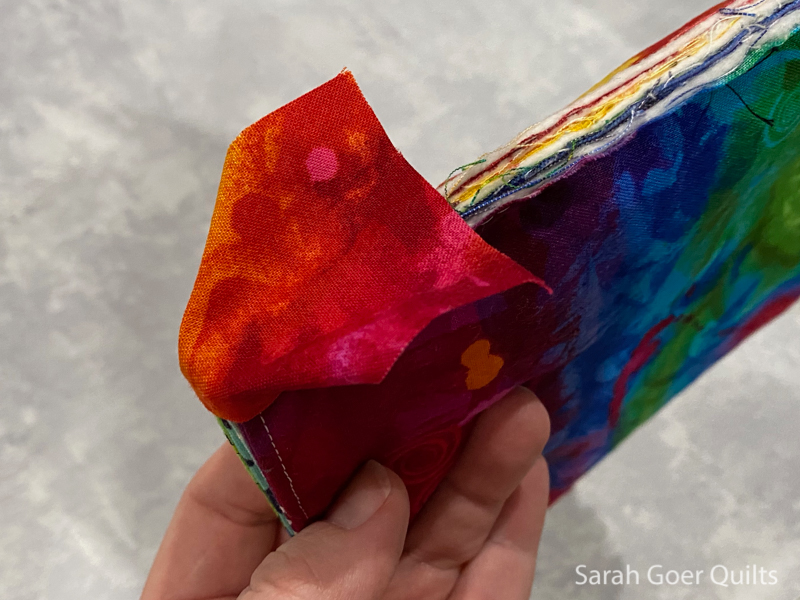
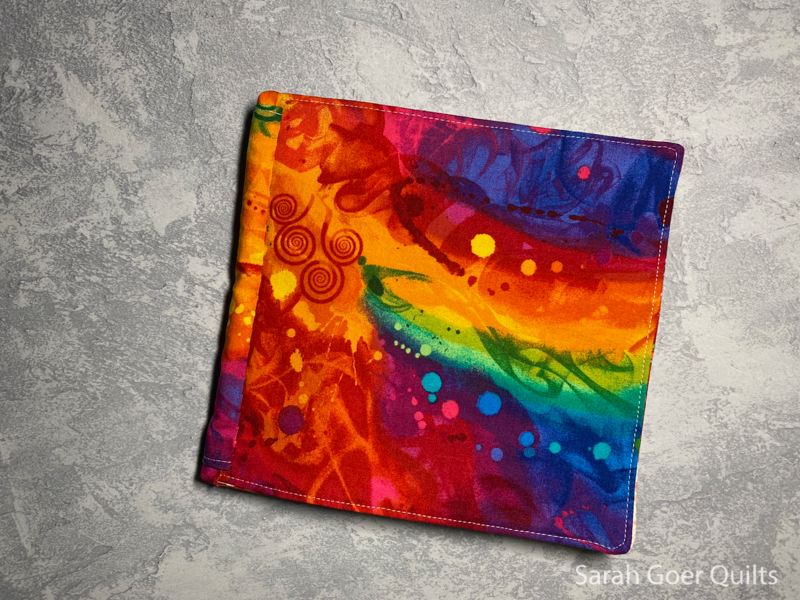
I was just making it up as I went from there. I chose the last of my favorite rainbow print from Timeless Treasures for the front and back covers and finishing the spine. I opted for hand stitching and a little hot glue to cover the corners of the spine, then used a hand binding to cover the spine. This spine is a little more than 1/2" thick.

Scrap projects are full of memories. As I flip through this book, I am reminded of so many projects I've made.

Ladybug outfits for my kids, Aloha Fizz, Bold Blooms...

Pretty Ditty ApronMidnight Mystery... 

Text Me, Wizard of Oz, Candy Shoppe, Rubber Duck...

Ocean Quilt (made by my son), Jungle of Animals (also made by my son), Nelle frog dress, mushroom pants, my second quilt...

Cotton + Steel mini quilt, Finally,  Rockstar Rhythmhummingbirds, chef's hat and apronand another chef's hat and apron...

Star Light Star Dark, Purple Ninja!

The project also gives you a glimpse of what my stash of fabric looks like. I love bright, vibrant color!

Thanks for visiting!

10 Comments

When I heard that this week's Project QUILTING challenge was Vibrant and Vivacious I immediately thought rainbow.

Before I forget, this is your official reminder that we're nearing the end of Show Me Something Rainbow! Be sure to link up your finished rainbow projects by the end of March. There's still time to finish something up in the next nine days. :-)

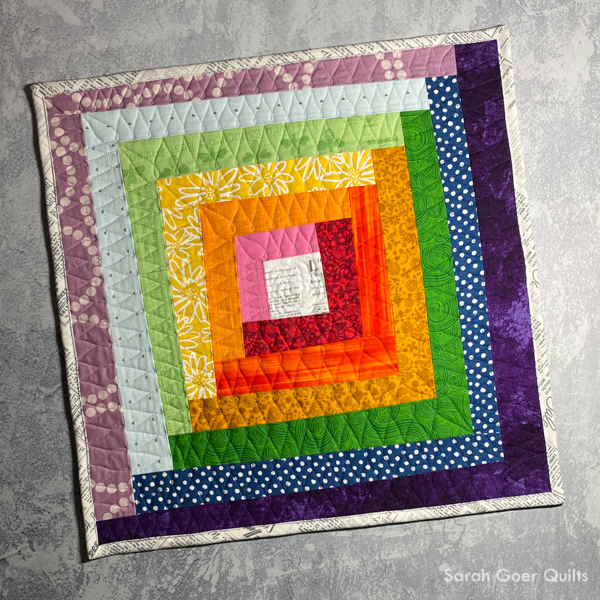
I chose a rainbow of fabric in lighter and more vibrant tones. I realized as I started piecing that my wonky, irregular log cabin wasn't really very wonky, but I went with it. My strips were cut without a ruler, approximately 1.5" wide.

Once my quilt top was complete, I started to consider my options for quilting. I couldn't resist pulling a rainbow of thread for the quilting. Including white for attaching the binding, I used 14 colors of thread on this project.

From left to right, the thread I used: Aurifil 50wt Light Lilac (#2510), Light Robin's Egg (#2710), Light Avocado (#2886), Champagne (#2105), Fleshy Pink (#2420), Baby Pink (#2423), Dove (#2600), Red (#2250), Burnt Orange (#1133), Yellow (#2135), Green (#2870), Medium Delft Blue (#2783), Dark Violet (#2582).

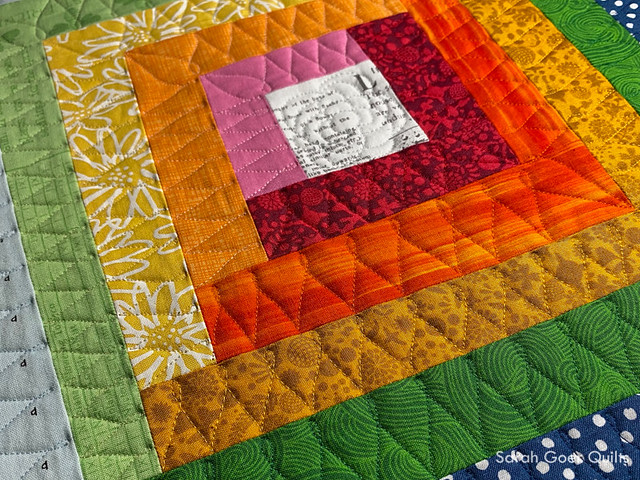
I considered wishbone quilting but opted for this variation with loops on one end and points on the other. In the end, I like that my quilting looked like a series of Vs for the Vibrant and Vivacious challenge. I wish I could say I planned it. ;-)

My quilt finished at 16" x 16". The great part about making a mini this size is that you can back it with a fat quarter. I chose this black and white silhouette fabric for my backing. I wanted black and white so my many colors of thread would be visible on the back.

Thanks for visiting. Be sure to hop over to Kim's blog to see the 100+ quilts made this week for the Vibrant and Vivacious challenge.

And on to my next rainbow project! I'm participating in the Mini Series SAL on Instagram and I've chosen a rainbow to feature in my blocks.

I've linked up to Free Motion Mavericks.