Quilting

20 Comments

Today is my stop on the Stash Statement Book Tour! I'm excited to be participating. I've long enjoyed Kelly's quilts on her blog and am thrilled to be helping to celebrate her first book! The book is filled with patterns to utilize your scraps with a little extra fabric. Kelly begins by walking you through her technique for creating a panel or chunk of fabric pieced from your scraps. From there, she has twelve patterns to utilize those panels.

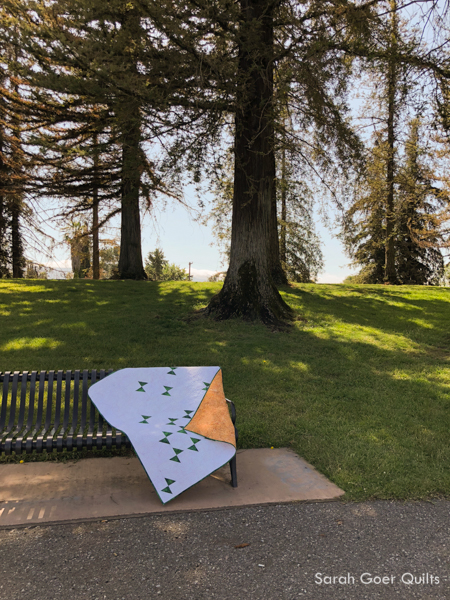
I chose Beach Retreat, which you can find on page 26 of the book. The pattern is designed to use two colors of scraps.

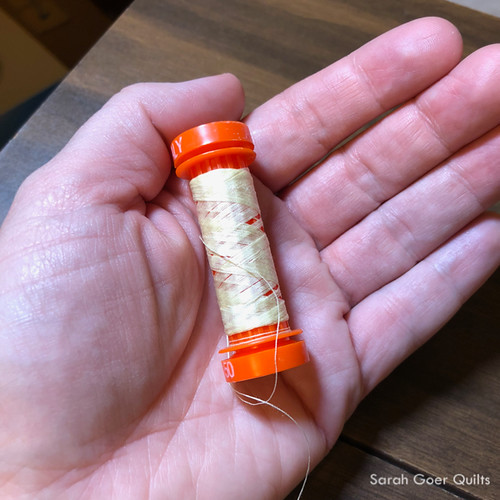
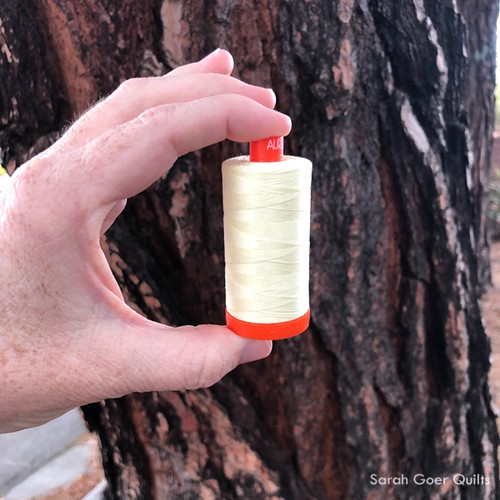
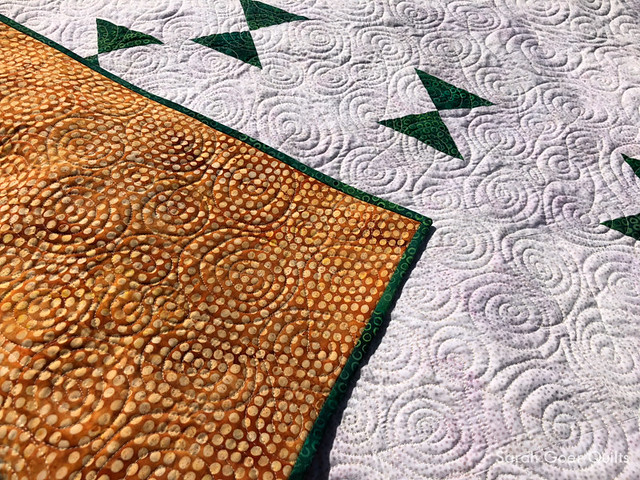
If you've seen my work, you know I like bold, saturated color. I chose green first, but culled my green scrap pile to eliminate the limey yellow-greens. (I shared the beginnings of my green panels in a previous post.) Then I considered what to pair with green, and in a choice outside of the norm for me, I went with orange. I had some orange scraps (most notably from my Midnight Mystery quilt), but ended up gathering a few extras from my friend Mel. She brought me some great green scraps as well that made it into the project. Once my scrappy panels were done I chose the solid yellow and a black on white print.

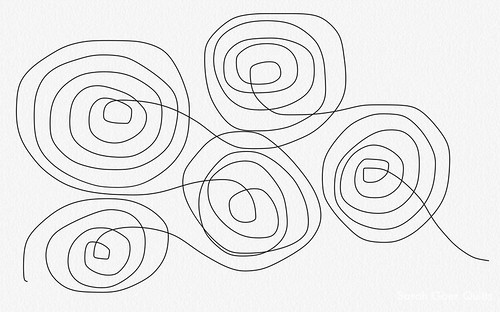
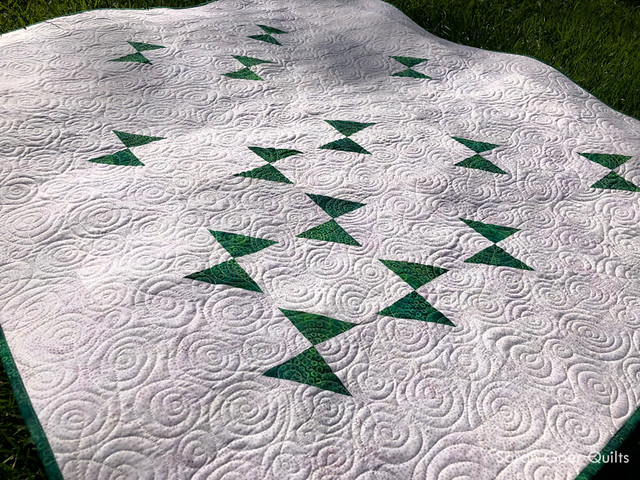
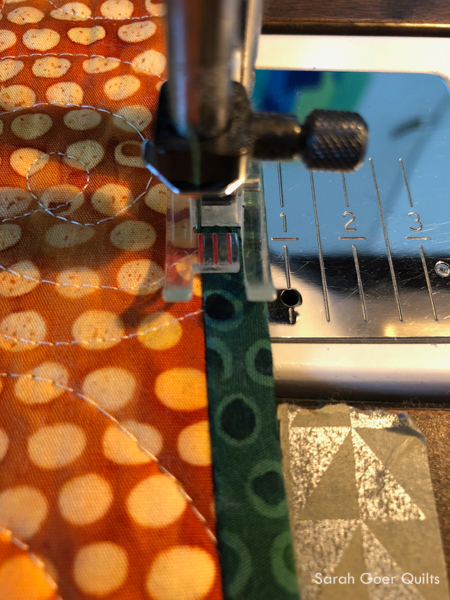
I went with a simple large scale meander for the quilting. This motif allowed me to easily avoid the thick intersections of seams in some places. One of my favorite scraps in this project is the green mushroom print, leftover from pants I made for my son.

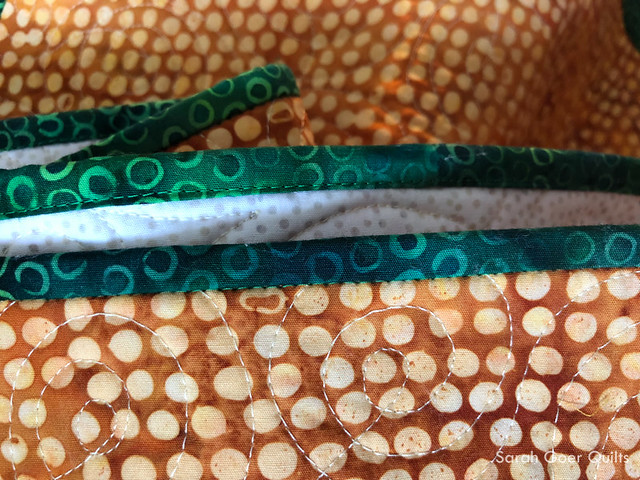
My binding is from my stash. I love stripes on a binding. This is the fourth green binding in a row that I've made. The first went onto Emerald Swallowtail which I finished last week and the other two are queued up for a charity quilt and for my Color Wash Mini quilt. I had nearly enough of this wild bicycle print for the quilt back. I added solid black to two sides of it.

I've gotten a bit lazy with quilt labels lately, but since I was making a quilt from Kelly's book, I thought it would be great to use her label technique, too! I found a scrap of my scrappy panel that had a solid section light enough to write on and trimmed it down to be my label. I had to write kind of small to squeeze it all in. Check out Kelly's quick and easy label technique on her blog!

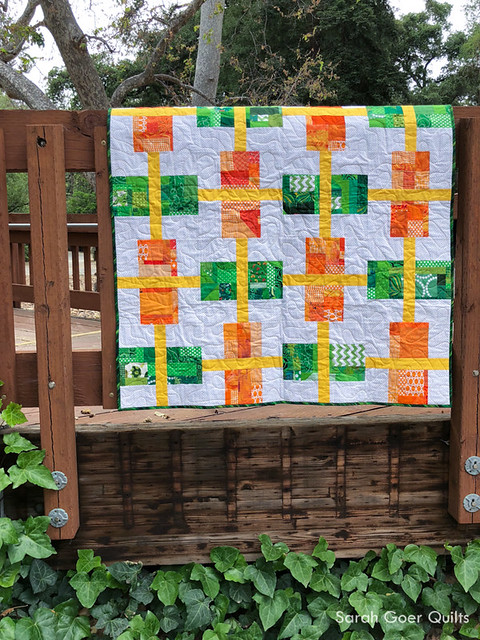
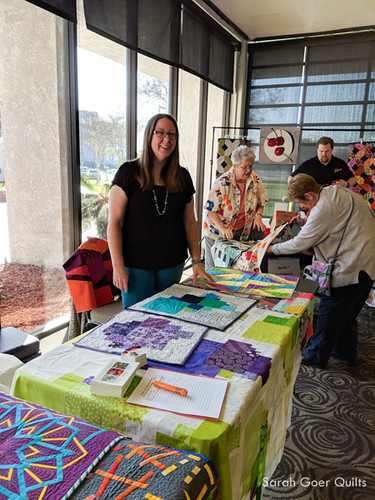
My quilt, Citrus Beach Retreat, finishes at about 44" x 55". This is a smaller version than the 55" x 66" version in the book. Liz also made a Beach Retreat quilt for the blog hop, and Kelly is sharing a rainbow version. You can see the full lineup of the blog hop on my previous post.


Get yourself a copy! Stash Statement is available from the following:

I've linked up to Needle and Thread Thursday, TGIFF and Finish It Friday.

I've also linked up to 2018 Q2 Finish Along linkup. See my whole Q2 list.

SaveSave

9 Comments

In April I had the honor of presenting at two Meet the Teachers events in California. First, I attended the Northern California Quilt Council event about an hour from my house. Later that week I flew down to Long Beach to attend the event hosted by Southern California Council of Quilt Guilds. The general idea of these two events is similar, though the Southern California event is larger scale. In both cases, the participating teachers have a booth or table space to display their workshop offerings and promotional materials. Each teacher is allowed three minutes on stage to give a short spiel on their workshop and lecture offerings and there is time for guild representatives to circle the room and speak one-on-one with the teachers.

I attended NCQC Meet the Teachers in 2017 as an observer with my guild program chairs. It was helpful for me to have an idea of how the event is run so I would know what to expect. That information, together with insight from my friend Mel, was very helpful in preparing for attending as a participant this year. Some teachers had a much more elaborate setup than I did, but I had all the necessary items covered. I brought sample quilts, postcards that included photos of my workshop offerings, and a signup sheet for my newsletter. The one thing I'd definitely add next time is a quilt stand for hanging a quilt behind me at my table.

On stage the volunteers hold up each teacher's class sample quilts while the teacher gives their spiel. (Quilt holders are the best!) I shared about my two Planned Improv workshops, Scrappy Squares and All About Angles, as well as my three lecture offerings.

At my table I had a few more samples for people to see. And I gave the 30-second version of my spiel to the guild representatives who came by the table.

For the Southern California event, I traveled with my friend Mel Beach. (Thanks to her for snapping a few pictures of me!) You can read more about the fun we had in her recap of the events.

A great big thank you to all the NCQC and SCCQG volunteers for hosting Meet the Teachers! It's such a great opportunity and both events ran so smoothly. Also, thank you to all of the guild representatives (some of whom traveled quite a distance) for attending the event, and for stopping by my table to chat.

I'm curious. For those of you who live outside of California, are there organizations hosting events like these in your area?

SaveSave

SaveSave

22 Comments

The fabrics featured in this post were given to me by Island Batik.

When I read the theme for this month's Island Batik Ambassador project, Looking Back: Vintage Quilts Inspiring New Creations, two words came to mind. Modern Traditionalism. Since Modern Traditionalism is a design theme on my 2018 Goals, I was very excited to get to work on this project.

I started with a half snowball block, which I imagine is already a variation on a snowball block, and played with the use of negative space to create my design. The design came to life in my graph notebook, where I generally start my quilt design sketches.

I chose my neutral fabric, Almond, for the background. My feature fabric, Bubble Hole in Leaf, is such a vibrant shade of green. I used every little bit of the green (with the exception of the HSTs created from the corners) and had a whopping 6" of binding leftover! I chose my backing fabric, Dot in Smore, since it was a 1.5 yard cut, large enough to back the quilt without requiring piecing. Win! ;-)

Once my quilt top was finished, I started to think about the quilting motif. I knew I wanted to do free motion quilting, and that I wanted it to be fairly dense and have a good texture. I settled on spirals, traveling into the center and then crossing over the lines of quilting to move to the next spiral. Here's a sketch of what I had in mind. I find drawing out a motif on paper (or in this case on my phone) is helpful with the muscle memory required to actually stitch it.

I chose 50wt Aurifil #2110, Light Lemon, which I received in a pack of small spools in varying weights when I recently attended the "Inside Aurifil" lecture by Alex Veronelli. The pale color reads as a neutral on my fabrics. My grey felt too dark and I thought the white be too drastic, so Light Lemon was the perfect choice. (I need more pale colors for quilting, as they blend so nicely.)

Well, I got about a sixth of my quilt quilted on my first bobbin, rewound the bobbin, and was nearly out of thread. See above. This was a gross miscalculation on my part. I generally buy small spools of Aurifil if I'm only needing it for a portion of a quilt, like on my Wizard of Oz baby quilt which used seventeen colors. Most of my thread is large spools. Realistically, I just didn't give it much thought. And naturally, I ran out of thread at about 11pm on Saturday night.

A little Sunday morning scrambling (thank you IG friends!) and I found a local shop with a large spool of Light Lemon. Woo hoo! All told, my 43.5" x 49" quilt took 4 1/2 bobbins of quilting. So worth it! I love the texture! I used Quilter's Dream Select cotton batting.


My binding was prepped as bias binding, but then I sliced the wrong direction when I made my strips, so I have accidental straight grain binding. *shrug* (There were lots of little issues on this quilt!) At least I had just enough to make it work. I tried a variation of my machine binding technique and on the final pass stitched from the back, stitch in the ditch. This technique essentially hides the line of stitching on the back (good since my green was such a contrast to my backing fabric) and the bobbin thread catches the edge on the front of the binding. (I was 97% successful, not bad for a first attempt!)


Perhaps when you first saw the quilt you thought of butterflies. So did I. (My family and a couple close friends did, too!) A little research on green butterflies led me to the name Emerald Swallowtail. The Emerald Swallowtail is a beautiful butterfly with bands of bright green on it's wings. I'm already thinking of what colors I'll make this quilt in for a larger throw version. What colors would you use?

For more examples of Modern Traditionalism in quilting you can visit the Modern Quilt Guild's website.


I've linked up to Needle and Thread Thursday, TGIFF and Finish It Friday.

I've also linked up to 2018 Q2 Finish Along linkup. See my whole Q2 list.

SaveSaveSaveSave

SaveSave

SaveSaveSaveSave

SaveSave

SaveSave

SaveSave