Tag Archives: improv piecing

6 Comments

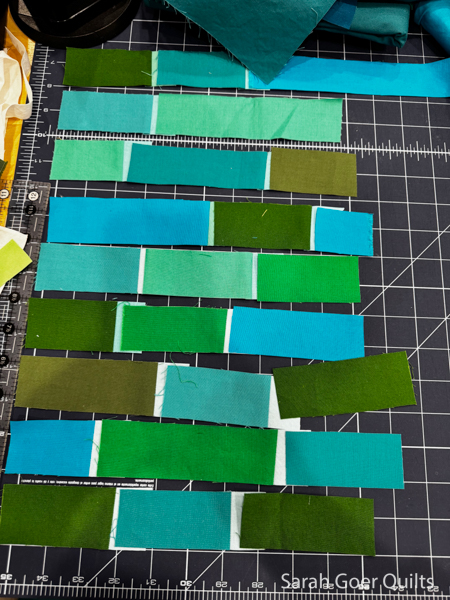
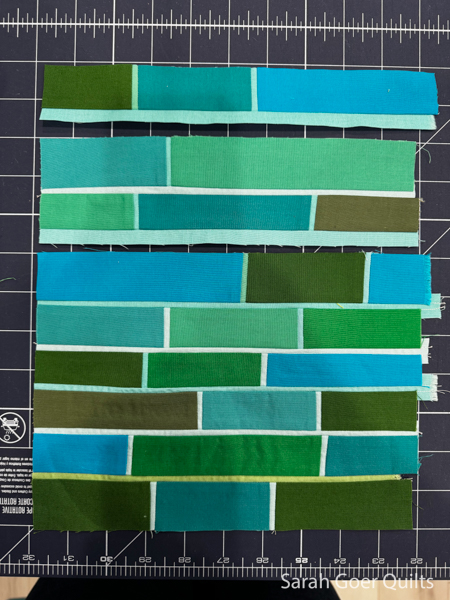
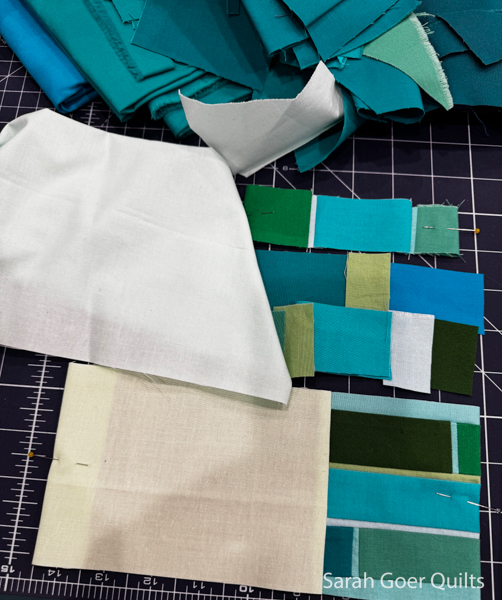
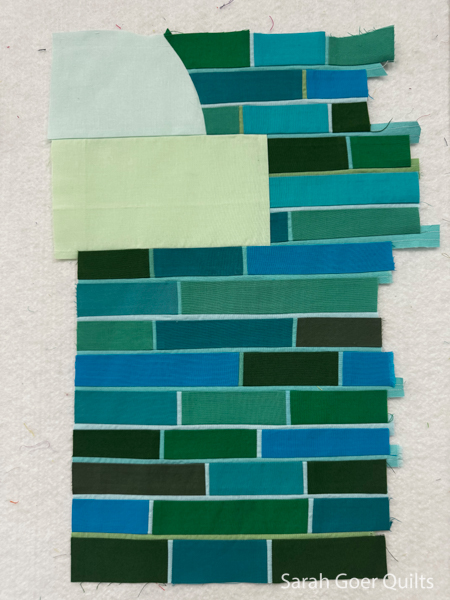
On March 1, we each passed our starting unit to the next quilter in the group. There are ten of us participating so we will add on to each of 9 other projects, while others add on to our projects, and our completed quilt tops will return to us December 1.

First, an update on my project. In round one Christine and I swapped projects. I provided a lot of fabric with my project in the same colors and Kona White that you saw in my starting unit. I asked that the design be kept to a medallion, but the starting unit could be off center, and folks could add to as many sides as they'd like. Also, to stick closely to my color palette.

I enjoy the radiating lines and the symmetry. Thank you, Christine!

And I had Christine's project to work on. There was a lot of detail in her starting piece. I keyed into there being a lot of small pieces, fussy cuts, and fabric with metallic print.

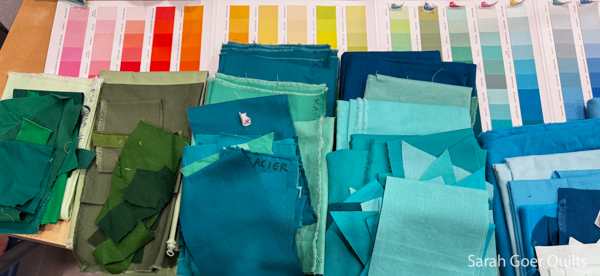
Christine included her scraps and said we could add fabrics that fit in her palette. This is the assortment of her scraps.

These are the fabrics I pulled to potentially add in. The only fabric in my stash with metallic print was the car print, and I thought it would work beautifully with her fabric. That was the first piece I cut.

I worked improvisationally from there, thinking roughly about a landscape for this first portion I created.

One of the things she asked of us was to put a solid 1/2" finished strip between the existing section and our addition. I chose mustard yellow solid for my divider, with my added portion on the right side. My section is about 8 inches wide.

This close up shows some of my tiny piecing details with my fussy cut ladybugs and bees.


In April, I received Amy G's project.

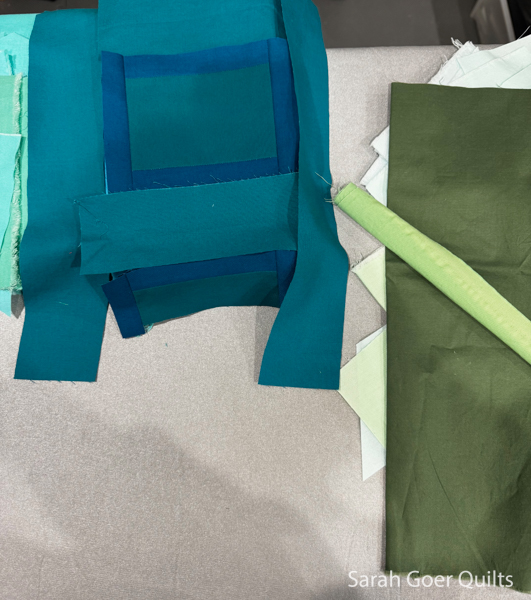
Amy's starting unit is the left portion up to and including the vertical, wide, navy strip.

I took inspiration from the shapes in the piecing I received to start building components without a firm plan. I really loved the improv curves that had been added in the previous round so I did more of those.

I enjoyed playing in this palette and mixing in some of my fabrics with Amy's.

While I had Amy G's project, Adrienne had mine. I love that she chose to echo my improv curves. The happy color palette is bringing me joy. I hope folks are enjoying working with the palette. Thank you, Adrienne!


In May, I received Amy W's project. She provided all the fabric for us to use, much of it sparkly, which was a fun change from my usual quilting cotton.

The project came to me in a non-rectangular shape, so I set out to add to the top edge and bring it back to rectangular.

Roughly speaking I knew I needed taller components on the left side and shorter components on the right side. I started with flying geese since it used triangles that were throughout the piece, but did something a little different. I used some scraps to make strip sets to be part of the background of a couple geese blocks and added curves since there was some curved piecing in the most recent addition.

I made myself a template that would match the curved/bended edge along the top and bring the piece into a rectangle. I built my components slightly oversized so that I could trim them down to this shape.

Before attaching to the starting piece, I trimmed only the bottom edge of my section. As I tell my students, when improv piecing I leave the edges messy instead of trimming along the way. The only edges I worry about trimming are the ones I'm sewing next. Leaving the rest to trim after gives me the most versatility.

If I remember correctly, my tall side on the left is about 6 inches tall and the shorter end on the right is about 4 inches tall. Once I pieced my section up I trimmed the rest of my part to make an overall rectangle.

In these closeups you can see the sparkle in the fabric. Amy told us that we could add black and white prints since she had used black and white strips in her starting unit. I chose a black and white print that reads as a stripe.

While I was working on Amy's quilt, Susie had my project. She said that she loves orange. She added the portion on the left edge in her photo. Thank you, Susie!

I'm so glad that I opted in to participate in this round robin. I am enjoying the challenge each month. This month I'll be working in oranges and greys.

1 Comment

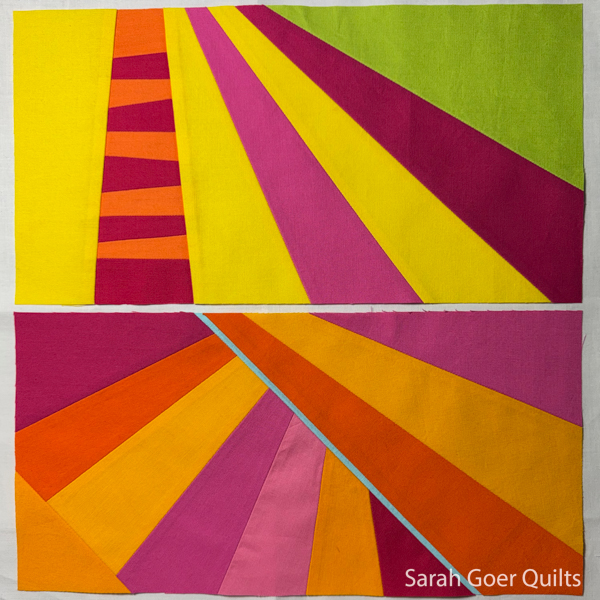
To kick off year six of Quilts Unscripted Bee, Emily asked us for 6" x 12" blocks inspired by rays of sunshine and colors reminiscent of a spring bouquet - pink, orange, yellow, with small amounts of lime or sky blue in medium and light colors.

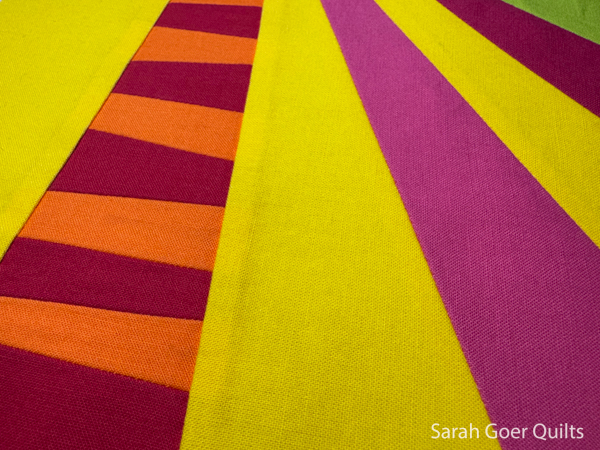
This was such a happy palette to work with. She invited us to work in some improv piecing within our rays. I had really enjoyed piecing improv wedges for the start of my round robin quilt and the center of one of these previous bee blocks, so I set off to make improv wedges with in deep pink and orange.

That wedge unit went into this block.

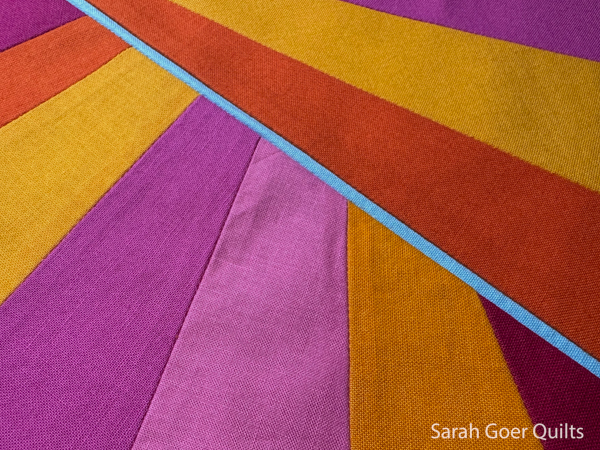
One of my favorite feature elements is the 1/8" finished pieced strip, so I decided to work one into my second block, coupled with wedges going two different directions.

Here's the full view of my two 6" x 12" blocks. This is going to be such a happy quilt. I look forward to seeing it all put together. Have fun, Emily!

4 Comments

The San Mateo County Fair (June 5-14 this year) has a large quilt display within the Home Arts Maker Department division in the exhibition hall. I've enjoyed going to the fair in past years to walk through the entire exhibition hall. This year I'll have five quilts on display at the fair. This is one of them. Silicon Valley Modern Quilt Guild (which I joined last Fall) has two challenge categories at the fair under the Quilt Challenge Groups division. The Let's Meet Our Panel challenge asked us to use a panel. I've had students use improv work from class to create a quilt featuring a panel (like the one by Carol O. in this post) and have wanted to make one myself for some time. Since I didn't have a panel on hand, Rochelle from my guild shared this Monsters Inc. panel with me.

I started out by choosing solids from the five main characters on the panel. I did pretty well finding the coordinating colors in my solids drawer. On the left: Free Spirit Berry, unidentified light blue, unidentified olive green. On the top: Kona Jamaica, Kona Violet, Kona Cactus. On the right: Kona Oasis, Kona Peony, Kona Denim. On the bottom: unidentified pale blue, Kona Tomato, Kona Corsage.

Initially I thought I'd have each side be the colors of one of the characters, but there are five monsters (initially the Yeti blended in to the background to me) so I decided to mix up the colors to create the palettes for each side. For each side I chose a general geometric idea or starting point and started cutting fabric. With most of my improv work I don't know exactly how things will end up. This was no exception. Once I created the strip set and cross cut into pieces for the bottom side, I auditioned to decide if I wanted to insert strips of Corsage or not.

As I finished the improv sections, I added them to my design wall. As I tell students in class, I don't care about the messy edges until those edges are going to be sewn to something else. So you can see on my design wall that while the piecing is done, I haven't yet trimmed the borders to size. I'd been thinking about improv sections that would finish approximately 5" wide and I work oversized so I can trim down to my desired finished size.
From the beginning I figured I would miter the corners on my border. I creased the panel on the diagonal so I could use that as my guide. I figured I would just puzzle it out, but didn't have time to be wrong and need to redo things, so I found this tutorial to watch about the process of mitering corners. Thankfully the process went pretty smoothly. I trimmed both edges of the top border before attaching it, but then decided to trim only the inner edge of the other sides and wait until after quilting to trim the whole quilt to size.

Two down, two to go...

Using the diagonal creases through the center panel as my guide I did walking foot quilting in a 2" grid on the diagonal. My first line of quilting was 1" to the side of the creased diagonal. Then I used the guide with my walking foot to space the rows of stitching two inches apart. I quilted with 50wt Aurifil Dove (#2600), a light neutral that I thought would blend in well with all the colors.

The finished quilt is approximately 27" x 27". I machine bound with a medium grey solid after trimming the quilt. (This was the last photo I took, but I was able to steam out my diagonal creases before dropping it off to the fair.)