Tag Archives: throw quilt

143 Comments

The products featured in this post were given to me by Island Batik.

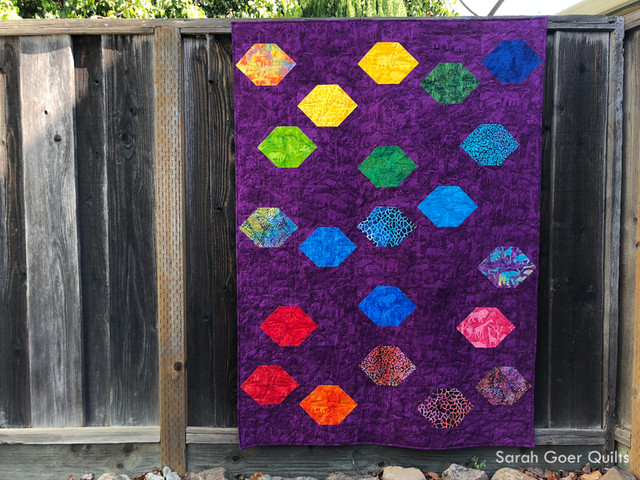
Today is my stop on the Island Batik A Piece Of... Blog Hop. I'm sharing my Mermaid Cove lap quilt.


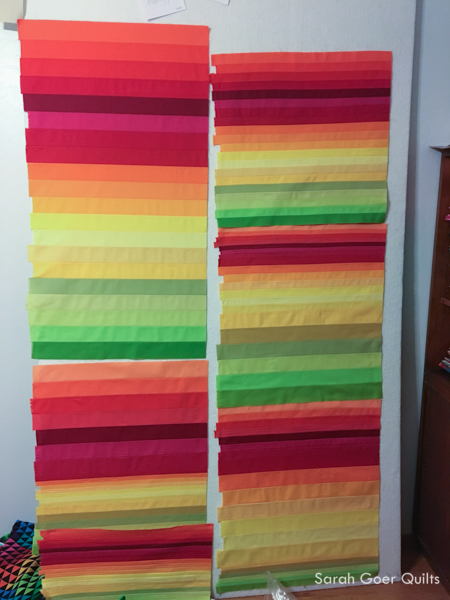
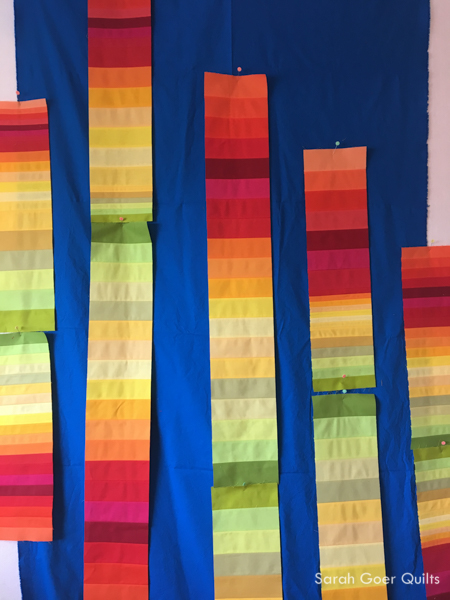
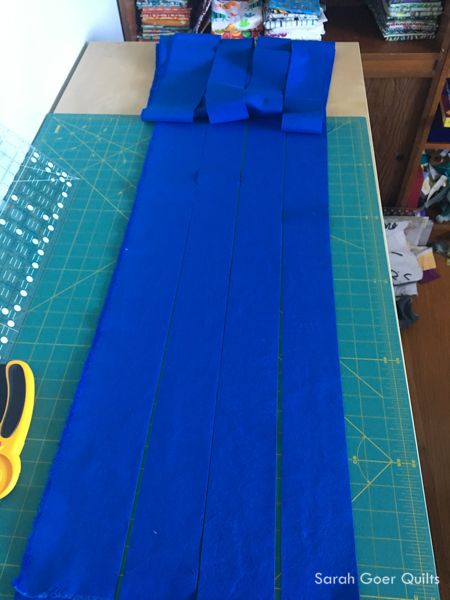
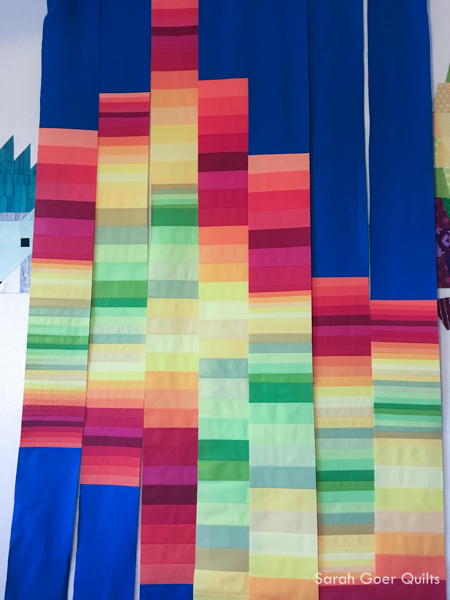
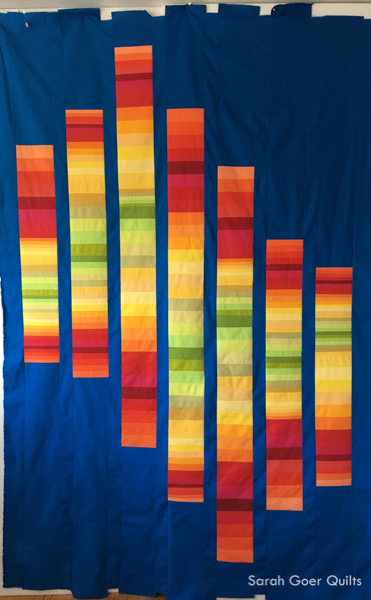
I took this opportunity to make an All About Angles quilt with wider starting units. I enjoy teaching this class and every time I teach it I have more ideas for variations. A giant thank you to my students for inspiring me!

The quilt is approximately 65" x 75" and it was quilting by Tami Levin of The Quilted Lemon with Hobbs 80/20 batting. I chose the Modern Pebbles pantograph because I liked the wavy pattern and the pebbles reminded me of bubbles.

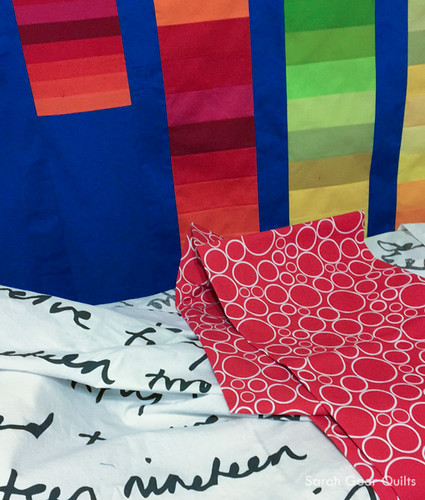
My backing features the remnant of the peach spotted fabric with some Batter from the Batik Foundation Neutrals.

The binding is a combination of a 12-foot binding remnant from this quilt and the dark multi-color mermaid fabric. You can read all the details of my machine binding technique in Machine Mind Your Quilts Like a Pro.


SARAH GOER QUILTS GIVEAWAY (US Residents Only)  For your chance to win a Mystery Bundle of Island Batik fabric (including some Mermaid Cove!), enter with Rafflecopter below by leaving a comment on this blog post and tell me your favorite part of making a quilt and/or by being a newsletter subscriber. Not a newsletter subscriber yet? Subscribe here, click to confirm your subscription in the email that comes to you. At the end of the giveaway I will email the randomly selected winner and they will have 48 hours to reply to claim their prize or I will select a new winner. The Mystery Fabric Bundle will be mailed to the winner.

a Rafflecopter giveaway


Thank you for visiting! Be sure to hop on over to this week's blog post by Island Batik to enter their giveaway for precuts of the beautiful Sand Bar collection. And visit the other Island Batik Ambassadors to see what they've made this month.


I've linked up to the Giveaway Party.

4 Comments

I am excited to release my Floating Hexagons pattern. I originally designed Floating Hexagons in 2017 and worked with amazing testers at the end of the year. It has been a long time coming, and I'm so pleased to be sharing it with you today. I was inspired to work with solids, and I wanted to work with a block-based design with a twist, playing with placement of my hexagons to create interesting negative space. Floating Hexagons is a beginner friendly block-based design in three sizes. 

Last month I shared my Petting Zoo version of Floating Hexagons. This variation features different fabrics in each of the hexagons.

As a bonus, you can choose to make five blocks from the baby or lap size quilt to make a table runner, as I did for Modern by the Yard for my Fall Fleurish runner.

A great big thank you to my testers, Anja, Laura, and Mary. (See their versions here.) Since I chose to change the construction method of my hexagons after my testers created their quilts, I worked with Sarah Ruiz for technical editing. She was fabulous to work with. I appreciate her keen eye and I look forward to working with her again.

Floating Hexagons quilt pattern contains three sizes:

  • Baby: 30 1/2" x 42 1/2"
  • Lap: 45 1/2" x 63 1/2"
  • Throw: 60 1/2" x 84 1/2"

My pattern includes:

  • fabric requirements and cutting instructions in clear charts
  • detailed precision piecing instructions, tested and professionally edited
  • clear diagrams
  • three block sizes
  • a coloring sheet for planning your design
  • quilting ideas
  • instructions for creating binding
  • photos of testers' quilts for inspiration

12 Comments

Last January I took Rob Appell's Color Strata class with my guild. Then the project remained in its project box until I added it to my UFO Challenge sheet in position #6 and it was chosen for January for the APQ UFO Challenge. My strata were all pieced in class, using a Kona roll-up of Christa Watson's Designer Palette.  This month I've taken it from six pieced panels to a finished (and basted) nearly twin sized quilt top. Quilting is underway, but I wanted to share my January progress. I'm thrilled with how far it's come. And I look forward to finishing it up and submitting it to my guild quilt show.

I cut my strata sections into 6 1/2" wide strips (I have a few leftover strips for some future project... it's like my UFO birthed another UFO). At this point I played with them on my design wall and ultimately decided to use two strips in each column, connecting the green ends.

The original strata (see top picture) is built with three different widths of pieces which leads to a variety of sizes in the finished panels. I used this in my design by building out from the longest section in the center.

I had originally purchased three yards of the blue fabric for the class. I wish I'd bought more, but I was wary of buying additional fabric from a different dye lot. In the end, the limited amount of blue added to my challenge. I drew out a sketch to scale and then calculated the yardage required for my design. I had to redesign slightly to get it under 3 yards. The redesign simply made the long skinny vertical pieces of blue narrower. The trickiest part of the project was cutting these 2 3/4" x 95" pieces of fabric!

As I worked on piecing my columns, I really liked this intermediate step where all the strata touched. It may inspire a new project to use my leftover bits.

The title, No Purple, came from my surprise at how many different colors are in this quilt, yet none of my favorite color. That sure doesn't happen very often. Here's the finished quilt top.

The backing is pieced and quilting is underway. I shopped my stash and found these two fabrics to use for the backing.

Thank you for visiting! I'm looking forward to seeing which UFO off my list I'll be working on in February.

I'm linking up to the January OMG Finish post.

Save

Save

Save