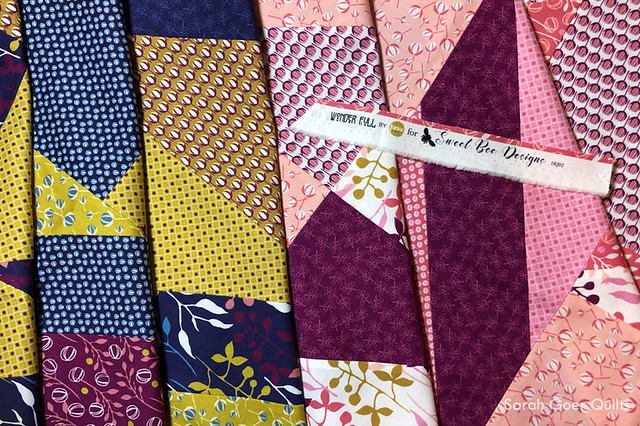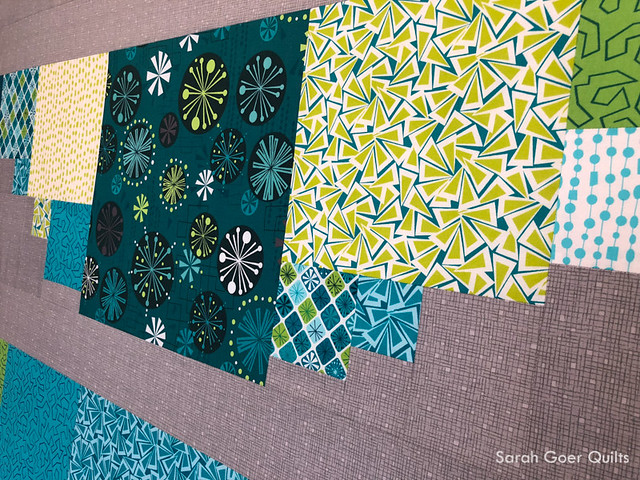
I'm so pleased to be participating in the blog hop for Fandangle, Christa Watson's newest fabric line for Benartex. Fandangle is full of bright prints in fun, modern patterns. I was drawn to the cool color way of her designs.
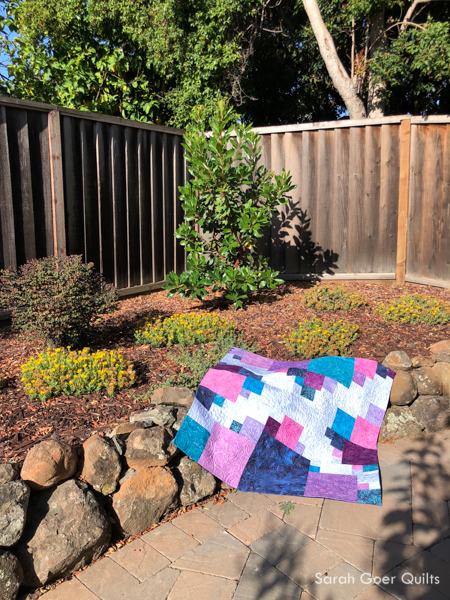
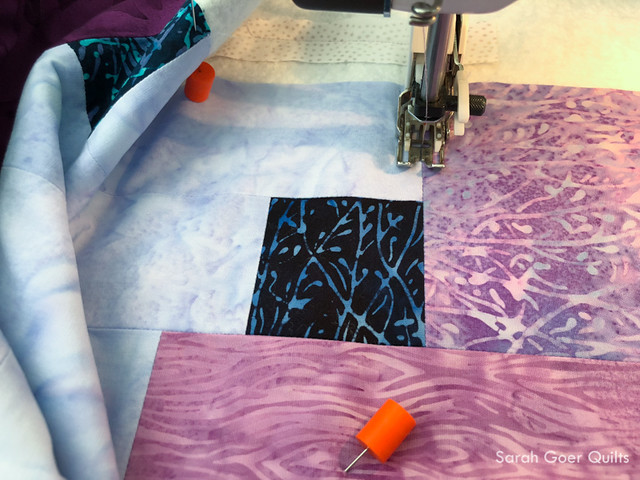
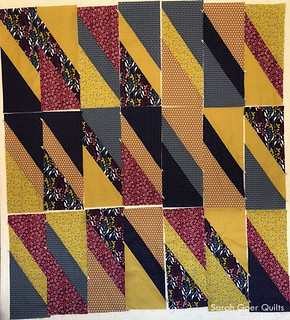
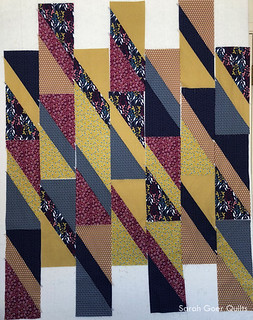
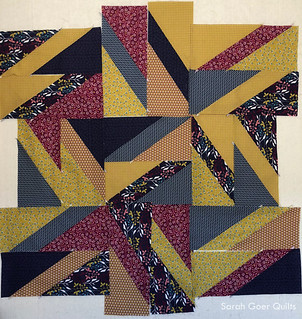
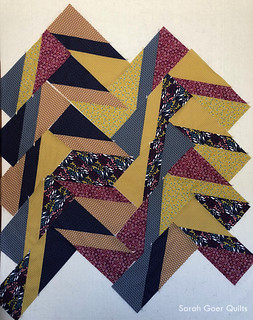
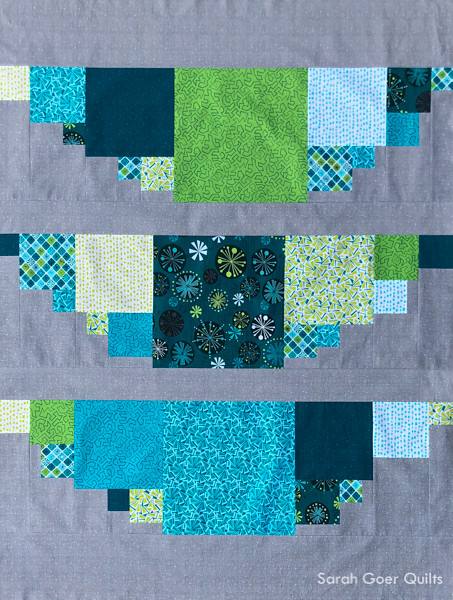
After last month's Island Batik version of my Planned Improv: Scrappy Squares, I am excited to show a new variation on my technique. In my Planned Improv projects I have a general set of rules for creating the piece, and additional rules can give a twist to the design or provide continuity among different sections. Some of the rules I ended up following on this project include: the largest square is 12" finished, same general shape for each row, seven square along the top edge of each row (12" square in the middle), and rows off-centered from each other. I find that making a few adjustments to the design as I work can help add to the cohesive look of the overall piece.
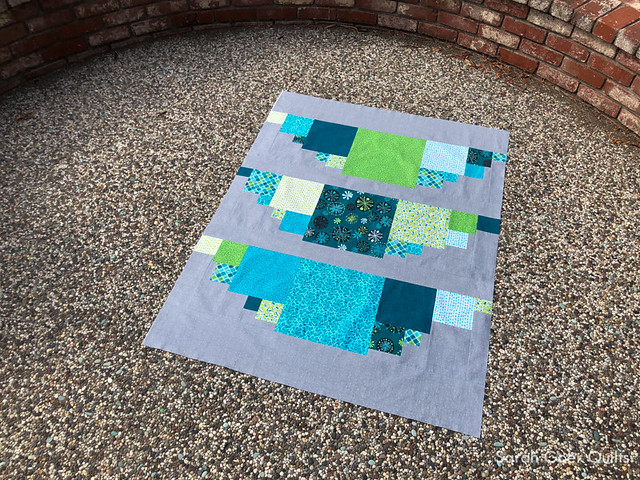
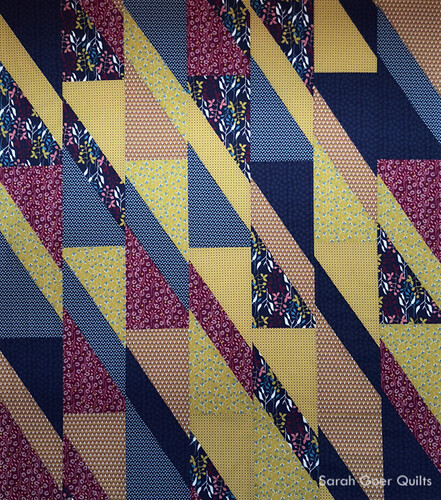
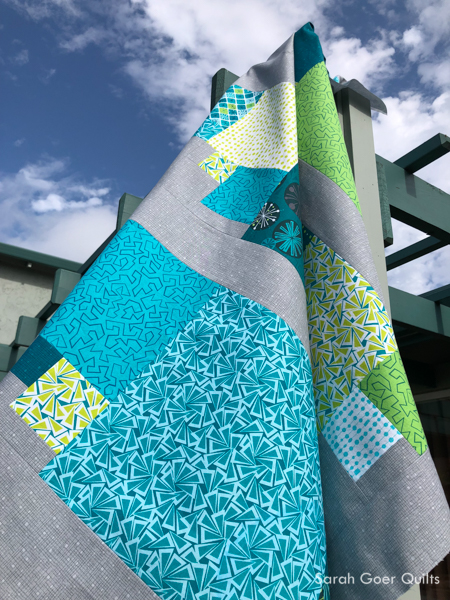
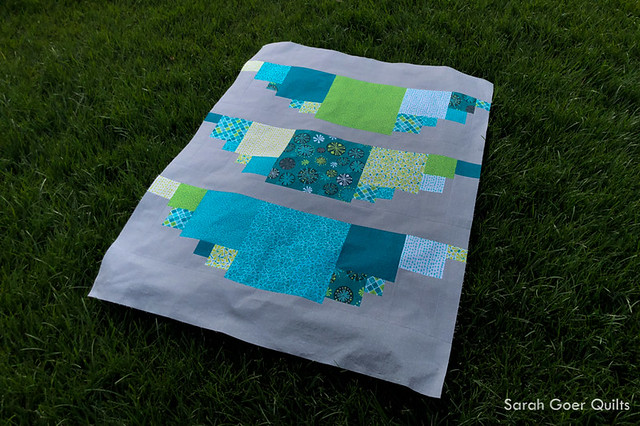
My quilt top finished at about 41" x 54" So many of these fabrics are great blenders that would be a lovely addition to any stash.
GIVEAWAY (US addresses only)
For your chance to win a fat quarter bundle with a selection of 8 Fandangle fabrics, enter with Rafflecopter below by leaving a comment on my blog. Get a second entry by being a newsletter subscriber. Not a newsletter subscriber yet? Subscribe here, click to confirm your subscription in the email that comes to you. At the end of the giveaway I will email the randomly selected winner and they will have 48 hours to reply with their (US) shipping address or I will select a new winner.
Thanks for visiting! Now you can view the finish.
Be sure to check out the other stops on the hop!
Tuesday
Heather from Quilta-chusetts; IG: @quiltachusetts
Sarah from Sarah Goer Quilts; IG: @sarahmgoer
Nancy from Masterpiece Quilting; IG: @masterpiecequilting
Wednesday
Sue from Sue O'Very Designs; IG: @sueoverydesigns
Sylvia from Flying Parrot Quilts; IG: @flyingparrotquilts
Thursday
Annie from By Annie; IG: @PatternsByAnnie
Brenda from Spool and Bobbin Quilting
Friday
Tina: @sashikostyle
Paige from Quilted Blooms; IG: @quiltedblooms
For more Fandangle fun:
Click here to see the entire Fandangle collection.
Click here to visit Christa's website. Find her on IG here.
Click here to read the interview with Christa.