
The products featured in this post were given to me by Island Batik, Hobbs, and Aurifil.
This month we were asked to create a quilt to adorn a table for the holidays. We were required to use appliqué, though our project could be any size. My Fall table topper finished at approximately 20" square. I used Hobbs Thermore batting. It's a super low loft 100% Polyester batting, which should keep my table topper nice and flat.
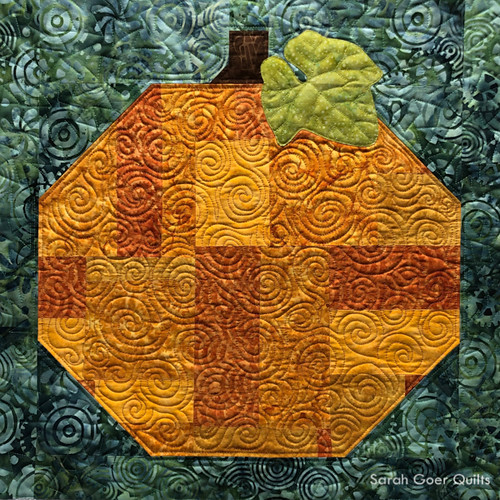
I chose pumpkin orange batiks to create a scrappy slab for the pumpkin. This included Cheddar as well as a couple from the Island Batik Clockworks collection. (The background and stem are from Clockworks, too!)

I used the snowball technique for adding background triangles to the corners of my rectangular scrappy slab and pieced in a brown stem. My technique is basically the same as my pumpkin tutorial from earlier this month, with a slightly different stem. To fulfill the requirement of having appliqué in my project I chose Bubbles in Chartreuse to make a pumpkin leaf. A quick online search helped me with the general shape of a pumpkin leaf. I used Heat and Bond Lite to raw-edge fusible appliqué my leaf onto the otherwise completed quilt top. My top stitching on the leaf was done as quilting. I chose to mimic the look of the veins of the leaf.
I was lucky enough to come home from Quilt Market with the Island Batik Solstice collection of 40wt Aurifil thread. It had the perfect options for me to consider using for this project. The first image below shows Brass (#2975), Light Cinnamon (#2335) , and Dark Brown (#5024), and beneath that a peak inside the whole box.
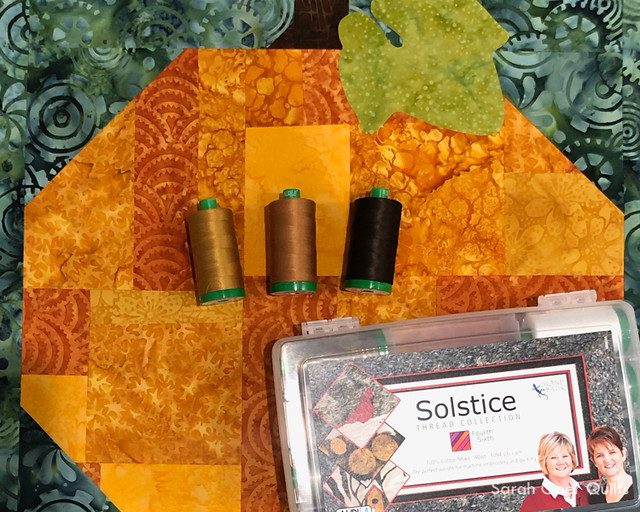

My selections strike me as an odd mix of colors for my quilting. I ended up with four colors in three different weights. It's amazing how on their own I never would have put these colors together, but when considering what blends best in each section of the quilt, these four were the right choices!

Light Leaf Green (#1147) was the perfect color for the leaf. I had it in various weights in my thread collections and opted to use the 28wt to outline the leaf and stitch the vein pattern. Dark Brown (#5024) was a great choice for my echo quilting inside the stem.

I opted for Brass (#2975) for quilting the pumpkin. I started by echoing inside the border of the pumpkin, then filled it with spirals (my favorite free motion motif!). Finally, I chose Pale Green (#2880) from my stash for quilting the background. First, an echo line around the pumpkin, then zig zag meander to fill in the entire background. I'm not sure if I've shared about it on the blog, but I'm loving my new-ish open toe free motion foot. Total game changer!
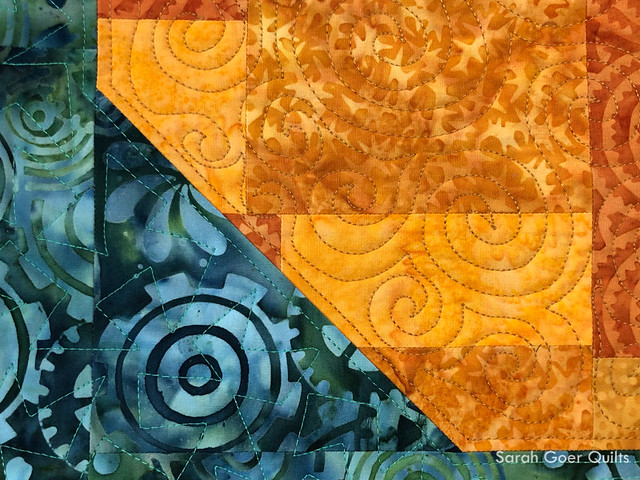
Have I mentioned how I love the gears on the background fabric!?
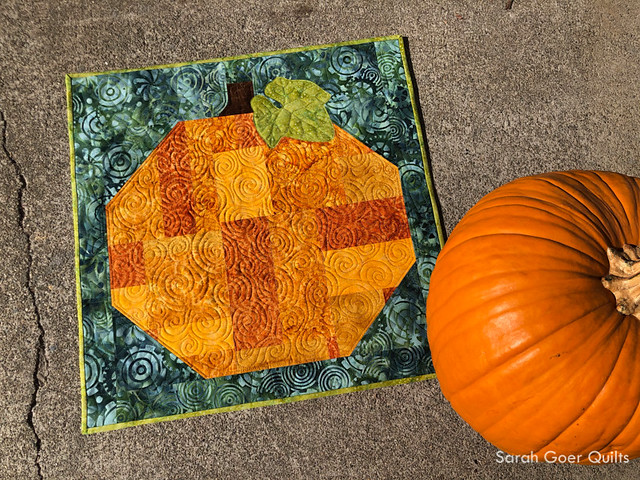
I was excited to enjoy this quilt on Halloween and look forward to its continued use throughout the rest of the Fall, including Thanksgiving.

Check out what the other Ambassadors are topping their tables with this month!
I'm linking up to Needle and Thread Thursday and TGIFF.


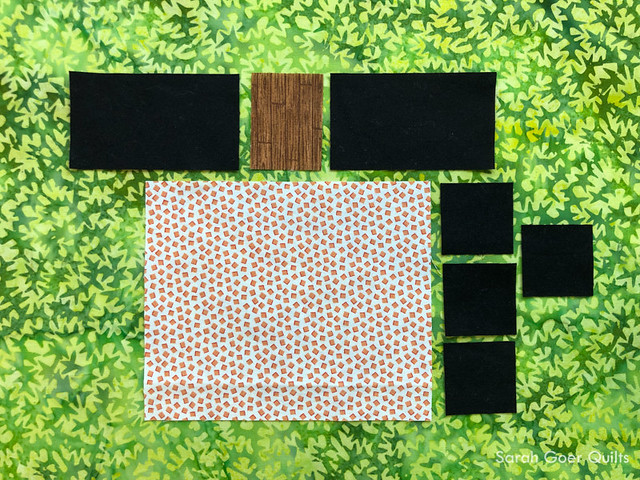
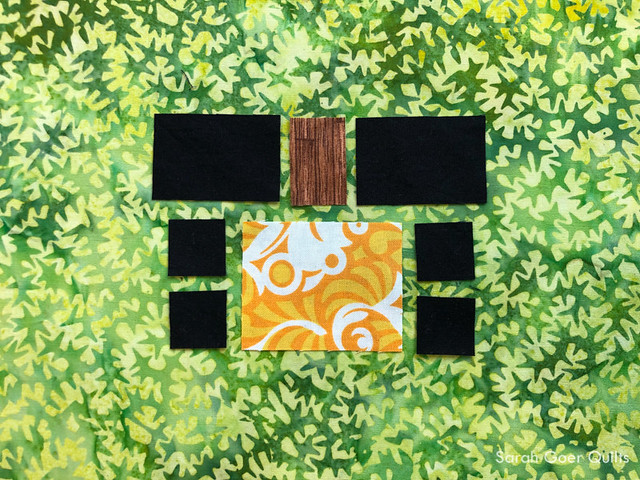


 This Scrappy Slab version is made from a 6 3/4" x 7 3/4" scrap of orange fabric, with 1 3/4" corner squares. The stem is 1 3/4" x 2 1/4". You can find all my tips for making your own Scrappy Slab in my