This month Quilts Unscripted, my improv quilt bee, is making blocks for Ellyn. She's asked us to use one of the most colorful aisles of the grocery store as our inspiration... the cereal aisle!
I grew up eating Honey Nut Cheerios, but we never had any other "junk" cereal in our house. Froot Loops and Lucky Charms are the two I now enjoy on occasion, so when Ellyn shared her prompt with me, I knew I would start with one of those. Naturally, I needed to purchase a box of Froot Loops for research. As a bonus, my kids and I enjoyed the treat, too.
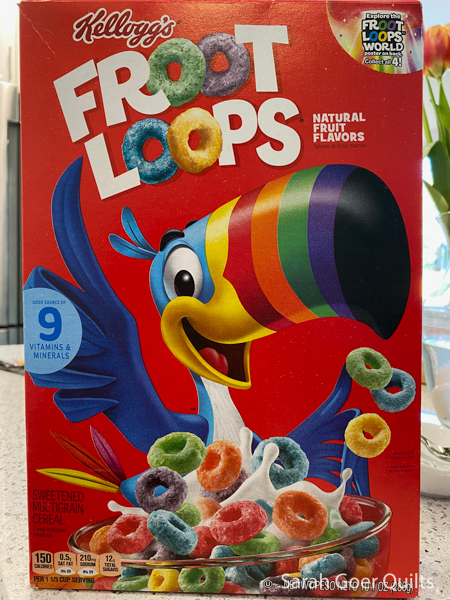
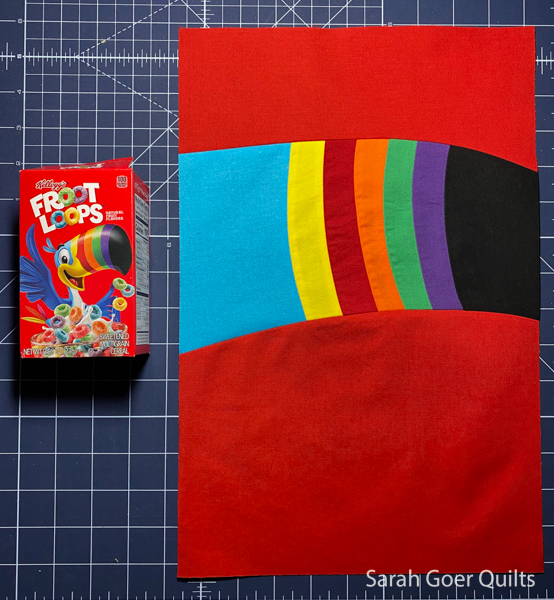
Once I had the box in hand, I started matching Kona solids to the colors on the box. Well, the cereal is a rainbow of color and so is the toucan. The colors used on those two elements are actually different colors. This resulted in a broad color palette to start with.
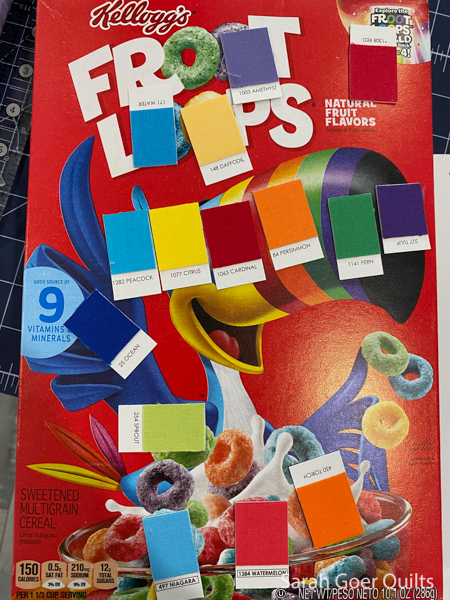
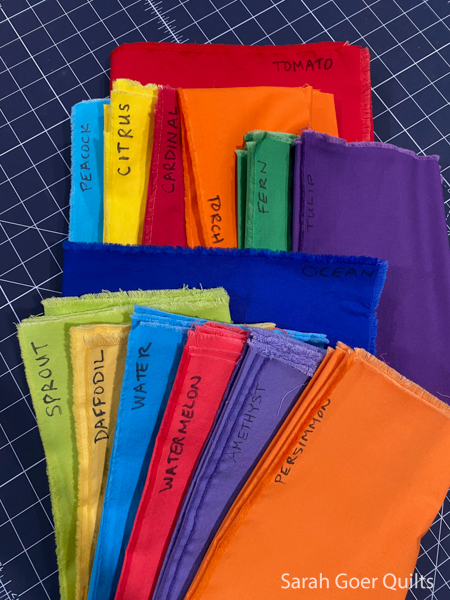
The full palette here includes Kona Tomato, Peacock, Citrus, Cardinal, Torch, Fern, Tulip, Ocean, Sprout, Daffodil, Water, Watermelon, Amethyst, and Persimmon.
Ellyn had asked us not to make any toucans or leprechauns. She wasn't looking for exact cereal box replication. Instead, she wanted us to be inspired by the colors and shapes on the box. She asked us to take into consideration Margaret Fleisher’s book blocks which I shared about when I made this recent project. Margaret has taken inspiration from the geometry and color in the book cover designs to piece improv quilt blocks.
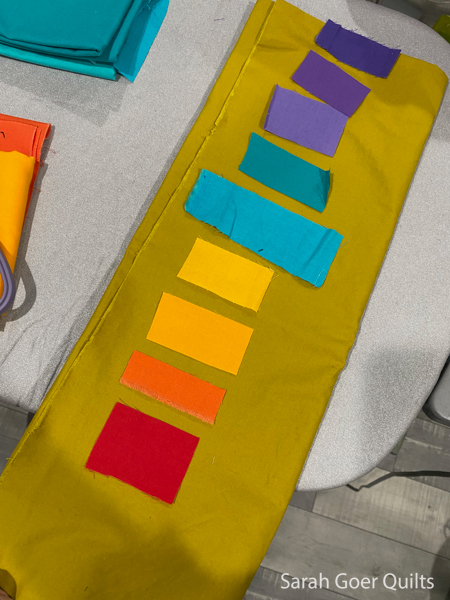
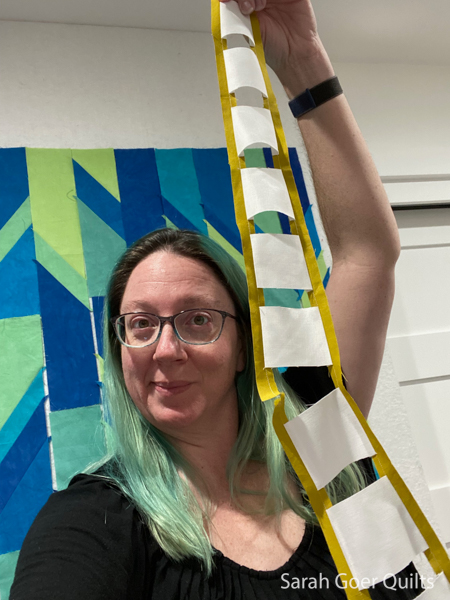
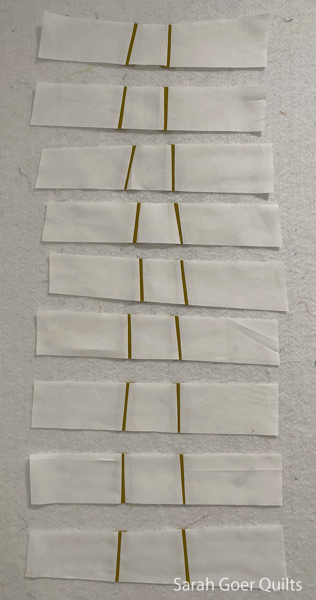
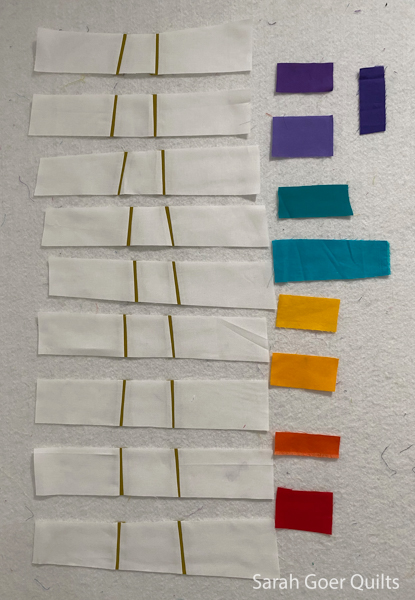
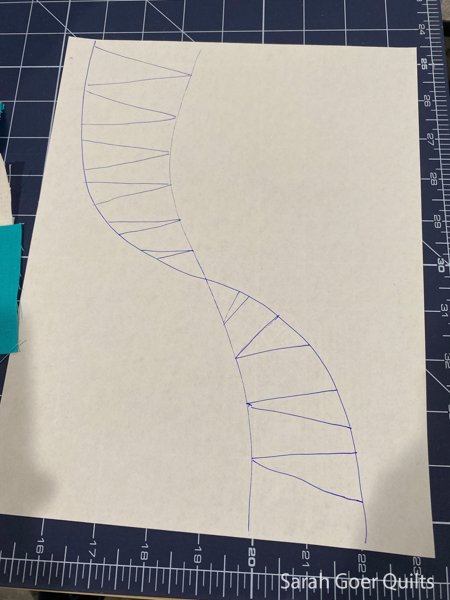
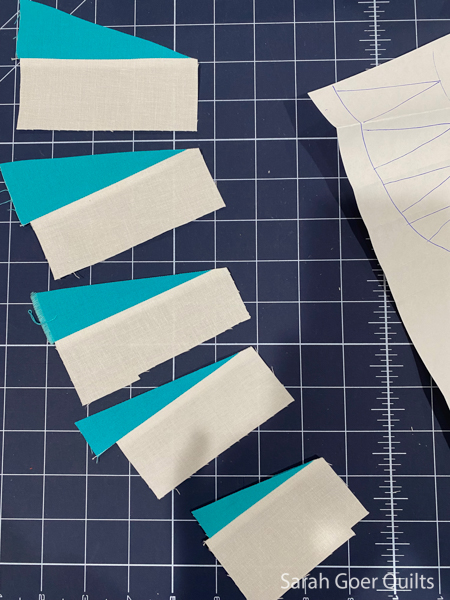
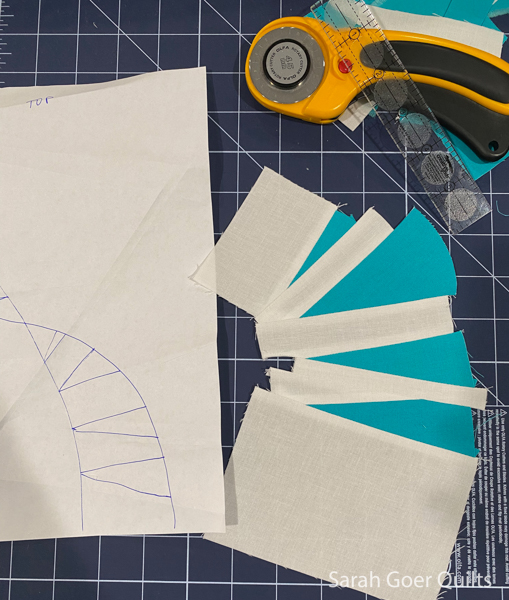
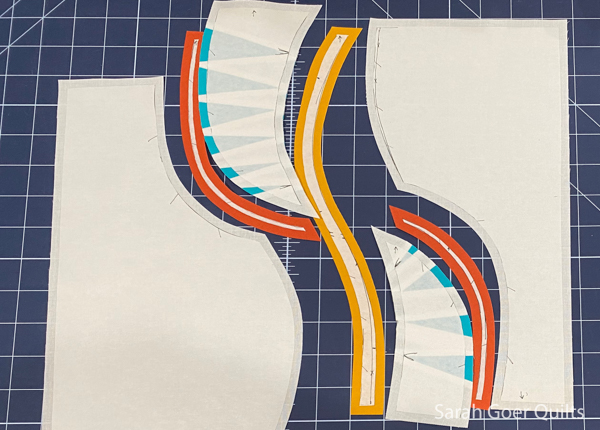
My initial sketch had numerous details: some blocks of color to represent the words “Froot Loops” at the top of the box, the toucan, the bowl of cereal at the bottom. I wasn’t sure how I go about piecing the cereal bowl so I started with the toucan. I edited down some of the colors to focus on just the colors that were in his beak and head. I pieced using improv curve piecing (via this technique). After I'd pieced the beak I started to consider making my design more minimalist than initially intended.
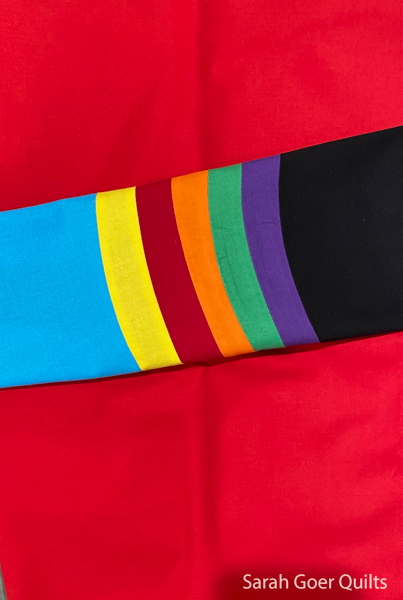
I auditioned the panel of colors for the beak of the one feature element with solid red fabric to represent the background color of the box.
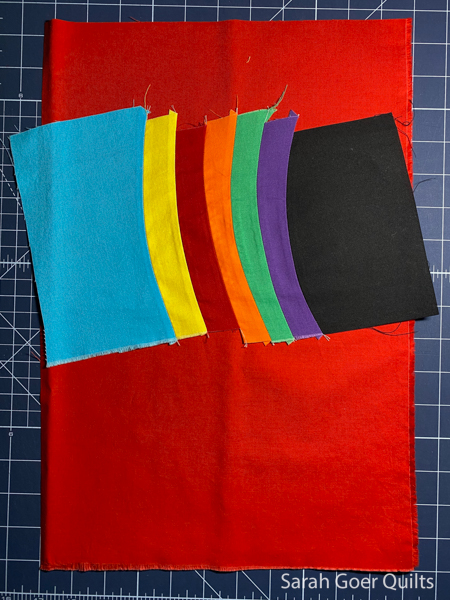
I liked that and decided to move forward by piecing the beak into the background with more Improv curves.
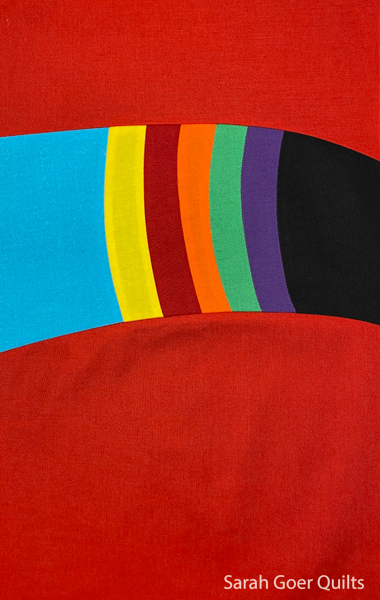
In the end, I was really happy with what I came up with, glad I had edited down my initial plan. And I was the first one in the bee to finish a block this month! The block measures 10" x 15". The final colors were Kona Tomato in the background, and Kona Peacock, Citrus, Torch, Fern, Tulip, and Black. The red in the beak was replaced with a scrap that had better contrast with the Tomato than the Cardinal did.
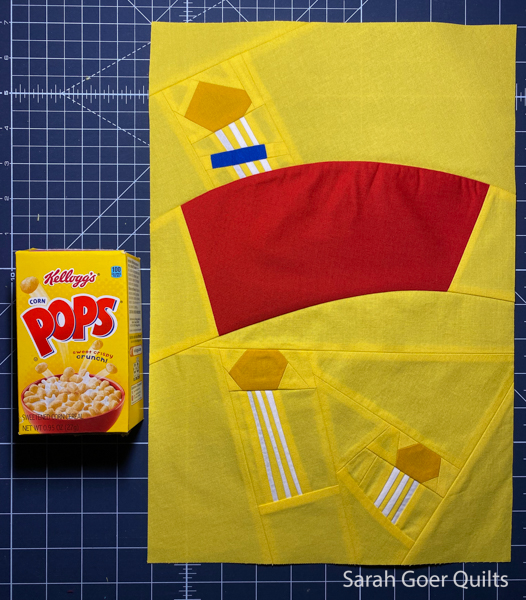
I did consider using my other Froot Loop box elements ideas to make a second, different Fruit Loops block, but decided to go another way. While on vacation in Texas with my family, we had gotten a package of mini cereal boxes for the hotel room. I kept a few of them to use as inspiration for my cereal bee blocks. While I've never eaten Corn Pops I kept being drawn to the movement of the "pops" on the box and decided to go with that one.
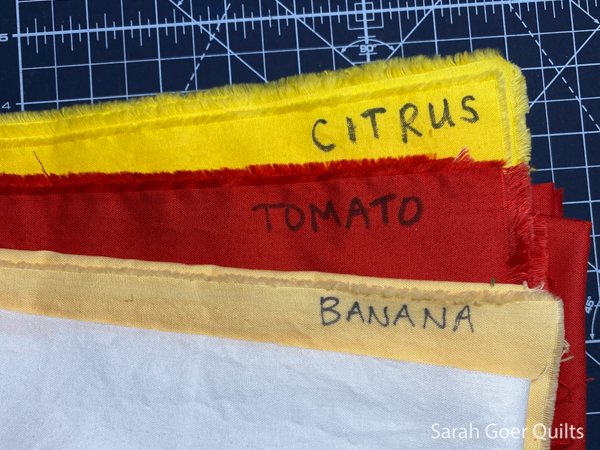
My initial pull of fabric was Kona Citrus, Tomato, Banana, and White.
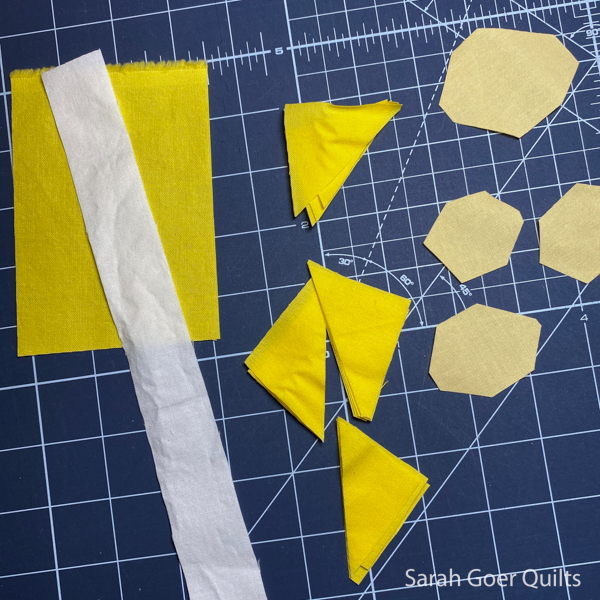
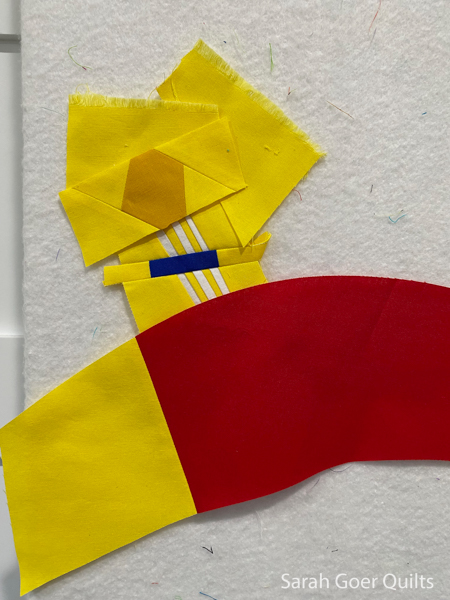
I decided I would color block the red "POPS" and piece some of the cereals with the whooshing movement lines. I started by piecing improv polygons with six or more sides for the individual cereals. I did this by cutting rough rectangles out of the cereal and then chopping off the corners. I used oversized Citrus triangles to piece onto the corners and bring the cereal elements back up to approximately rectangles.
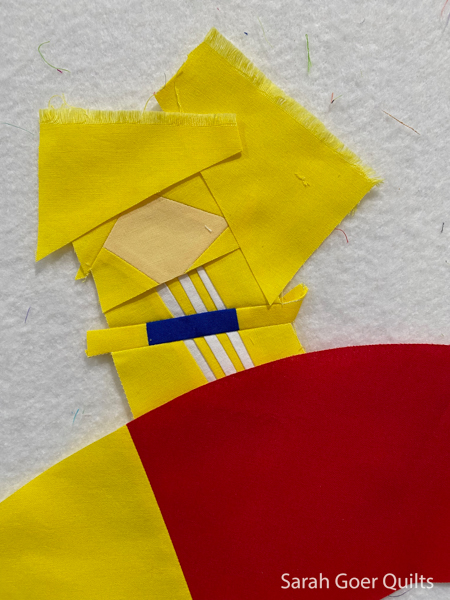
I pieced the first section of my white strips for the movement lines (intentionally imprecise, but finishing at about 1/8" wide) and added in a bit of blue for the "CORN" in the cereal title. At this point I realized I had a problem. I wasn't happy with the value contrast between the Kona Citrus and the Kona Banana I was using for the cereal.
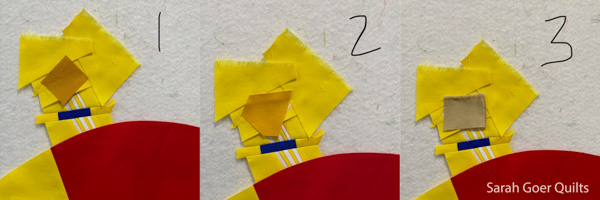
I auditioned three more colors for the cereals and settled on Kona Grellow (#2).
Ah, much better.
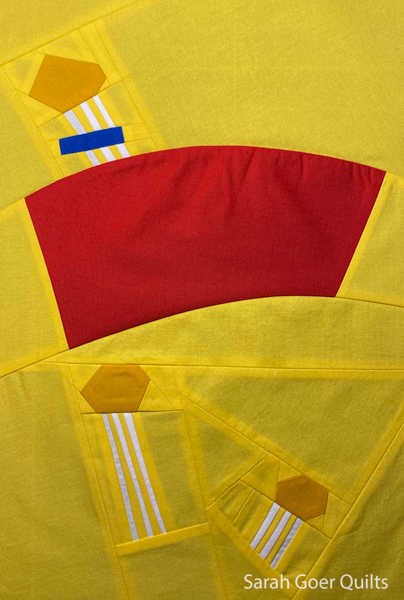
I added two more "moving" pops to the bottom section to represent the area with the cereal bowl (which I omitted). My block is 10 1/2" x 15 1/2". I left it a little big so Ellyn could decide how she wanted to trim it down.
These were so fun to make and I look forward to seeing the whole cereal aisle on Ellyn's finished quilt.
If you were to make a cereal box quilt block, what cereal would you choose? Is there a particular element that you think would be fun to recreate?
