Way back on July 20, I started a new 100 Day Project. I knew that with everything I had going the scope of my project would need to be lightweight and flexible. I also wanted a more focused scope than the last 100 Day Project (which morphed over time and I stopped after day 49).

I chose for this new project to be 15 minutes of sewing daily to work on expanding my series of Improv Log Cabin mini quilts that I started at the beginning of the year. 15 minutes a day meant some days I would be piecing. Some would be quilting, or making binding, or even just choosing fabrics. Forward momentum daily. For consistency, I would continue making 16 1/2" x 16 1/2" mini quilts. Why these dimensions? Because I have a ruler that size and a fat quarter can easily be used for backing fabric. Win win!
The first two in the series were created in response to Project QUILTING prompts in January and February. In each of these quilts I had limited myself to a palette of black, white, and one color. My bindings were solid black.
Generally speaking, I gravitate to the design and piecing steps of the quilting process. A finished quilt top can hang around for a long time in my life. The flexibility of this project allowed me to just piece quilt tops for the first many days. On day 30, I finished my 4th quilt top and decided it was time to switch gears so I'd have some finishes before day 100. On day 56, I finished my second mini quilt, the one I'm sharing with you today.

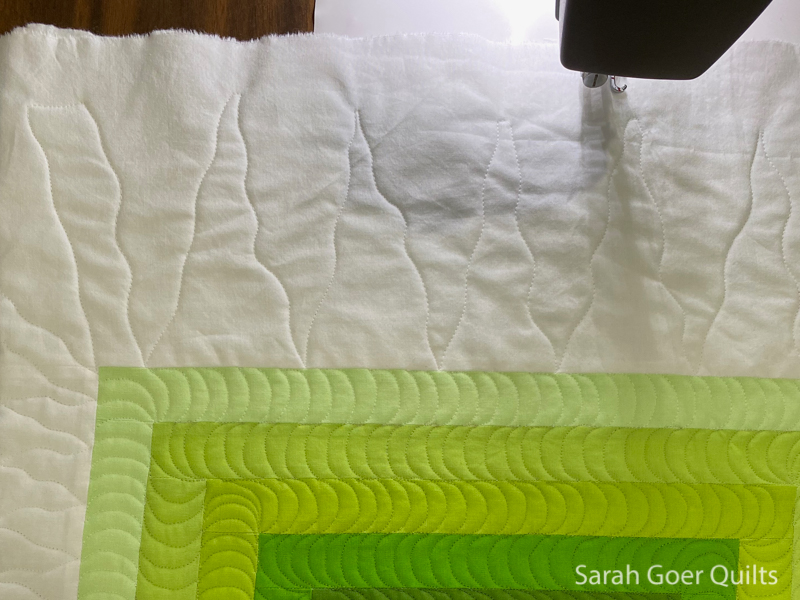
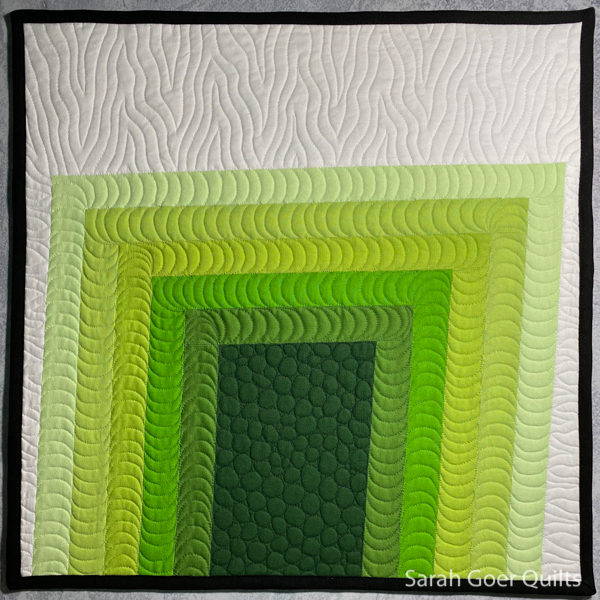
I chose a variety of values of green Kona and white in order to maintain my "black (the binding), white, and one color" rule. This is the first quilt in the series to be entirely solids (on the front). The logs of my 3/4 log cabin are 1 inch wide (finished). I chose nested Cs for the quilting, alternating direction for each color. The center was filled in with pebbles. (This is infinitely easier now that I own an open toe free motion quilting foot for my machine.)
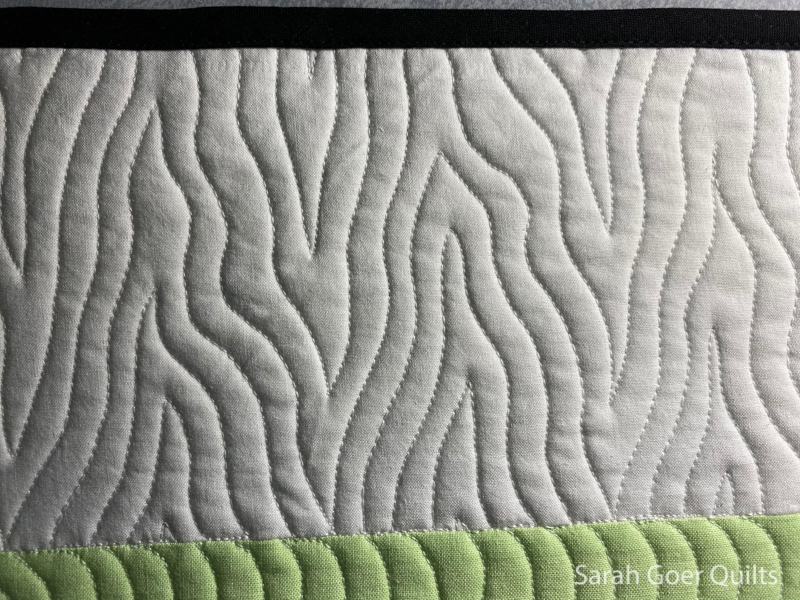
The white background was filled in with wavy triangles. These were created by first making the large wavy zig-zag (see below) and then filling in on each side with echo quilting.
It just takes a little bit of free-motion quilting for me to remember that I really do enjoy it. I favor motifs like the wavy zig-zag that are more organic, and therefore forgiving. But I just can't resist the siren call of more precise and picky designs. Even if my work isn't perfect, the resulting texture is so rewarding.

I chose to match my thread to each fabric. My lightest green fabric was lighter than my lightest green thread, so I used white thread on both the lightest green and white fabrics. Left to Right these are 50wt Aurifil Forest Green (#4026), Very Dark Grass (#2890), Grass Green (#1114), Spring Green (#1231), Light Avocado (#2886), and White (#2024).
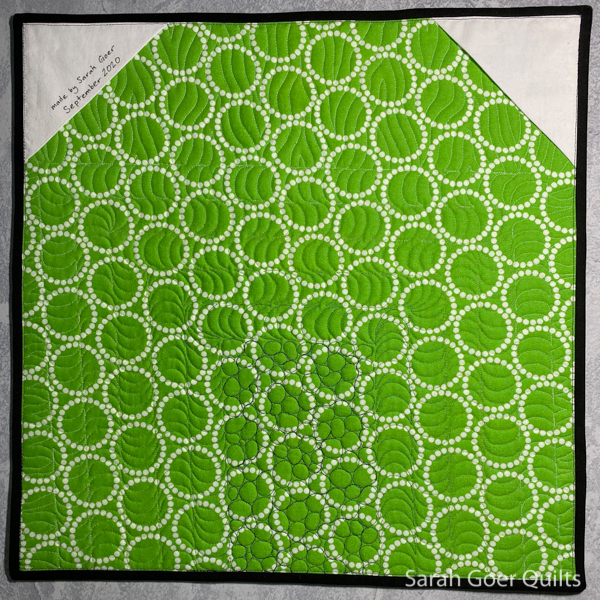
I'm backing my mini quilts with fat quarters from my stash in coordinating colors. I chose Mini Pearl Bracelets for this one. (I look forward to using the scraps of this fabric in a future project.)
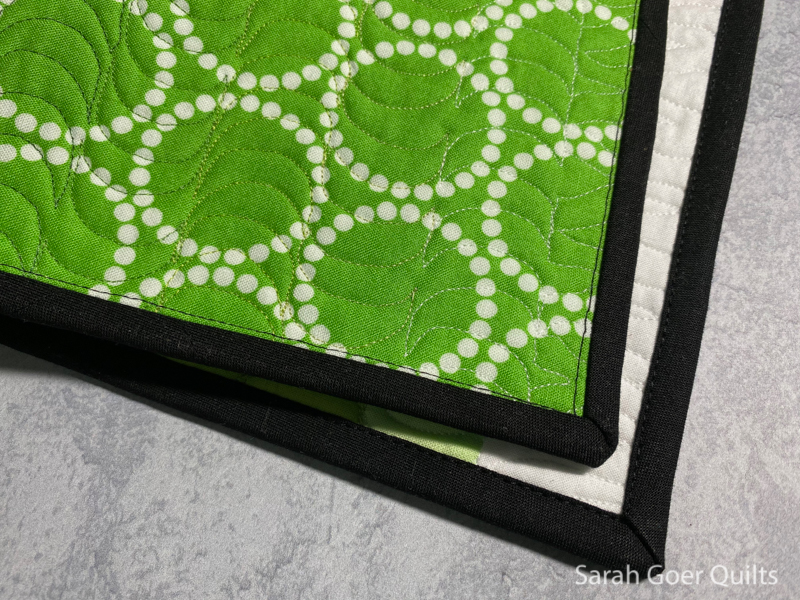
The quilt is machine bound in solid black.
I would really love to work with this design again either on a larger scale or making a block-based quilt with a bunch of these blocks.
I have two more quilt tops to quilt up and bind. Then maybe I can squeeze a 5th mini quilt into these 100 days.
Have you done a 100 Day Project? What was the scope of your project? Did you enjoy it? Where there parts of the project that you found challenging?
You can read all about the other quilts in the series here: