'Tis the season for gift giving... and for makers, 'tis the season for finishing up those handmade gifts. For our final Show Me Something linkup of 2020, I'd like to see what you're giving this holiday season. Please share your handmade quilted and sewn gifts. I promise not to spoil the surprise. (Or come back and post after your gift has been delivered.) Still not sure what you'll make? Here's a list of some of my favorite, fast handmade gifts. And remember, you can like up gifts of years past as well. :-)

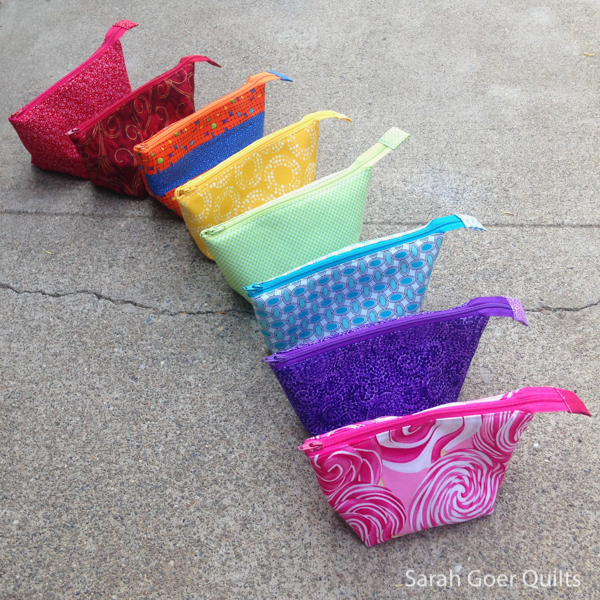
I have some go to gifts I make over and over, including the Open Wide Zippered Pouch...

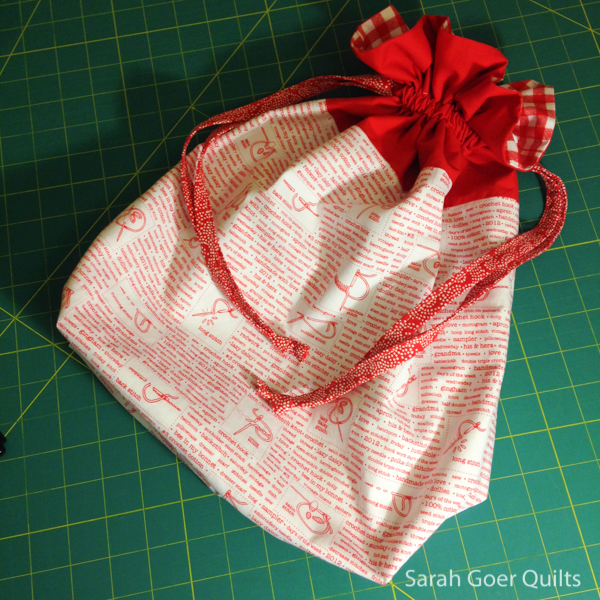
...and the Lined Drawstring Bag.

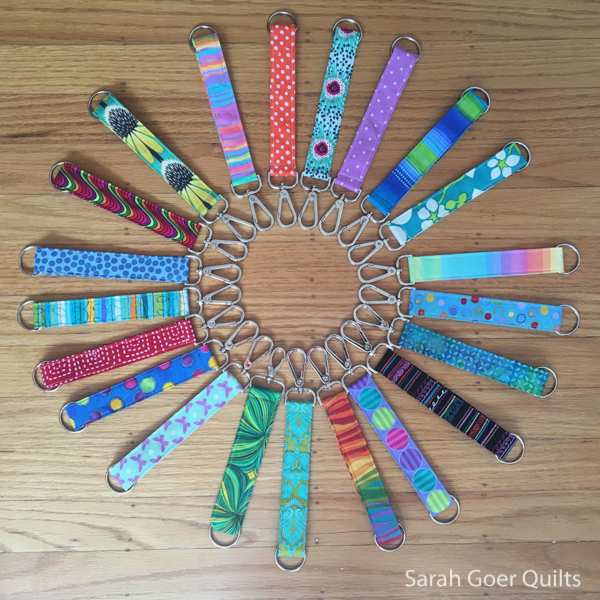
One year I made a ton of key fobs.

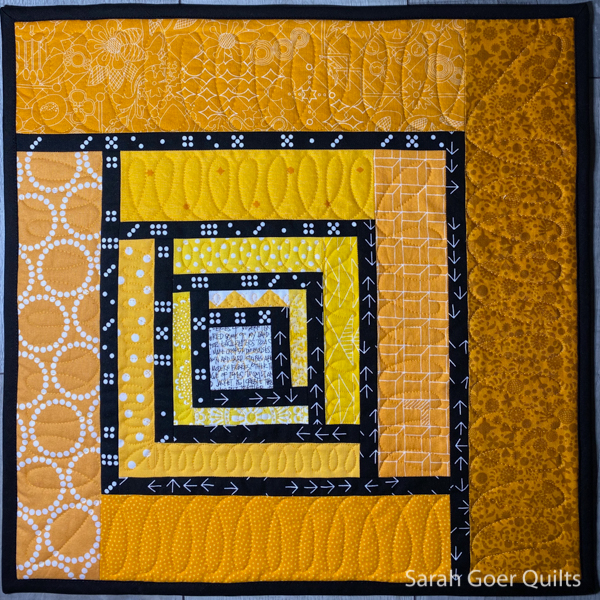
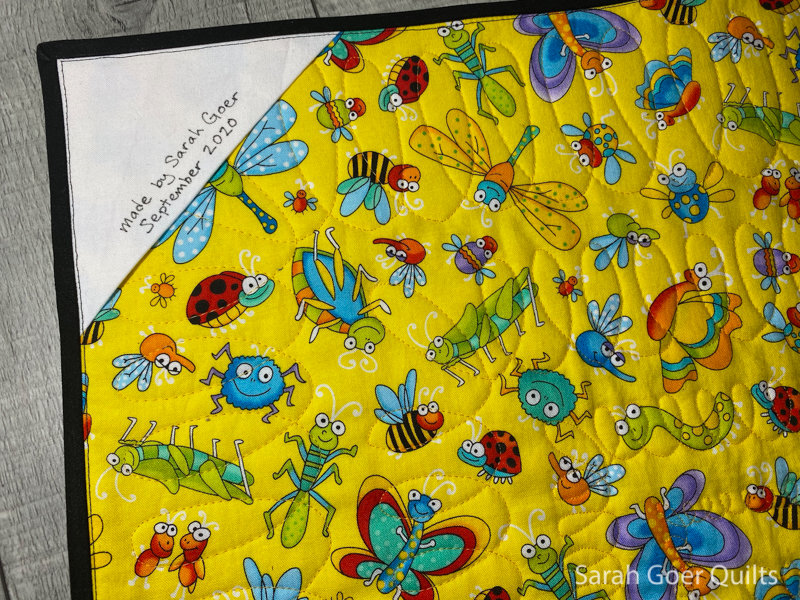
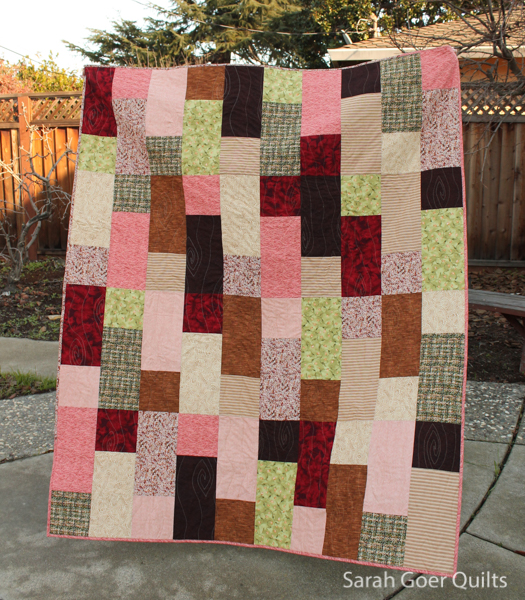
And of course, I love to give a cuddly lap quilt.


Here are the linkup details:

  • The monthly Show Me Something quilt linkup will start on the first of the month and continue until midnight (PST) on the last day of the month.
  • You may linkup a maximum of 3 new or old finished projects that fit the theme.
  • You may linkup a blog post or Instagram post.
  • If you linkup from a blog post, please link back to this post in your post. If you post from Instagram, you can tag me @sarahgoerquilts.
  • Visit others in the community who share their projects... and leave comments. :-)

You are invited to the Inlinkz link party!

Click here to enter


2 Comments

We are two weeks into Quilting the Countdown 100 day project. I'm spending at least 15 minutes a day working on my Patchwork City blocks, a project I started in 2015.

I finished 2 blocks this week, bringing me to 32 out of 75 blocks complete. The finished blocks feature Kona Cyan.

Here's what a trio of one color of blocks looks like. There will be sashing between them, but I haven't decided what fabric I'm using. I'm leaning toward a light grey.

Sometimes progress looks like getting everything out of all the boxes and getting organized... and realizing you're missing a color that you must have borrowed for something else. I did later figure out what three blender prints should go in the missing spot and I have three Kona solids on order to find the best fit to go with them.

At the end of week two I started cutting six more blocks (in two colors). I like to work assembly line style, choosing all my fabric placements, then cutting a bunch of blocks, then sewing them up. I think they go pretty quickly this way.

Check out my week 1 progress.

If you are on Instagram, you can follow Cassandra, the organizer of Quilting the Countdown. She's making orange triangular blocks and regularly sharing others' projects in her IG stories, which is a great way to see the other participants' work since hashtags are still a little wonky on IG. You may be able to see more at #quiltingthecountdown. The beauty of the countdown is that you can join in whenever you'd like.

Let me know if you're participating. I'd love to see what you're making.

8 Comments

I shared the first of my five mini quilts completed during my 100 day project a couple months back. The project I actually started piecing on day 1 back in July was this yellow quilt. Day 1 started with these first five pieces sewn together.

I'd started the project with a plan for the color palette (black, white, and shades of yellow) and the intent to make a log cabin that would finish at 16 1/2" square. I'd chosen the three black and white prints you see here, and before I started cutting or sewing I thought this version would be a quarter log cabin and chose the text print to be my starting corner. (This was about the largest square I could cut from the scrap of this text print.) As I added the black prints, I opted to fussy cut the placement of the dots and arrows. And I started with my lightest and brightest yellows. My black logs finish at 1/2" wide because that's what worked with the prints.

When I came back to it on day 2, the text print no longer wanted to be in the corner so I started building on all four sides of the log cabin. I kept my black logs at 1/2" finished and decided my yellow logs would get larger as I went. The first four yellow logs (one on each side) all finish at 1/2" wide. I also continued the pattern of adding the black to two side, then the yellow to the same two sides before I moved to the opposite half of the block.

Sometimes I lay my fabrics out to get a visual of where the fabric placement will me. I snap a quick photo as reference. Since I often work on multiple projects at once, you can see my pink/coral/white/yellow solids for some bee blocks peeking out from underneath.

My final design choice was to finish with the log cabin off center. At some point I did the math to determine the sizes of my yellow logs so the quilt would finish at 16 1/2" square.

I free motion quilted with Aurifil 50wt Yellow (#2135), beginning in the center with a daisy, then cursive l's (in increasingly larger sizes) in each yellow log.

I used corner triangles for my label and to use for a hanging rod and machine bound with Kona black. Keeping with my system of backing the quilts with a fat quarter from my stash, I picked this bug print since the front reminded me of a bumble bee.

I'll have to write in more about the 100 Day Project and the Improv Log Cabin series on my label, but the essentials are there, name and date completed.

You can see the other quilts in the series here: