'Tis the season for end of year wrap-up posts. This is the first of three days of end of year posts that have become the tradition of my blog. Thank you to Cheryl of Meadow Mist Designs for once again hosting the Best of... linky party. This is my 9th year participating by sharing my five most popular blog posts that were published in the current year.

- 2 Years of Quilts Unscripted Bee - 3219 pageviews
- Cereal Box Bee Blocks - 593 pageviews
- Just Two Charm Pack Quilts – Book Hop - 476 pageviews
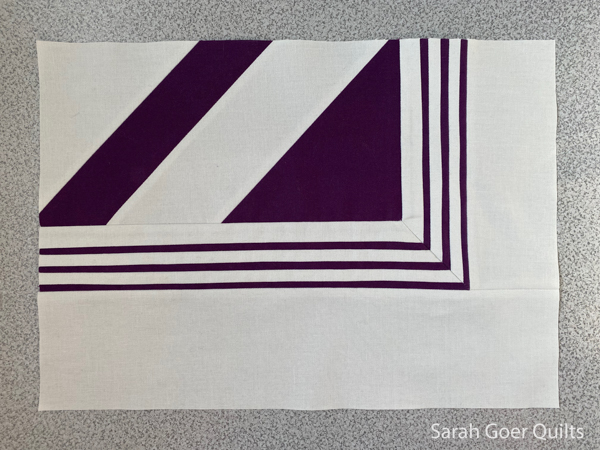
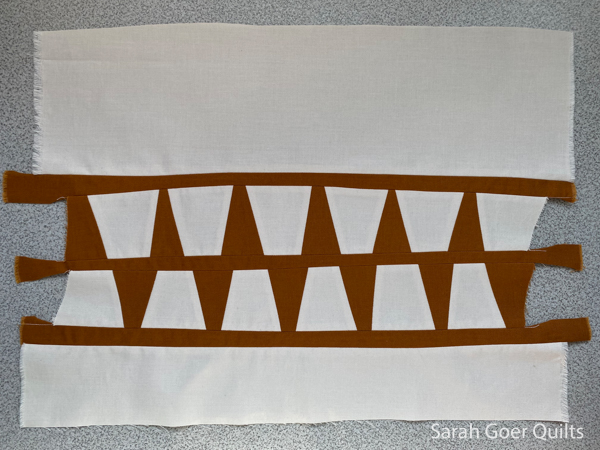
- Project QUILTING 14.5: Sew Not a Square - 470 pageviews
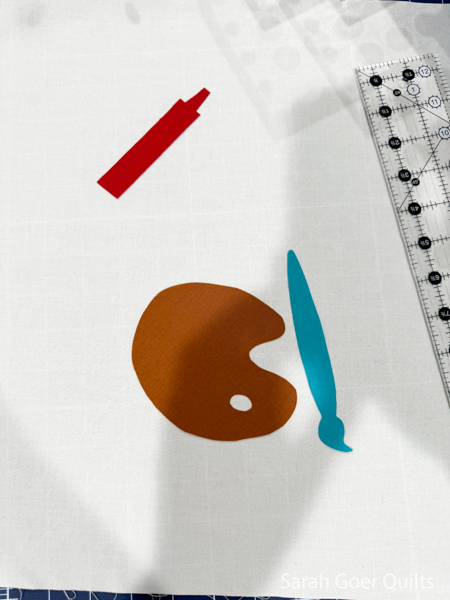
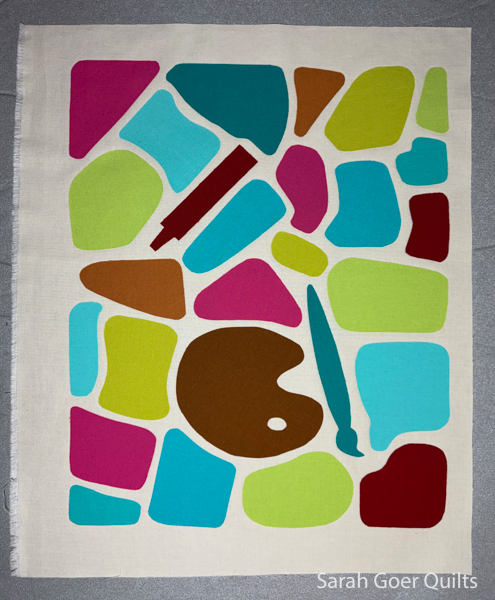
- Project QUILTING 14.4: A Novel Project - 396 pageviews
Visit my Best of 2015, Best of 2016, Best of 2017, Best of 2018, Best of 2019, Best of 2020, Best of 2021, and Best of 2022.
I'm linking up to Cheryl's Best of 2023 Linky Party.

If you'd like to keep up with what I'm up to, be sure you sign up for my newsletter. I include color and design inspiration from around the web as well as info about what I'm working on and where I'll be teaching.