Tag Archives: bee block

4 Comments

For March, Emily asked us to make improv Sawtooth Stars and to set them within our choice of improv pieces to make blocks approximately 8" x 16". And she asked us to use some pink.
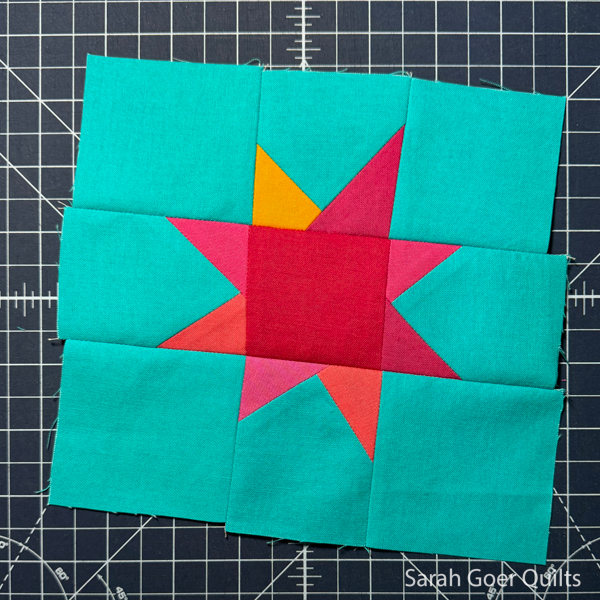
The first thing I did was to sew an improv Sawtooth Star (my favorite traditional block). I couldn't decide on just one pink, so I chose a variety of pinks for the star with a pop of yellow, all set in a turquoise background.
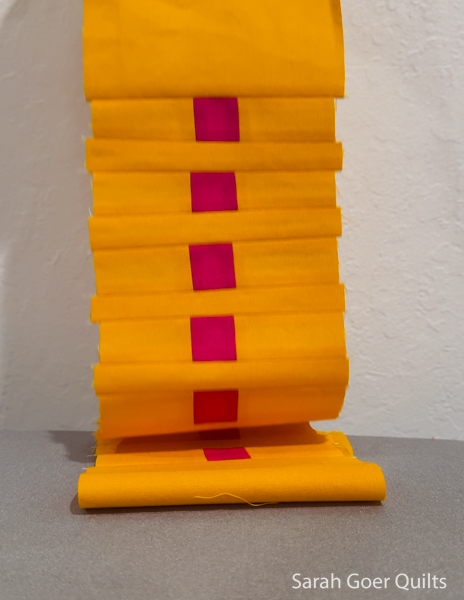
Then I got to work on some improv piecing. I started with this row of pink squares. This is the playful stage of improv where I have no preconceived plans and I'm just putting parts together.
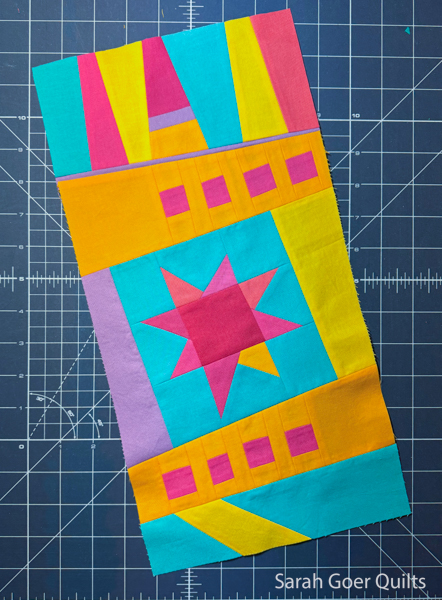
I decided to angle my irregular sawtooth star in my larger block and added sections to each side of it. Then I used my strip of improv squares to add to the top and bottom. I continued to build out from there until I got up to approximately 8" x 16". I'm excited to get this block in the mail to Emily.

P.S. Quilts Unscripted Bee now has an Instagram account. Please follow if you'd like to see what everyone is making for the bee.

In June, Chris shared photos of Pueblo pottery as our inspiration for improv piecing our blocks for her. Her husband has the book From This Earth: The Ancient Art of Pueblo Pottery by Stewart Peckham which inspired her prompt. She asked us to make 1-2 blocks that could be square or rectangular and around 12-13" on one side. Our palette was to Kona Natural, Bone, Ivory, Haze, or Dove for the background and Kona Hibiscus, Crimson, Roasted Pecan, or Indigo for the features color, or similar.

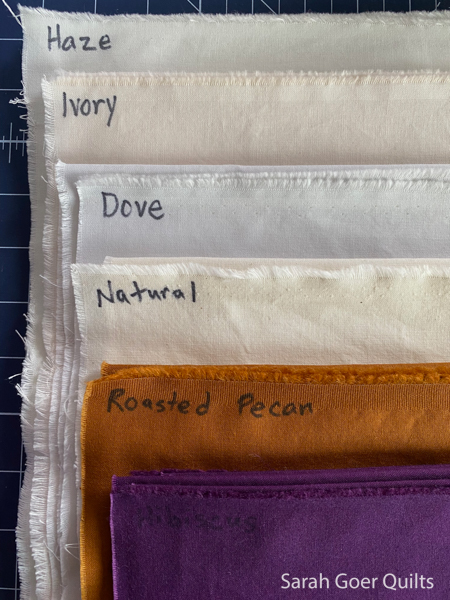
These are not colors typically in my stash so I took the opportunity to add to my solids and placed an order. Here's what I got. (I label the selvage of my solids in Sharpie so I know what is what.) When my fabrics arrived I really loved all the light neutrals together. I may circle back to using them all together in some way.

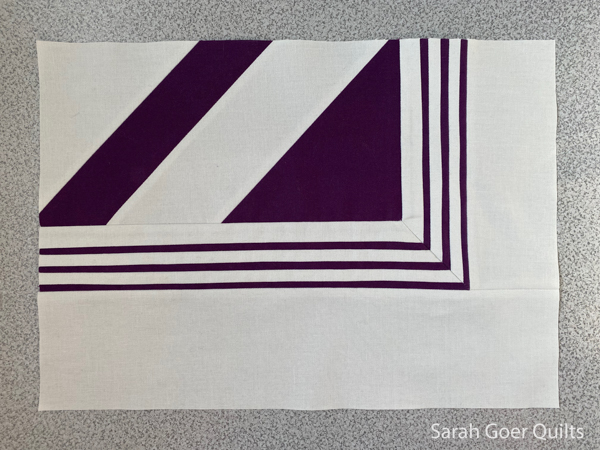
For my first block, I settled on Haze and Hibiscus. There was an image with skinny stripes in a stair step pattern that caught my eye.

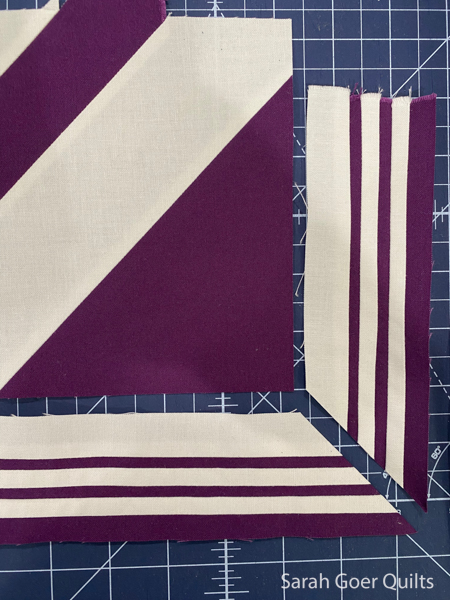
These are my initial pieces. My purple skinny strips finish at 1/8" wide. I wanted to join them at a right angle so I cut two sections of my strips at opposite 45 degree angles. The section in the upper right is larger color block sections. This resulted in a y-seam.

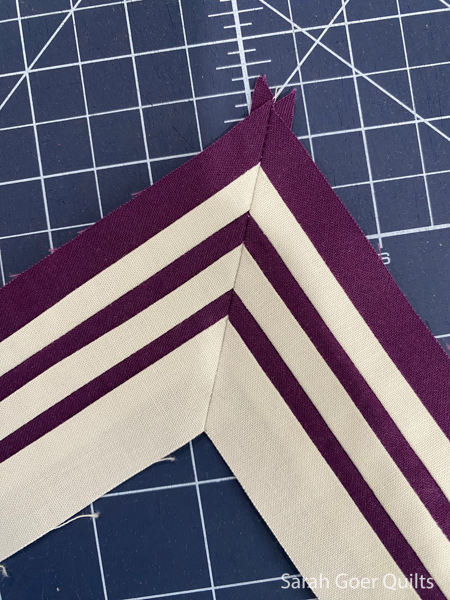
I started by piecing my strips on the 45 degree angle seam, figuring I could be more precise with matching up my purple strips if I sewed this seam first.

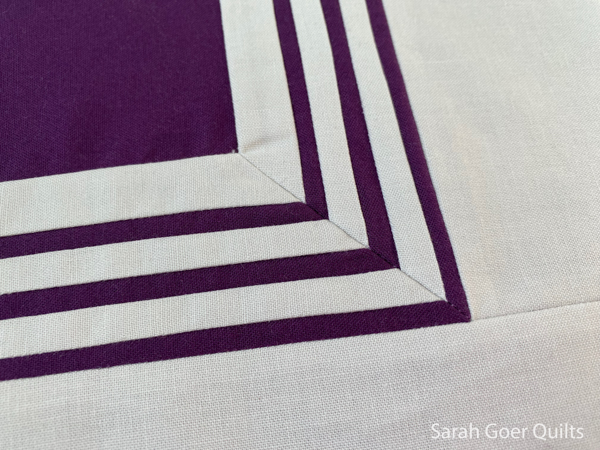
Next I pieced in the center section and added more background around the right and bottom sides.

Here's my finished block. I think it finished at about 10" x 14".

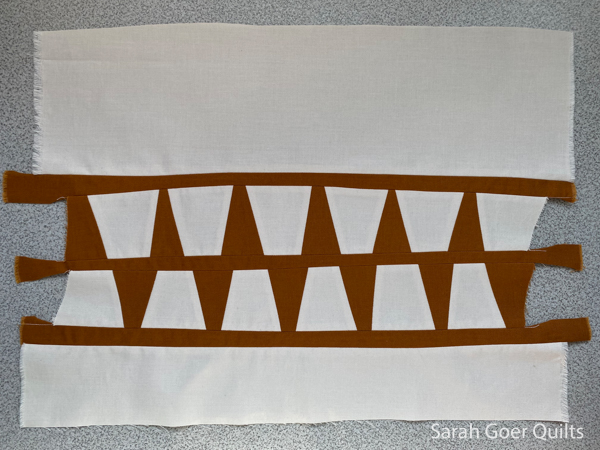
For my second block, I chose Ivory & Roasted Pecan. I picked a small section of one of the designs that made me think of improv triangles.

Here it is before trimming up. I paired my improv triangles with smooth improv curved piecing. It's slightly larger than my first block.

I hear Chris is working on her quilt and look forward to seeing it come together!

Things were a little different last month in the Quilts Unscripted Bee. Sarah asked that we take inspiration from tile quilts and use raw edge appliqué for the construction of our blocks.

Sarah was inspired by this article from Quiltfolk about tile quilts and wanted our help to make a present day version of a vintage tile quilt. She asked that we work in all solids, that our background be a light neutral, and that we use colors from this photo as inspiration for our tiles: teals, red/pinks, lime/yellow greens, and a bit of warm brown/gold.

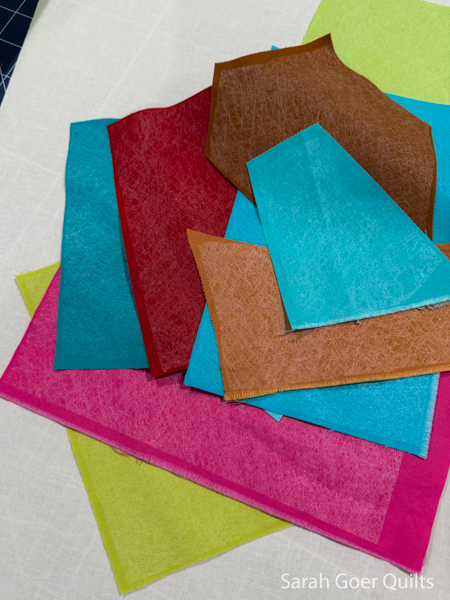
I love the palette Sarah chose and selected my fabrics. I used Ruby and Bee Vanilla Custard as the base for my block. The Kona solids that I chose for my tiles were: Chinese Red, Bright Pink, Jade Green, Splash, Capri, Sprout, Limelight, Roasted Pecan, and Gold. I applied Mistyfuse to the back of all my fabrics.

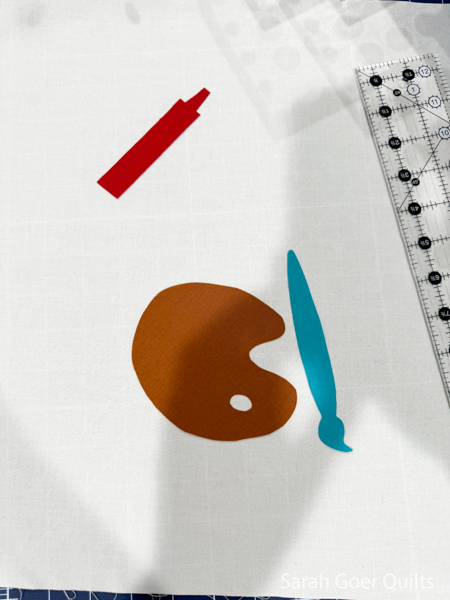
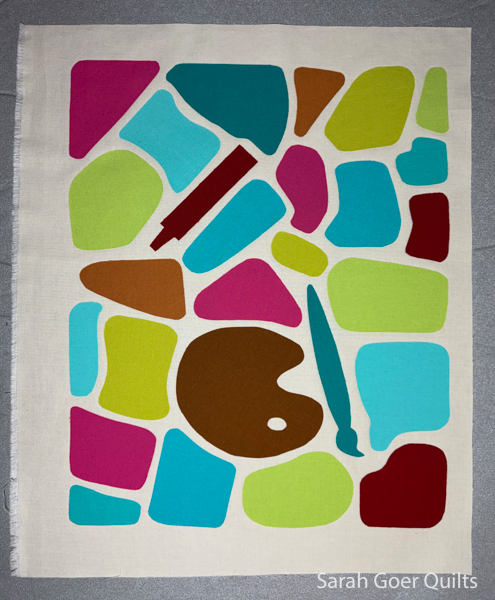
We were encouraged to use letters or object shapes to incorporate things that represent us. I started with a paint palette and added a paint brush (with the help of my daughter on how to draw a paint brush) and a crayon. Then I set to work filling in the space around my feature shapes.

My finished block has a feature area approximately 11"x 14". I enjoyed the puzzle of filling in the space around my shapes.