Reassessing the List of WIPs
Sometimes WIPs don't exactly align with our current priorities. Sometimes we fall out of love with a project. Sometimes a project was really about learning a skill and once that skill was learned, the project no longer seems relevant. Regardless of the reason, it makes sense to reassess the project list from time to time.
Maybe you've seen my gargantuan WIP list. It's crazy. It's overwhelming. But every time I looked at it, I was still interested in finishing the projects. Or, at least I wasn't uninterested in finishing them. However, as we approach the new year, I've been thinking about what my goals are and what's keeping me from those goals. I have some changes to the blog in the works, and I'm working on my first quilt pattern. Realizing I don't have time to do everything I "want" to do, I decided to once again take a hard look at my WIP list. I asked myself some questions:
- Have I already learned what I need to from it?
- Is it in the style I'd most like to be known for?
- Do I love it?
- Is it a priority?
Then I looked through my list again and considered my answers. There are 12 projects I hope to finish this quarter. (I recognize that this is a really big, crazy goal.) So far I've finished four quilts, so I'm technically kind of on track (though they were the four smallest projects!). I'm sending another one out to a long arm quilter. That still leaves many to choose from when looking to trim the fat in the 33 quilt WIP pile.
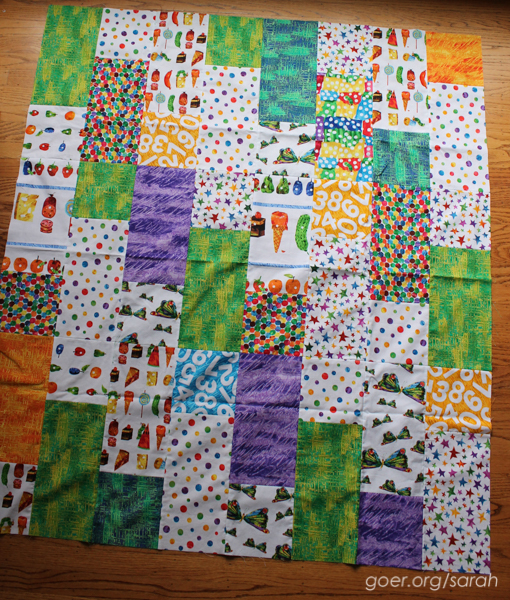
These three will be the first to go. All three of these projects will be donated to philanthropy at the Bay Area Modern Quilt Guild. They've already left the sewing room. Yay, progress! On the bottom of the pile is a Very Hungry Caterpillar quilt top that has been finished since January.
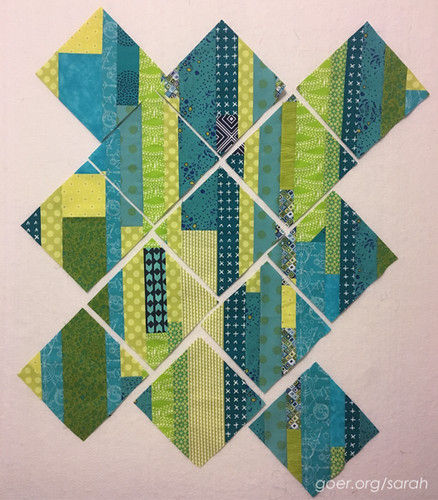
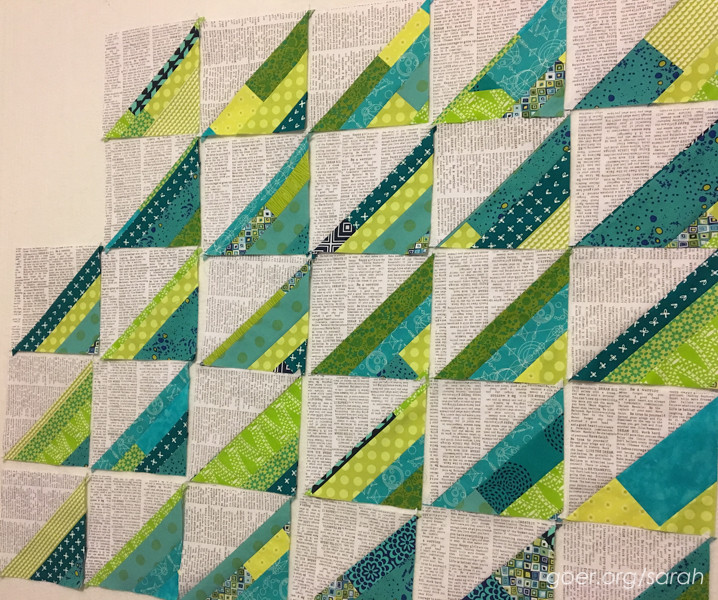
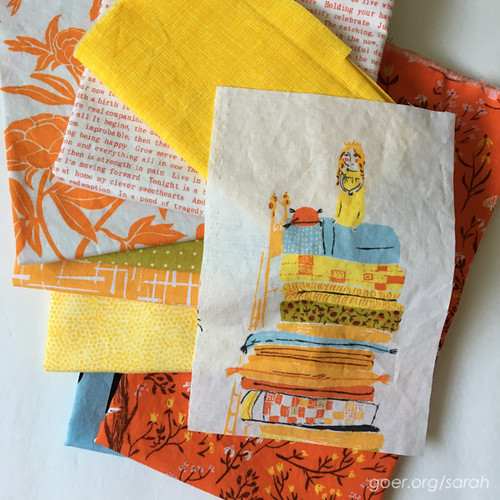
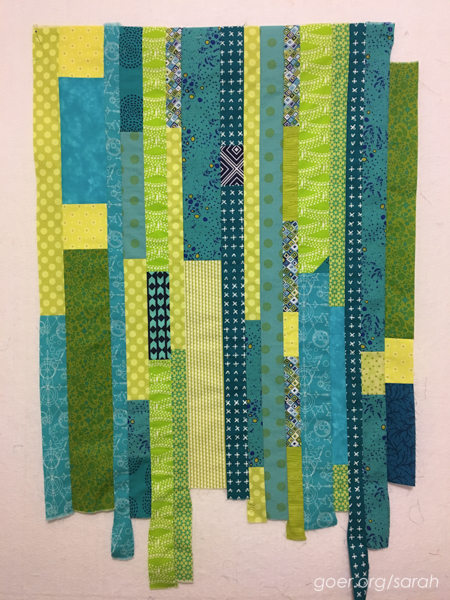
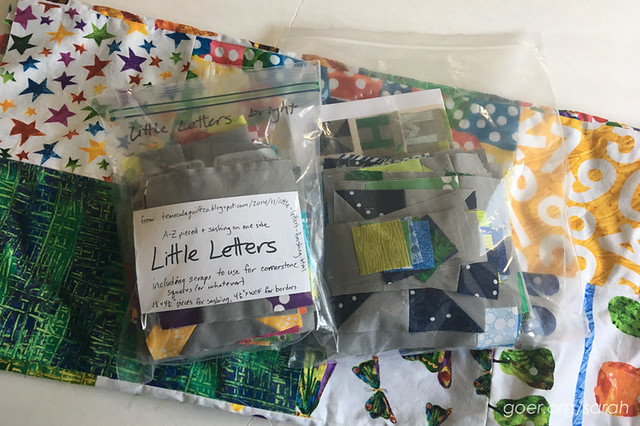
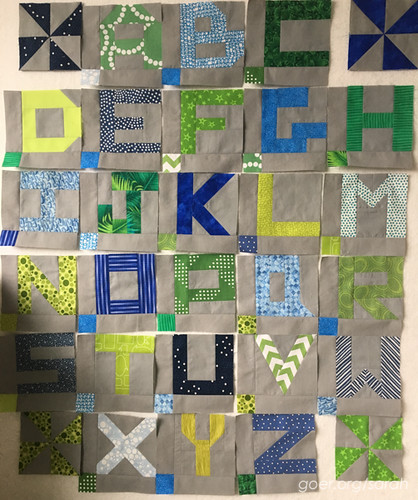
The two bagged projects are from the Little Letters tutorials from Temecula Quilt Company. The blocks are all made for both sets (one in bright colors, one in blues and greens) but neither project has a recipient. It should honestly be pretty quick to finish the quilt tops which is why I couldn't part with it previously, but there are just so many projects with a higher priority for me. And I'd much rather see these finished and donated. I included notes with each of these kits, as well as the link to the finishing page of the tutorial. It'll be up to the new makers whether they finish them as I had intended or reimagine the projects. I look forward to seeing how they turn out. Here's the current state of the blue and green project.
Bee Blocks
Also in the interest of cutting back, I've decided I won't be participating in any quilt bees in 2017. That leaves just this month in do. Good Stitches (where Jaime has chosen a rainbow variation of my Watermelon Plate block) and two months in The Bee Hive.
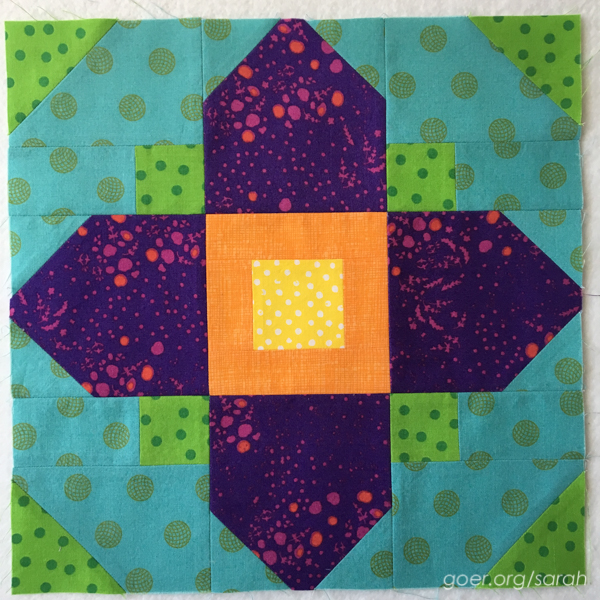
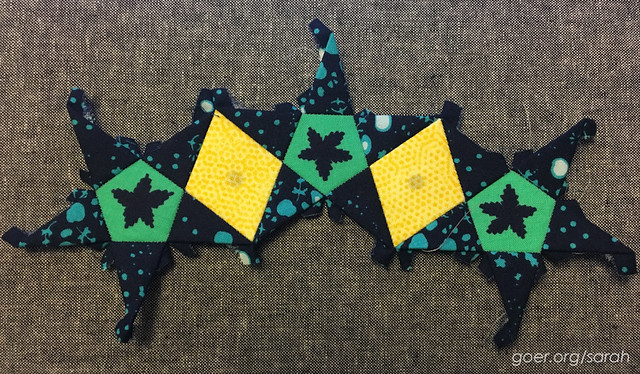
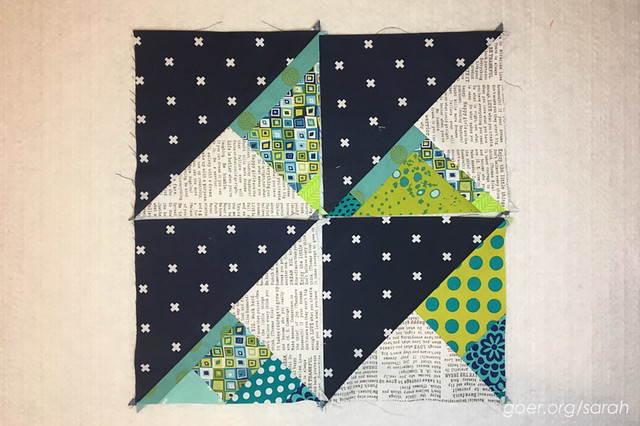
For October, Laura chose the Quatrefoil block in The Bee Hive swarm Tisha, and her inspiration was water lilies. The background of the block has become the water, with a center flower and leaves on the corners. The flowers are a variety of water lily colors (pink, purple, white, yellow). I love this variation with the blue background instead of white. I wonder if Laura will fill in with some solid blue blocks mixed in with the lily blocks like you would see open water between the flowers in nature.
Heather Ross Swap
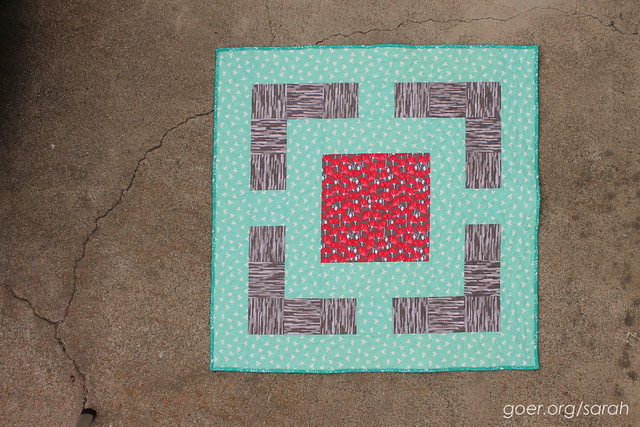
Nothing like a deadline. This week is shipping week for the Heather Ross Mini Swap on IG, so I had to finish up my mini. Unfortunately I had a problem in the quilting stage. I pieced the backing from two pieces of fabric and then failed to double check that my top was placed correctly. This resulted in a 1/2" x 12" edge of the quilt that the backing didn't cover... and I didn't realize this until I'd already quilted half of the quilt. :-P

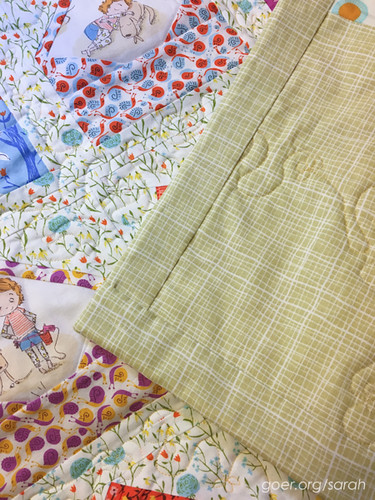
I was unwilling to rip out quilting stitches, so it was time to get creative. Sadly, it was too big to be covered by normal binding. So I decided to do a faced binding, a way of binding the quilt that doesn't show from the front. I've been wanting to learn this new technique for a while, and while I was considering a regular binding I couldn't decide what fabric to use. Faced binding was the perfect solution. My friend Mel pointed me to this tutorial by Victoria at The Silly BooDilly. It was easy to follow and I took Mel's advice to press the 1/4" seam before attaching the binding strips. (I ignored her advise to glue baste out of laziness. ;-)) The faced binding did involve hand stitching to sew down the binding on the back, but that step went pretty quickly. Here's a view of the back.
Full reveal of my swap package on Friday! ;-)
Thank you for visiting. What are you working on this week?
I'm linking up to Midweek Makers and Needle and Thread Thursday.