Tag Archives: Quilts Unscripted Bee

2 Comments

I love an opportunity to play and my monthly improv bee blocks always offer me that chance.

In May, Ellyn selected a happy palette of colors for us to play with. Her theme was Shine. She shared this quote along with her prompt:


"In order for the light to shine so brightly, the darkness must be present."

--Frances Bacon


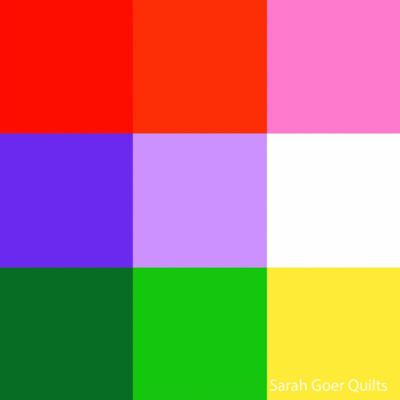
Together with the theme of Shine, Ellyn asked us to use a variety of saturated sunshiny colors (inspiration list below) with a little Kona Lagoon (a turquoise which she provided) in each block.

Oranges: Tangerine, Kumquat, Orange, Orangeade
Cool Pinks: Bright pink, Candy pink, Sassy Pink, Bubblegum, Carnation, Peony,
Pink
Warm Yellows: Papaya, Sunny, Duckling, Corn Yellow, Canary

Pretty early on I knew I wanted to do something with radiating lines. Then I decided on a ring made of radiating lines. Here's the process on my first block:

My first step was to sew together wedges to make an approximate circle of fabric. I wasn't planning to use the center so I didn't concern myself with everything coming together neatly in the middle. I pressed my seams open (my general preference).

Using templates (not shown) I cut a hole out of the center of my pieced wedges and a coordinating piece of yellow to fill in the hole. Due to the bulk of the pieced seems I pressed this seam to the center. (You'll see that below.)

My next step was to use my template to cut the outer edge of my ring. I drew my templates on the dull side of freezer paper so I could iron the shiny side in place in order to cut my fabric.

You can see above that I cut with 1/4" seam allowance around that template piece. The marks you see were registration marks I transferred to my fabric on both pieces to use for lining things up and pinning in place.

Here's a quick peek of the back at this point. One thing you might notice here is that there are two lines on stitching on that first seam around the center yellow piece. This is because I did a stay stitch on the inner edge of the ring, 1/8" from the edge, before attaching it onto the yellow. I was worried since the ring was the concave edge for the next seam. When sewing curves together the concave piece gets stretched a bit. This stay stitch meant I didn't pop the seams in the ring. The important part of the stay stitch was across the seams, so on the wider strips of fabric I broke the thread so I could do the necessary stretch while sewing that seam.

My final step was to attach the background yellow and trim the block to about a 12 1/2" square.

The second block that I made for Ellyn is composed of improv quarter circle blocks with filler pieces to bring the block up to 12 1/2" square.

I hope you have a sunshiny day!

I share my work over on Instagram @sarahgoerquilts. Here are my top nine posts (based on "likes") from the year. Bold colors, bee blocks, Project QUILTING, and QuiltCon.

  1. Nametag (and Project QUILTING 15.4 project)
  2. My Creative HSTs quilt hanging in my entryway
  3. About to give my Rules and Options of Planned Improv Piecing lecture at QuiltCon
  4. Throwback post about Project QUILTING
  5. In Raleigh, NC for QuiltCon
  6. My Machine Binding Tutorial (find it here!)
  7. Improv bee block for Jenn
  8. Improv bee block for Emily (reel)
  9. Fresh hair color and #helloquiltcon

You can view past Top Nines for 20182019202020212022, and 2023. Thanks for visiting!

4 Comments

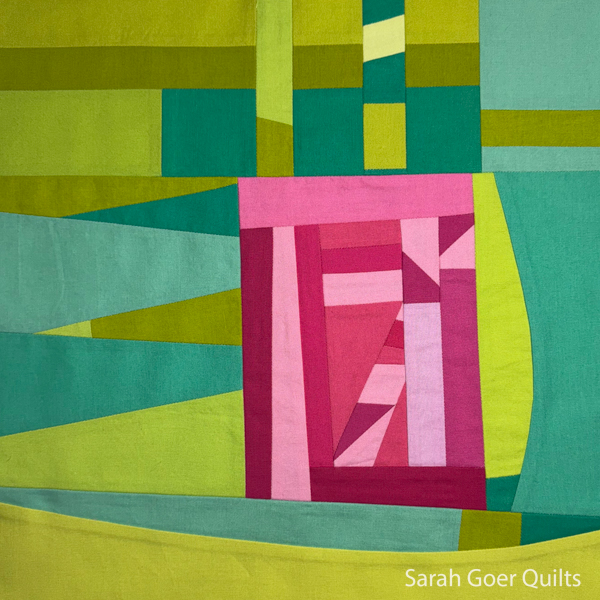
For March, Emily asked us to make improv Sawtooth Stars and to set them within our choice of improv pieces to make blocks approximately 8" x 16". And she asked us to use some pink.

The first thing I did was to sew an improv Sawtooth Star (my favorite traditional block). I couldn't decide on just one pink, so I chose a variety of pinks for the star with a pop of yellow, all set in a turquoise background.

Then I got to work on some improv piecing. I started with this row of pink squares. This is the playful stage of improv where I have no preconceived plans and I'm just putting parts together.

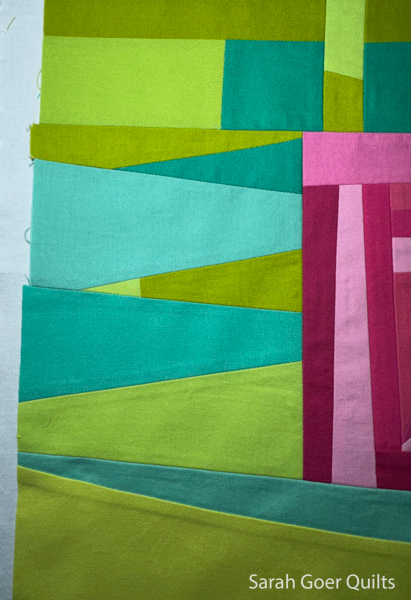
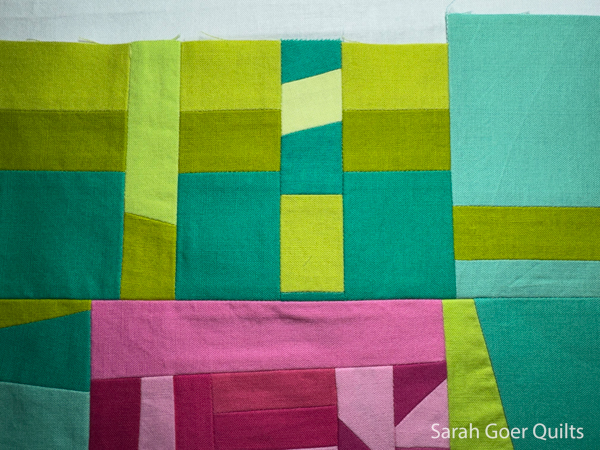
I decided to angle my irregular sawtooth star in my larger block and added sections to each side of it. Then I used my strip of improv squares to add to the top and bottom. I continued to build out from there until I got up to approximately 8" x 16". I'm excited to get this block in the mail to Emily.

P.S. Quilts Unscripted Bee now has an Instagram account. Please follow if you'd like to see what everyone is making for the bee.