
I love Project QUILTING season. This week's challenge is Blank Slate. I had a plan for small quilts this season. And thought I would use fusible appliqué for a change. And Blank Slate even lends itself to that since I could start with a base layer of white fabric. But... I am bringing you something outside the box! Today I made this:
I imagine your first thought here is that this isn't a quilt. I do realize I've taken some liberties, but hear me out. Doesn't that open book of blank pages read as a Blank Slate to you? And Project QUILTING has minimal requirements beyond the theme:
"Your project does not need to be a traditional quilt, but must meet at least one of these three requirements:
- include patchwork
- include appliqué
- have 3 layers stitched together by hand or machine."
Do I have patchwork? Nope. Appliqué? None of that. But were 3 layers stitched together by hand or machine? Why yes, yes there were!
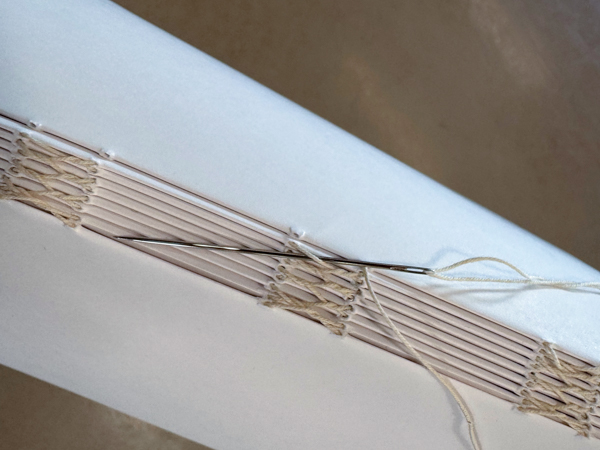
The longest part of the process was actually prepping the pages for the book. This started with folding all the A4 papers in half, putting them together into signatures of four sheets of paper (which each become 16 pages of the finished book), punching holes along the fold with an awl, and then stitching it all together with many, many hand stitches.
We learned the French link bookbinding stitch, which would be really pretty on a book without a spine covering it up. Then we finished it up by covering it to have a fabric book cover.
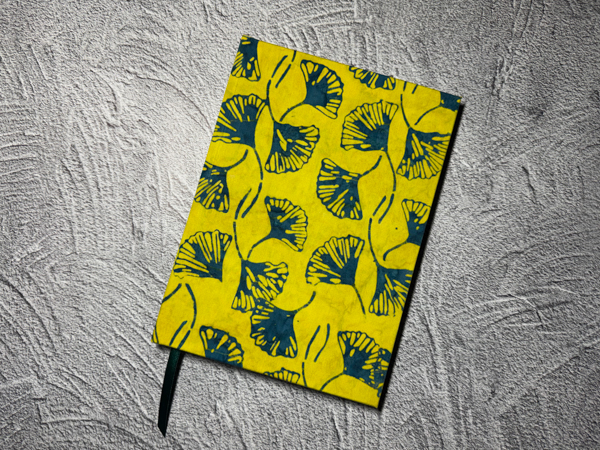
I had settled on a lovely medium blue cover fabric with a pretty floral endsheet paper in soft blues, pinks, and lavenders. It coordinated nicely. But it just didn't feel like me. So I went back to the table in class to see what the other options were. That's when I saw the peacock endsheets. In the end, I chose this cover fabric to go with it for a few reasons. It was actually the first cover option that grabbed my eye at the beginning of class, it felt "me" in color, and it would be significantly easier to find laying around the house than a medium blue cover. And it didn't not coordinate with the colors in the peacock paper.
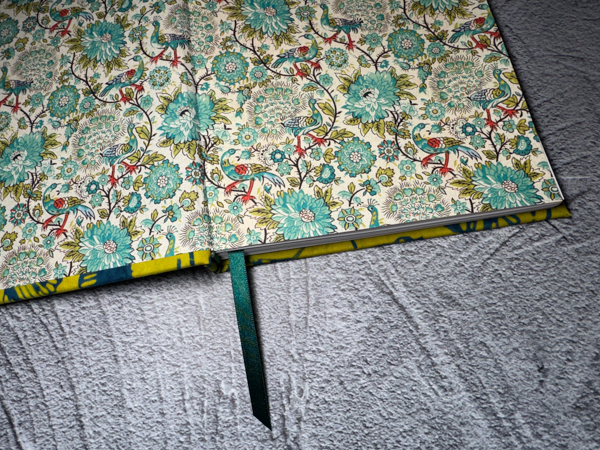
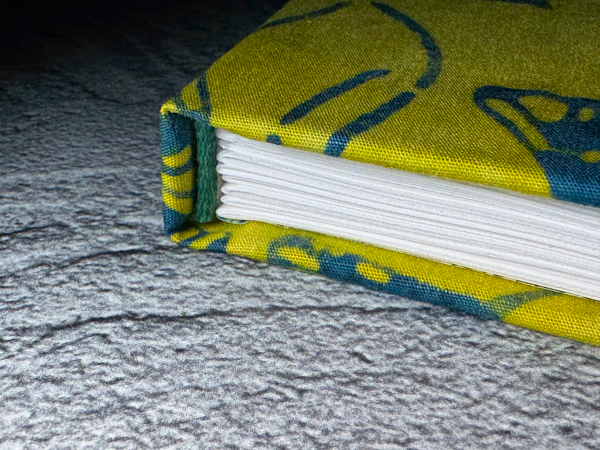
I loved learning all the vocabulary for the different parts of the book. I was already familiar with signatures (the sections of pages -- you can see them below) from my time as a yearbook student and teacher. That little green piece at the edge of the pages near the spine that you can see below is a tailband. The book also has a headband at the other end (not shown) near where the bookmark ribbon comes out. It's similar to twill tape, but has a decorative little bit for the part that sticks out.
It was a lovely class and I have no idea what I'll use my new book for. Yes, it feels too nice to use. I'll have to get over that.
I learned the process of bookbinding about 25 years ago (and only made a few books). With my foray into mixed media collage in recent years I've been itching to make books again, so this was the perfect re-introduction. This book is fancier than the ones I have made in the past. Huge thank you to Sarí who ran the class.
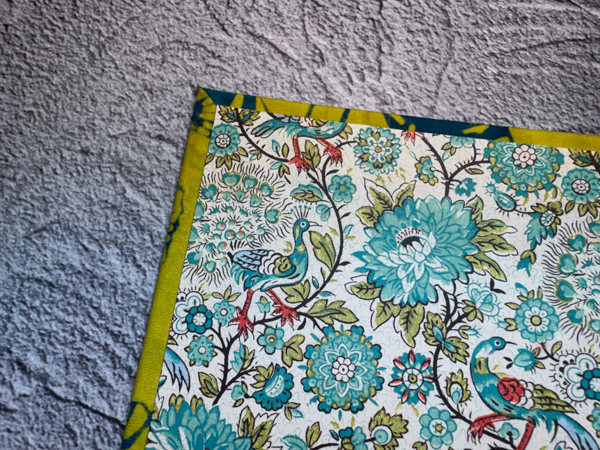
I'll leave you with one more closeup of the cute little peacocks.
Thanks so much to Kim and Trish for hosting Project QUILTING. I'm linking up with the others who have participated this week. There's already a great variety of projects.
For anyone who wants to play along, I'd argue with 11 hours from the time I'm posting this you have time to participate this week, but in case you don't read this until later, the next Project QUILTING challenge will come out on Sunday, January 18.
Thanks for visiting!

