Tag Archives: planned improv

3 Comments

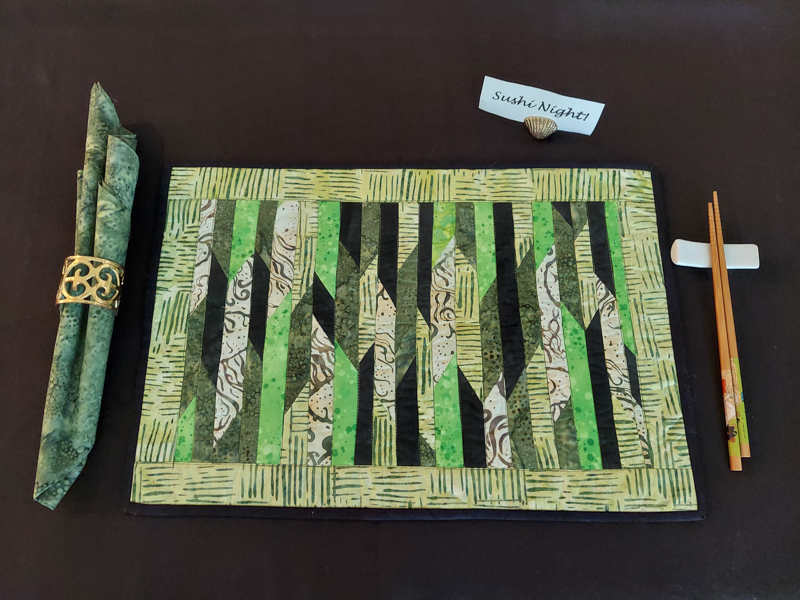
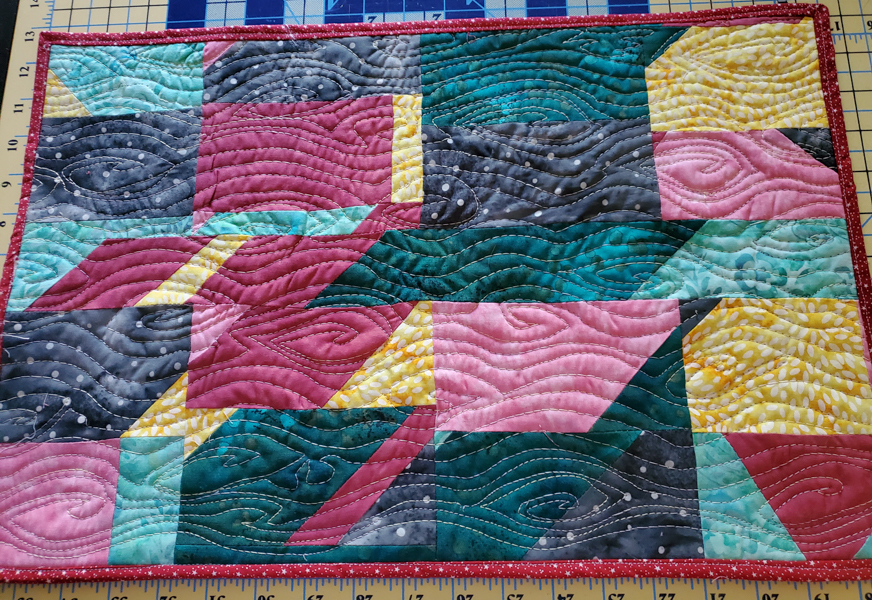
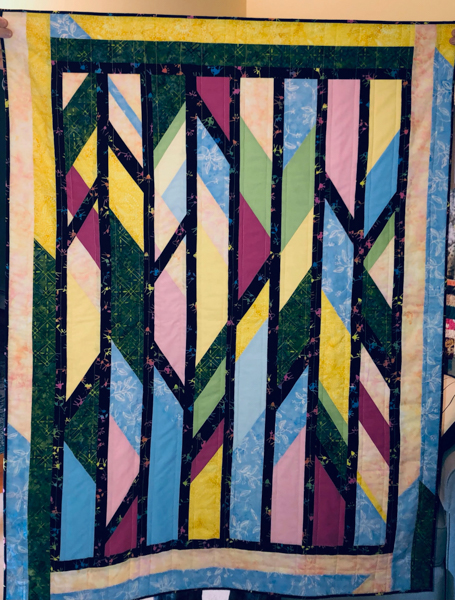
I've really been enjoying connecting with guilds on Zoom. I recently joined the Ocean Waves Quilt Guild in Lewes, DE to share my Rules and Options of Planned Improv Piecing lecture and teach All About Angles. This workshop is one of my Planned Improv workshops where I present a technique and set of rules to follow, with lots of options for students to make the composition their own. From fabric choices to color placement, sizes and angles of cutting, and other unique twists, I love that everyone's finished projects look unique in the end. Here are the progress or finished photos I've received from students in that workshop.


by Allison


by Linda Grigsby


by Dottie Vuono


by Kathy V.


by Trisha Moller


Quilt of Valor by Carol O.


It's hard to tell from the photos but these projects range from mini quilt to lap quilt, with a variety of sizes in between. One of the things I love about improv piecing is you can keep going until it's the size you want (or as long as you're still having fun). Students sometimes set a size parameter as part of their own initial rules, for example, planning for a placemat-sized finished quilt. The use of additional elements, borders, and strips of fabric really add to the variety of options with the All About Angles technique.

You can read about all my workshop and lecture offerings on my Teaching page. I'd love to visit your guild on Zoom.

6 Comments

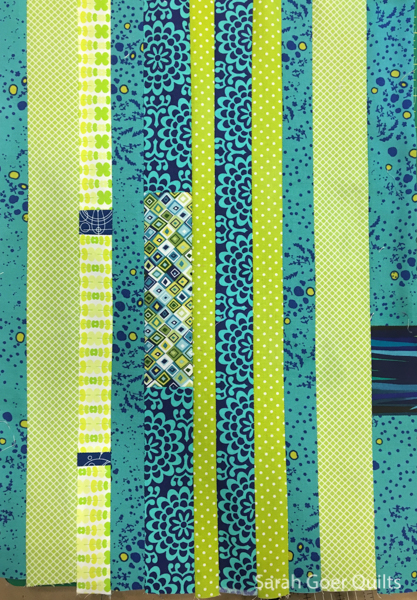
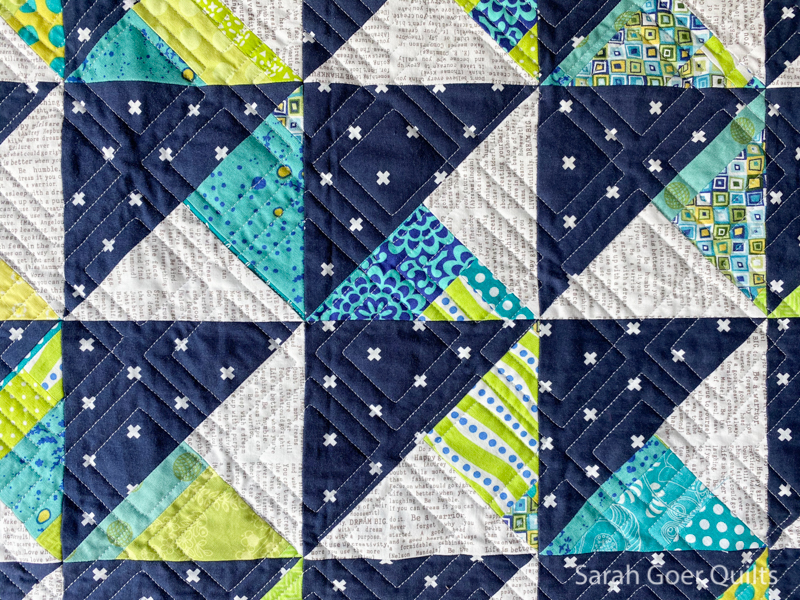
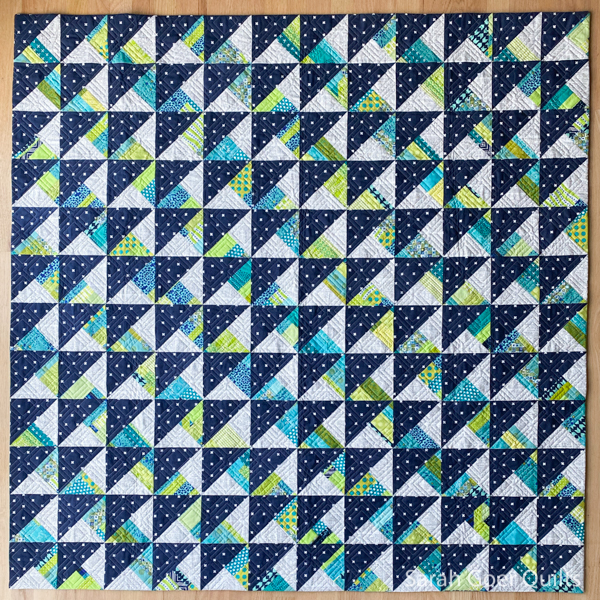
I use the descriptor "planned improv" loosely. Sometimes the improv comes in the piecing. Sometimes it comes in the design work before piecing starts. In this case, the improv had to do with having no idea where I was going when I started piecing scraps together. And the plan was that HSTs would be involved, and I was working with a limited amount of scraps (at the beginning) with a limited color palette (that I'd curated for the bag of scraps).

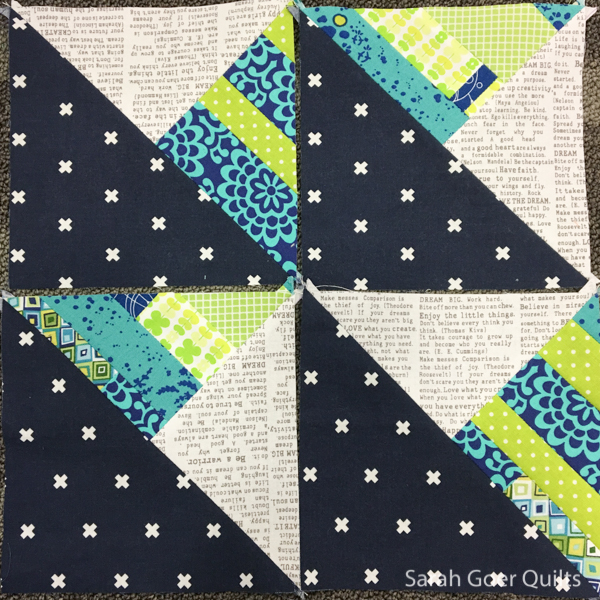
This quilt has been a long time coming. The scraps that were the start of it predate February 2016 when I took Jeni Baker's Creative HST workshop at QuiltCon in Pasadena. (We won't discuss how these are scraps from another project that is not yet finished.) This three-hour evening class was a chance to play. I finished my first four blocks for this quilt that night and eventually went on to create 140 more!

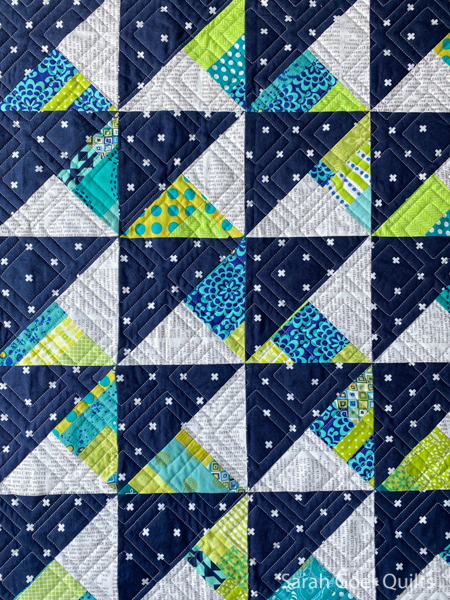
As with many of my quilt projects, I worked on this one intermittently over the years. It had no deadline or destination. The quilt top was finally finished at a quilt retreat in September 2018. I mailed it away to be quilted (by Jess Zeigler) in December 2019. No rush on this one. ;-)

I finished the quilt with a faced binding in order to submit to it PIQF in October for their Online Quilt Festival.

It's 59" x 59". I plan to hang it in my entryway.


Unrelatedly, check out the new short film, Canvas, on Netflix.

4 Comments

I'm still playing catch up on showing you my finished improv log cabin mini quilts from my last 100 day project. You can see my green and yellow quilts in previous posts. Today, I'm sharing my red version! My main rules were to use black, white, and one color, and that my finished quilt would be 16 1/2" square, bound in black Kona.

In my red quilt, I chose to start with a traditional quilt block in the center of the log cabin. The sawtooth start block is one of my favorites, so I started with that. Since my mini quilts finish at 16 1/2" square I made a 6" star block for my center.

Initially I thought my logs would be wonky to surround the block (another variation to try later!), but I think the busyness of the print fabrics steered me away from that idea. In the end I have uniform 1" finished, rectangular logs. My log placement worked counterclockwise around the block.

I had fun with the quilting. I started with three colors of thread in three weights, Aurifil Red (#2250), Black (#2692), and White (#2024) in 50wt, 40wt, and 28wt. (Thanks Mel for the loan of a few spools I was missing!) I didn't have an overall plan. I just knew that I wanted to use a variety of color and thread weight. I started with a favorite filler, a zig zag meander, in the center of my star. Then I echoed the outer edge of the star. I switched threads and weights for each step. It adds a lot of time to the process, but I think the effect is worth it.

Here's an early view of the back of the quilt. This bowling pin print has been hanging out with my black and white prints, but it isn't quilt a black and white print, so it has been passed over many times. But it was perfect to back this quilt!

I filled in between my straight lines (which were free motion quilted, too) with wavy and zigzag lines of quilting. For the zigzag quilting I used washy tape to mark the lines where I needed to switch directions to help achieve a mirror image at the bends in my path.

After more echo lines of quilting, I filled in the corners and edges with zig zag meander in white. I used my usual machine binding technique with solid black Kona, but I opened to do the top stitching with 28wt red thread. I love this added detail.

My finished quilt is 16 1/2" x 16 1/2". I really enjoy how the different colors of quilting show up more or less on different portions of the quilt. For instance, the white thread really pops on the black solid, but fades into most of the print fabrics.

Thanks for visiting!

You can read all about the other quilts in the series here:


I've linked up to Brag About Your Beauties!