Tag Archives: improv piecing

12 Comments

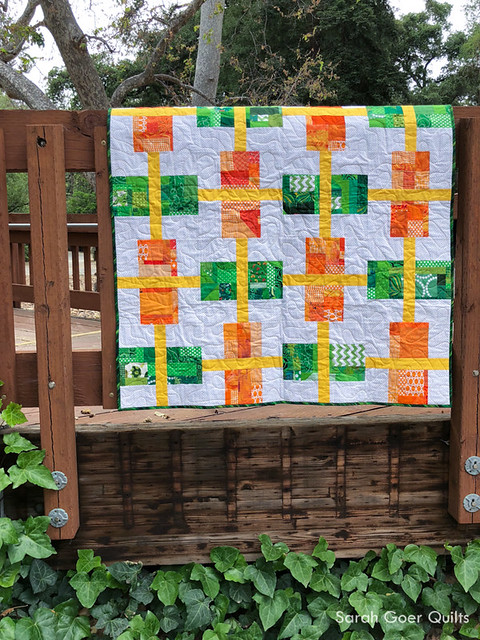
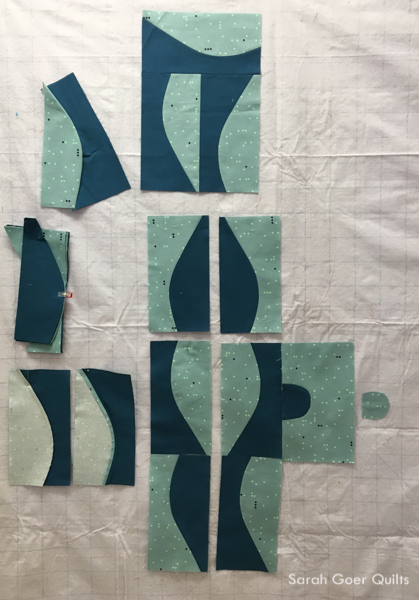
At last year's QuiltCon I took an awesome Intermediate Improv class with Rossie Hutchinson. One of my projects that resulted from that class is this Wonky Cross quilt. It was chosen this month (#12) for the APQ UFO Challenge.

The blocks are created in pairs. I completed eight blocks in class. At some point I added a second fabric pull to the project that I thought coordinated well. Now I'm up to 34 blocks. I have no specific plans on number of blocks/rows or overall finished size. We'll see where this takes me this month.

January and February both resulted in finished quilt tops for the OMG UFO challenge projects. I'm hoping I'll get through the quilting step as well on this one this month!

I'm linking up to the OMG February Goal Setting Link Up.

6 Comments

I couldn't resist the appeal of the mini swap with The Modern Quilt Guild in which we would exchange our mini quilts at QuiltCon. I was assigned Ginger as my secret partner and found inspiration in her Pinterest account. Specifically, I was drawn to the colors in this pin and loved the color wash design and spiral quilting in this one. I'm not sure how I came up with the idea to make improv tumbler blocks. It mostly started as an exercise in figuring out if I could achieve it.

I started by cutting three tumblers from each fabric as I worked through scraps and stash choosing fabrics. I aimed for about 3" tall using my cutting matt as a guide, but all of my cutting was done with a rotary cutter and no ruler. I wanted a variety of tumbler shapes, but aimed for generally 1 1/2 - 2" wide on the narrower edge and 3 - 3 1/2" wide on the wider edge. Once I'd cut a bunch of tumblers, I started fiddling with layout on my design wall and ended up with this plan.

The easiest part of the piecing was connecting the tumblers in each row. The first row I pieced (the bottom row) came out to be pretty curved (which I adjusted a bit by picking out one seam), so from then on I worked to compensate for that a bit as I pieced. It's fun to watch the project shrink up as the piecing happens.

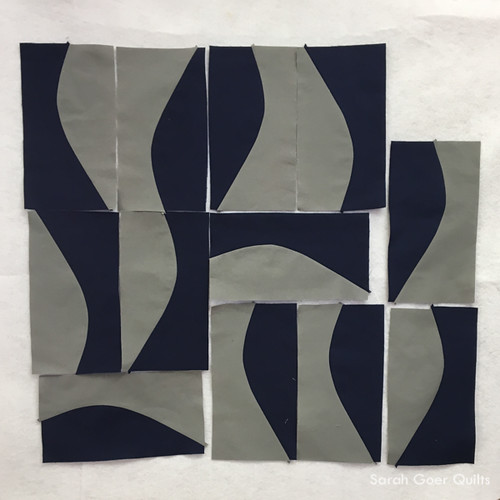
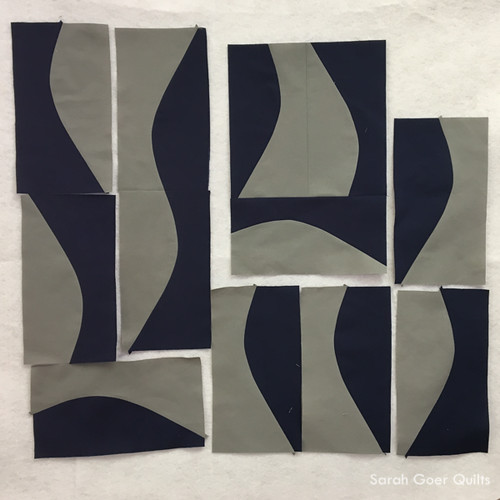
Once my rows were complete, I decided to use smooth curves to connect the rows.

So what's a girl to do when she's up against a deadline and also needs to pack for QuiltCon? Well, naturally, she should decide to use thirteen thread colors and dozens of starts and stops to quilt her mini! Right? That's totally a sound decision, eh?

I pulled all my Aurifil (50 wt.) that was even close to a color used in the quilt. From left to right they are #2735 Medium Blue, #5018 Grass Green, #1125 Medium Teal, #2783 Medium Delft Blue, #1231 Spring Green, #2135 Yellow, #3920 Golden Glow - Variegated, #1114 Grass Green, #2810 Turquoise, #4093 Jade, #2582 Dark Violet, #1100 Red Plum, and #2588 Light Magenta. Plus I attached the binding with #2605 Grey. If I stashed different weights of thread, I totally would have thrown them in too!

Then I stitched overlapping spirals that were approximately 3" in diameter. I mostly aimed to match the thread color to the area of the fabric that I was quilting on, but of course there were some great spots where strong contrast occurred as well. Here's where I started.

And some finished views.

I went to Savannah with zero threads tied and buried and my binding was only attached to the front of my quilt. I worked on burying threads on Thursday and Friday while watching demos and sitting near outlets to charge my phone. I got to give a handful of one-on-one demos myself on how to bury threads. ;-) Friday evening after dinner, I finished the final stitching on the binding. Once a procrastinator, always a procrastinator? I like that my late night hotel photo shows the texture of the quilting so well.

And of course, I took the quilt out for a mini photo shoot before delivering it to Ginger.


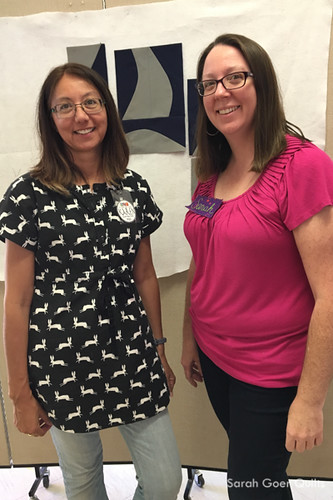
Here are Susan, myself and Ginger. We were connected in a little loop for the swap. Susan made for me, I made for Ginger, and Ginger made for Susan. We're each holding the quilt we received. I love the beautiful mini I received from Susan. It has some lovely embroidery detail that you can't see in the picture. And I adore the striped binding!

Thanks for visiting! I'm officially on an IG swap break for the time being... but boy are they fun!

SaveSave

18 Comments

Finished Quilts

I had two small finishes this week. They'll be featured on the blog soon. I turned my improv curves from last week into my Disney Mug Rug and shipped off my swap package this week. Once I get confirmation that my partner has received it, I'll share it with you.

My daughter and I finally sat down to put the binding on her doll quilt. It's all done and ready to deliver. She's so pleased. Today I got the report that at school she said, "I just want to sew and sew and sew." I totally know what you mean, kid!


New Focus

I have a goal to finish this one by the end of the month. I thought I had nearly all the blocks complete and just had to trim them up and stitch them together. When I opened the box with less than two weeks left in the month, I found I only have 92 complete blocks out of my planned 144! Eek! So step one was to create a new slab of scraps that would coordinate with my original scraps. I'm hoping once this slab becomes 40 more blocks and they get sprinkled throughout the quilt that it will all work out. It uses a bunch of fabrics that were used previously, with quite a few new ones. I'm worried about that green on the top of the right edge.


Bee Blocks

And because I really have an inability to focus on just one project, I took a break from the above project today and finished up my four blocks for this month's do. Good Stitches for Serenity Circle. They will be trimmed down a smidge to 8 1/2" by 16 1/2" each.

We're using this Craftsy tutorial. They went together in less than an hour and a half total, but a couple are wonky in places. Ailish may need to starch them into submission when she puts the quilt top together. ;-) The tutorial is pretty straightforward, but I'd recommend that at the start of each seam, you offset the edge by about a half inch (see below). I only did this on the last (smallest) seams and I think it would have helped on the other seams as well.


Thanks for visiting! I'm linking up to Midweek Makers and Needle and Thread Thursday.