Tag Archives: improv curves

10 Comments

The products featured in this post were given to my by Island Batik and Aurifil.

This month our Island Batik challenge was to try something new. There are so many options in the quilting world to try a new technique or tool. I was inspired by my friend Gayle’s recent quilt project where she used Fabric Magic on her quilt top. Here's one of her textured flowers:


Fabric Magic is a polyester fabric that "shrinks up to 30% when steam-activated." The way it works is that it is stitched to the back of a single layer of fabric in straight lines or free motion stitching. Then you apply steam (without touching the iron to the polyester fabric) and the Fabric Magic shrinks up and causes the quilting cotton to wrinkle up. Different density or types of stitching will achieve different results.

The Peach, Flame, and Tangy fabrics are from the Island Batik Basics line. I chose these as a starting point so I could submit this piece for the 2019 Pantone Quilt Challenge. The teal I added is a Cherio print (BE21-G1) from the Blenders line. I used Fabric Magic on three panels and, in true try it fashion, opted to use different free motion motifs on each.

The first, and my favorite, was back and forth wavy lines on the diagonal, stitched with Aurifil 50wt Fleshy Pink (#2420) on the Peach fabric. I think in addition to it being my preferred motif for ease of stitching and pattern of texture it creates, the technique just shows up better on lighter fabric due to being able to see the shadows from the texture more easily. The stitched area shrunk up from 17" wide to approximately 14 1/2" wide, about a 15% shrinkage.

My second section was pebbles on my teal panel with Aurifil 50wt Jade (#4093).

And my last section was spirals on the Flame fabric with Aurifil 50wt Red Orange (#2245). I didn't make a panel on the Tangy fabric since I didn't have a thread color that would blend well.

At this point I used my textured and non-textured fabrics to cut sections with smooth, gentle improv curves. I initially considered the sections to be horizontal, but decided in the end to rotate the quilt so they were in a vertical layout. I felt this orientation both worked better with the finished dimensions, and also gave a feel of coral and seaweed in the ocean.

I used a remnant of Quilter’s Dream Select 100% cotton batting that was just about the perfect size. Since I was working on a small quilt and intended to stitch on either side of each seam to stabilize the quilt before more quilting I opted not to baste. (Channeling Dora Cary!). I echoed each side of the curved seam on each non-textured fabric. (The textured sections did not get quilted, but if used in a larger section one could do some quilting on top of the previous stitching lines.) After my echo stitching, I chose nesting C curves, inspired by Mel Beach’s recent finish. I used overlapping curved lines on the two end sections.

I used the rest of the piece of Tangy fabric to make binding, knowing that I'd have way more than I needed and will utilize it on a future project. Isn't it so cute on my Binding Baby!? Usually I favor machine binding, but due to the textured sections I opted for a hand bound finish.

Living Coral finished at 22" x 13 1/2".


Be sure to check out what the other Island Batik Ambassadors are trying out this month!

This is also my contribution to the 2019 Pantone Quilt Challenge in the Minis category. (I'm in the USA.) And, it's my OMG for June (which I'll try to remember to linkup with the finishes at the end of the month). ;-)

I've linked up to June Favorite Finish and Beauties Pageant.

Thanks for visiting!

10 Comments

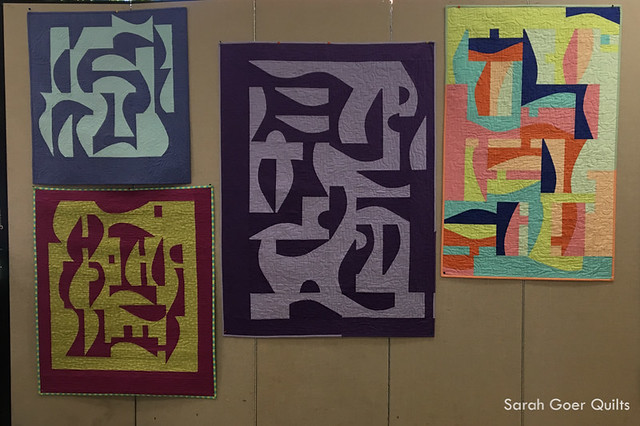
I can't remember the last time I sewed at home. It's probably been nearly two weeks. (Eek!) Thankfully, I did get some quality time with my sewing machine at a workshop last weekend. Bay Area Modern hosted Karen Foster (@capitolaquilter on IG) to share her Improv Abstraction technique featuring curved piecing. I've played with gentle curves previously in my Finding Dory mug rug and Improv Tumbler mini. Karen's technique involved creating parts and using them to play with the composition of the piece.

four small quilts featuring Karen's Improv Abstraction design technique: blues, magenta and chartreuse, purples, and multicolor

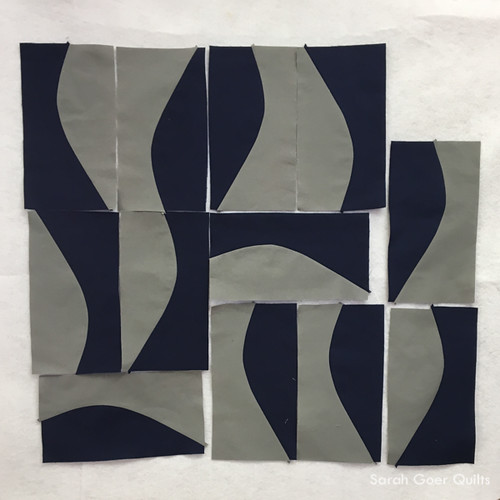
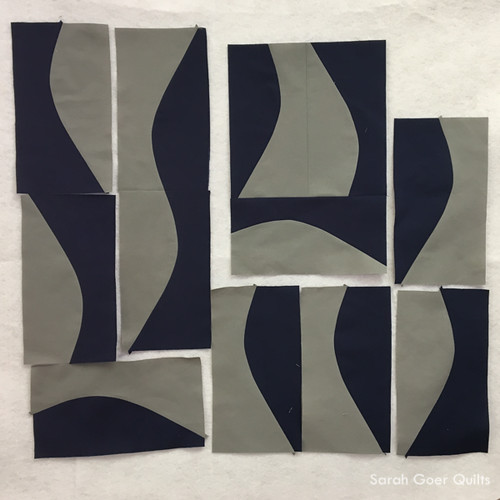
We spent the morning piecing the gentle curved unit and putting them together into larger parts. I made 12 units featuring the same gentle curve and pieced together two larger chunks. The first used three of my units, and the second connected two units vertically. I "fussy pieced" (is that a thing?) the seams for the curve to be continuous.

twelve navy and grey gentle improv curve units on design wall

seven navy and grey gentle improv curve units and two larger chunks on design wall

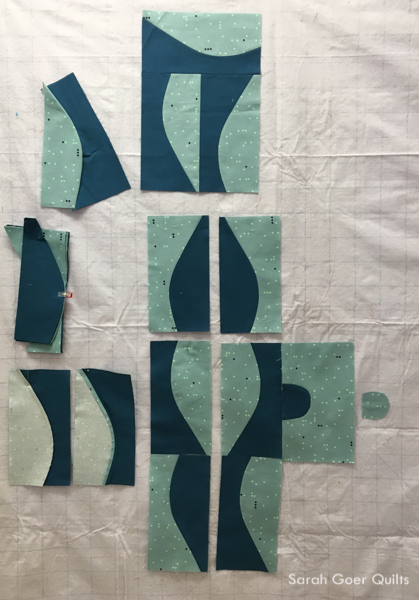
In the afternoon Karen introduced her technique for more extreme curves. You can see the example on the right in the photo of Karen's work below. Unfortunately, I had to leave early, but Karen showed me her technique before I left. I haven't had a chance to try it out yet, but it blew my mind. I'm looking forward to adding a new skill to my repertoire. The examples below include a "what not to do" in the upper left, and the lower left shows different options for pressing seams. While I generally press seams open, I think freeform improv piecing is a great time to play with how you press seams to see what works best for the piece. (Tip: Consider shortening your stitch length if you are going to press seams open.)

teal and mint pieced gentle improv curves

This was a great class to build skills with curved piecing and to just play with the design elements of the overall piece. I intend to keep my quilt small. I have a bit more of the navy (Kona Nautical) and a bunch of the grey (Kona Pewter). I'll definitely play with the extreme curves and I may include some strips and squares like Karen used in her multicolor quilt.

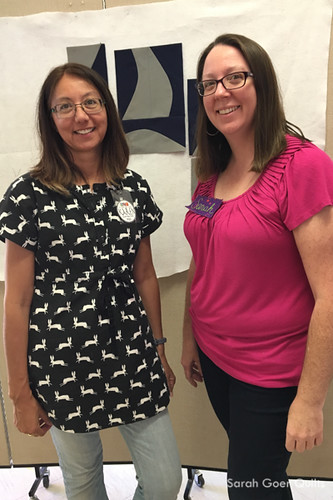
Karen Foster and Sarah Goer standing in front of Sarah's work

Thanks for a great class, Karen!

SaveSave

SaveSave

SaveSave

24 Comments

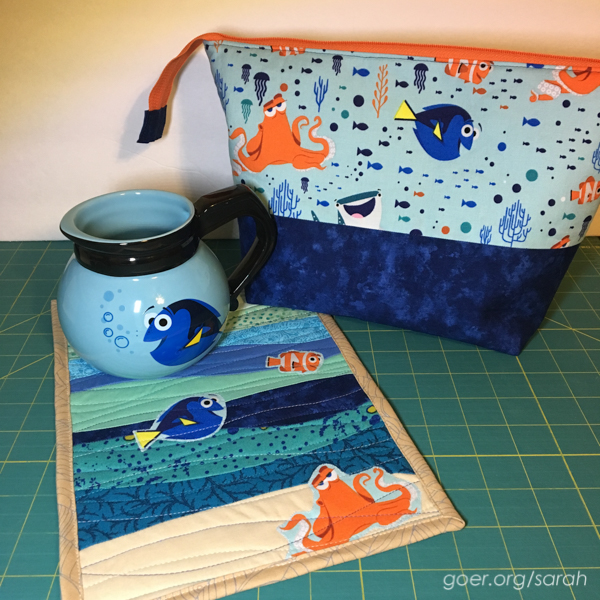
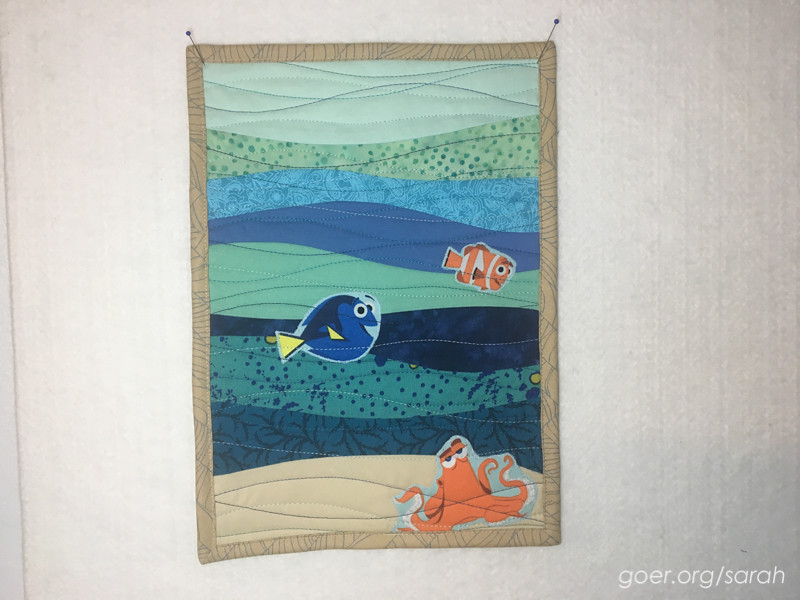
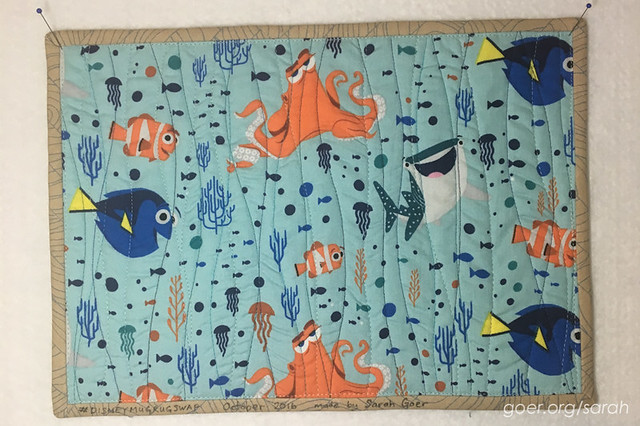
My friend Wendy was hosting the Disney Mug Rug Swap on Instagram and I just couldn't resist joining in. Easy peasy: Buy a mug, make a mug rug, include one extra. My partner listed a variety of Disney interests and I dialed in on Finding Dory, especially after I found this adorable mug.

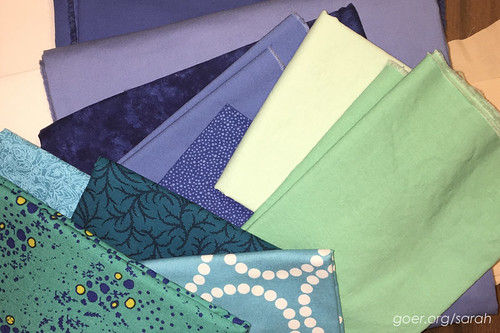
I immediately visualized an improv pieced ocean for Dory (and friends?) and eventually decided on purchasing a little bit of yardage of Finding Dory fabric by Camelot from Fat Quarter Shop. I started by shopping my stash for an ocean fabric pull.

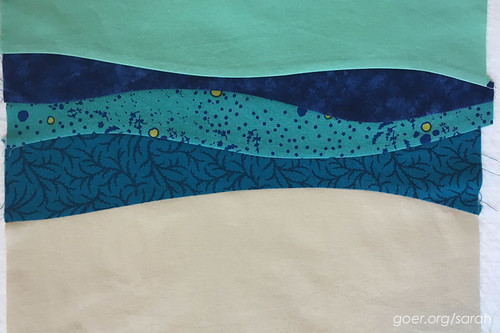
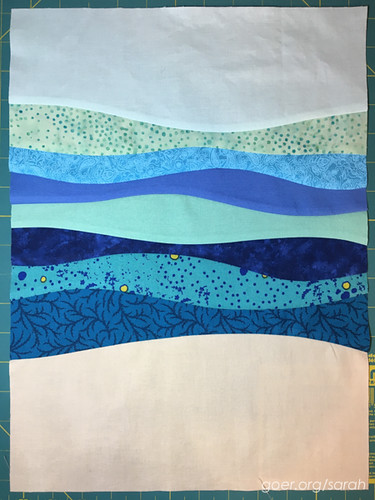
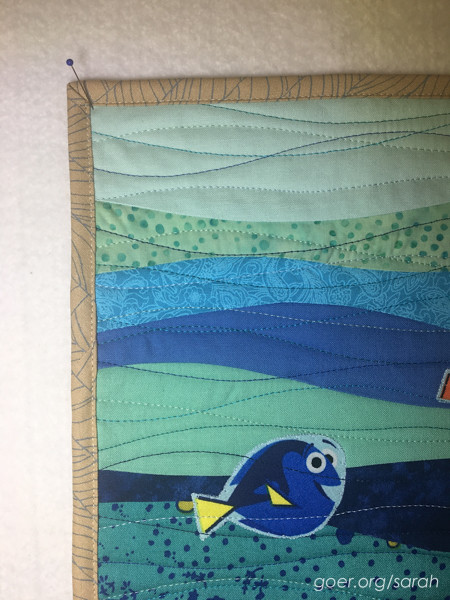
Then I went for it with my first improv curved piecing. It all went together pretty well. The batik (second from top in the finished piece) was a little tricky, since it doesn't have as much stretch to it. I simply overlapped the fabrics I was piecing and freehand rotary cut a curve through both at the same time, then I eased them together with a 1/4" seam allowance as I machine pieced them together.

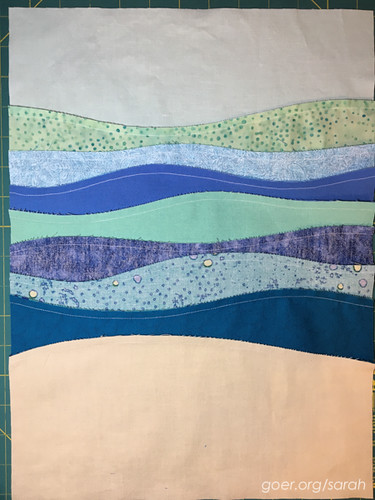
Generally I press my seams open when piecing, but this is one of those times that pressing open didn't make sense. I pressed to the blue on my first seam, so I just continued pressing up on all my seams. Here's the finished piece, front and back, before I trimmed it down.

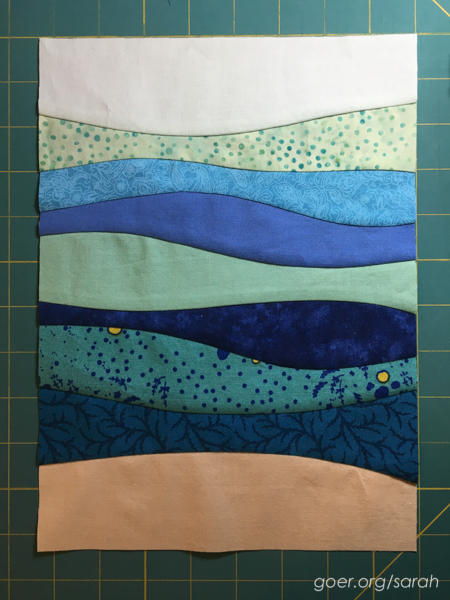
At this point it was more placemat sized than mug rug sized, so I had to trim it down. I decided on vertical so I could arrange my characters in a way that they mug wouldn't cover them up. I trimmed down to just over 8" x 11".

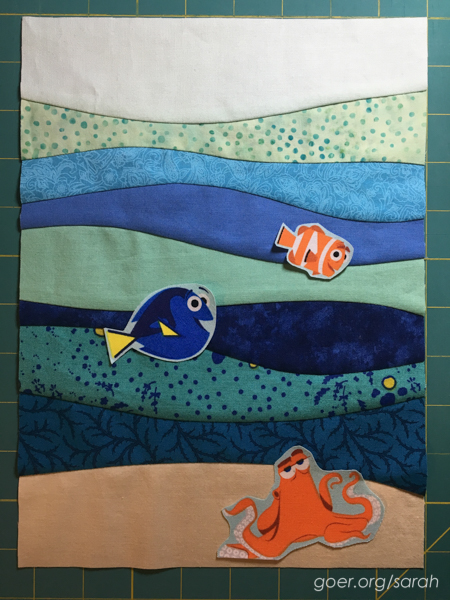
My next step was to add the characters. I used fusible web to attach Dory, Nemo and Hank, then stitched around the edge of each.

Then I went to town quilting. I used my walking foot and quilted smooth curves to complement my piecing using a variety of blue threads (all 50 wt. Aurifil).

I was able to find a piece of remnant binding (from Finally) that was large enough to avoid a scrappy binding and worked with my color palette. I think this quilt would have been lovely with a faced binding, but I just didn't have the time to learn a new skill at this stage of the process. :-)

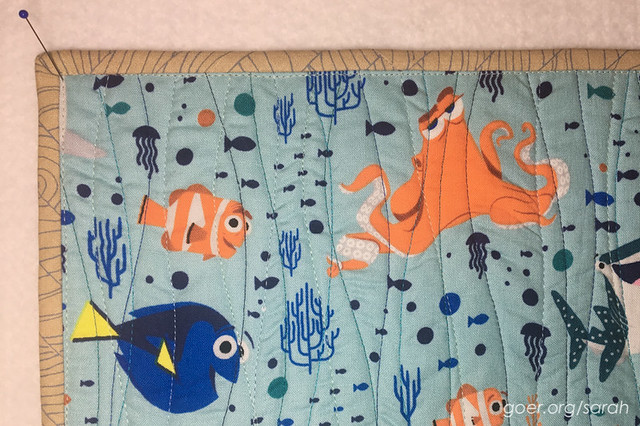
I opted to back the quilt with the licensed fabric, but I placed it in the horizontal direction. I liked the repeat better that way, and this gives Lisa options for a vertical or horizontal mug rug.

For my extra, I opted to make a large Open Wide Zippered Pouch (free tutorial by Noodlehead). (Shown in first picture.)


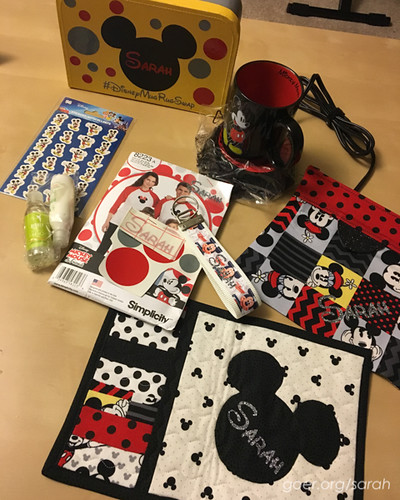
Lisa and I happened to be assigned each other for the swap. Here's the super generous package she sent me. She chose a nifty mug that has an electric mug warmer to go with it and made me a bag and a keychain. Plus she decorated the tote box and sent a Mickey Mouse raglan t-shirt pattern plus a bunch of other little goodies. So sweet of her!


Thanks for visiting! I'm linking up to TGIFF, Finish it Up Friday, and Needle and Thread Thursday.
Linking up to the Q4 Finishes Link-Up. See my Q4 list here.