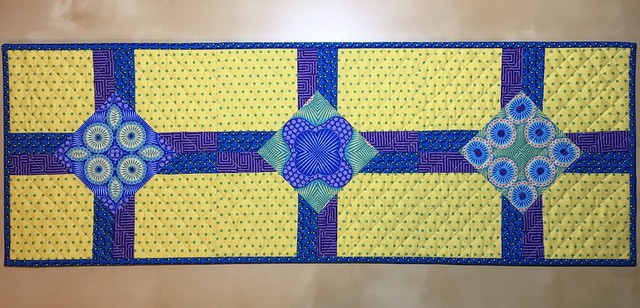
It's once again time for Project QUILTING. Kim at Persimon Dreams and Trish at Quilt Chicken host this series of one week quilt challenges running now through March. I participated for the first time last year for season 8. Each week there is a theme and exactly one week to formulate a plan and execute it to completion. This week's theme was Hometown Proud. There is a prize drawing for participants, and a Viewer's Choice vote, so be sure to visit the link up and vote for your favorites. (VOTING IS OPEN. Mine is #73.) If you haven't participated, consider joining us for round two which begins on January 21.
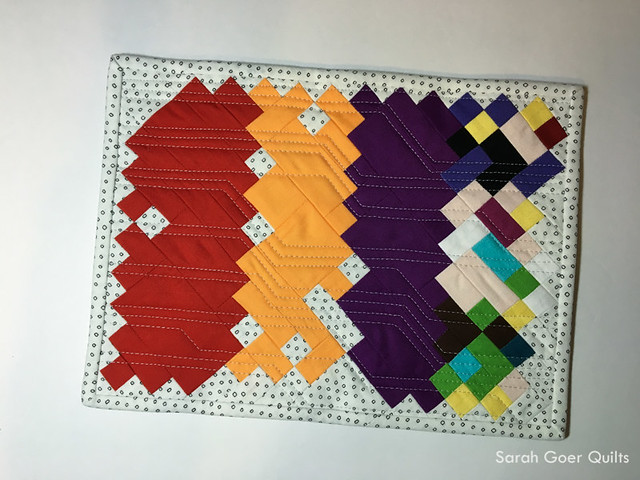
I have lived my entire life in San Jose, California (with the four year exception of being in college in San Diego), so unlike people who had to consider which town they wanted to identify with for their challenge, there was only one choice for me: San Jose. I thought a little about what San Jose means to me, or what comes to mind. San Jose is a city with a population of over 1 million people. Santa Clara County has nearly 2 million people, and the greater Bay Area has a population of over 7 million people in nine counties and 101 cities. I live in the heart of Silicon Valley. There are a wealth of options to represent my hometown. I considered a few options, thinking about memories from my childhood. Here are a few I considered: Happy Hollow, Sharks hockey, Wichester Mystery House, San Jose Giants, Christmas in the Park, The Tech Museum, San Jose Museum of Quilts and Textiles, the 'Quake of '89, History Park, Hotel De Anza, San Jose libraries. In the end, I settled on the first item on my list: the orchards.
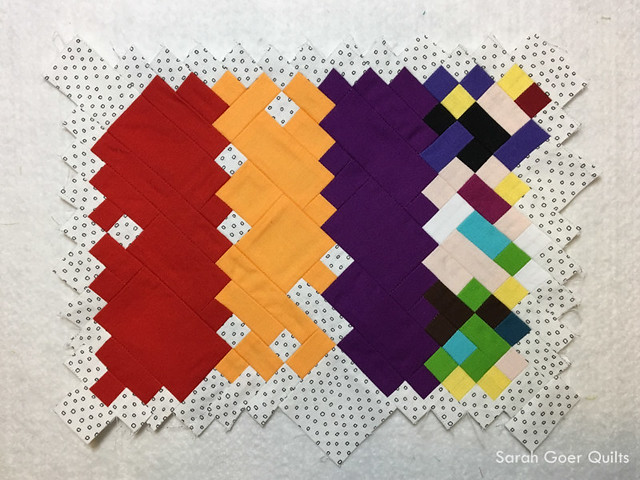
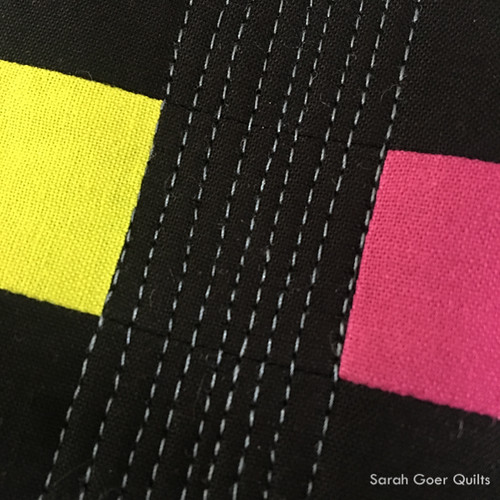
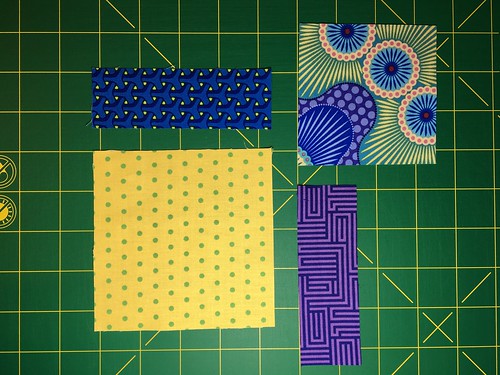
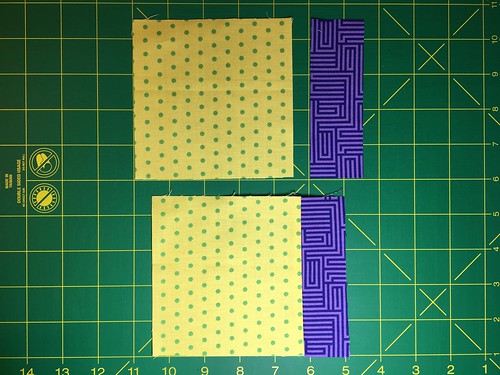
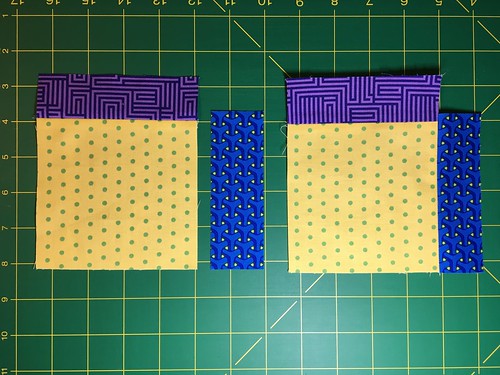
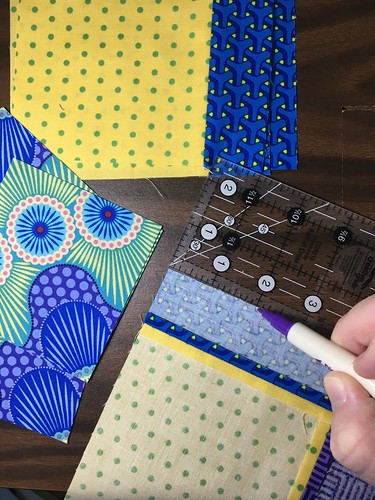
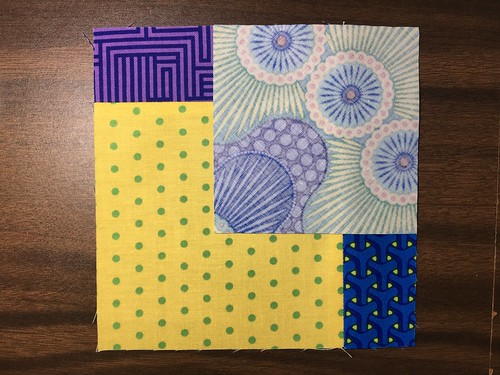
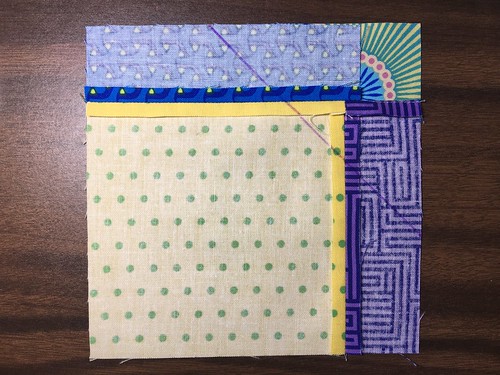
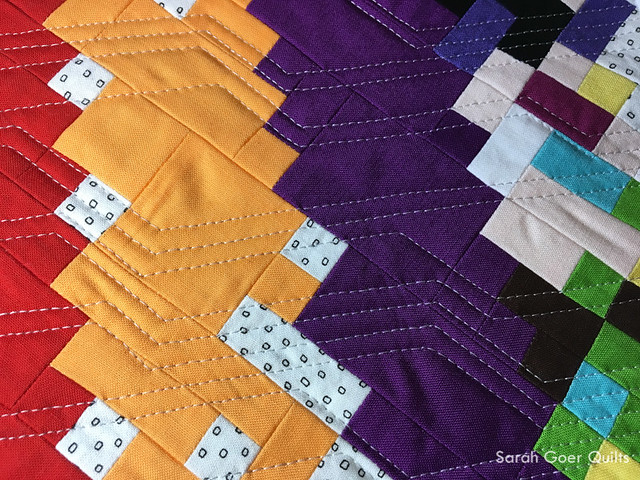
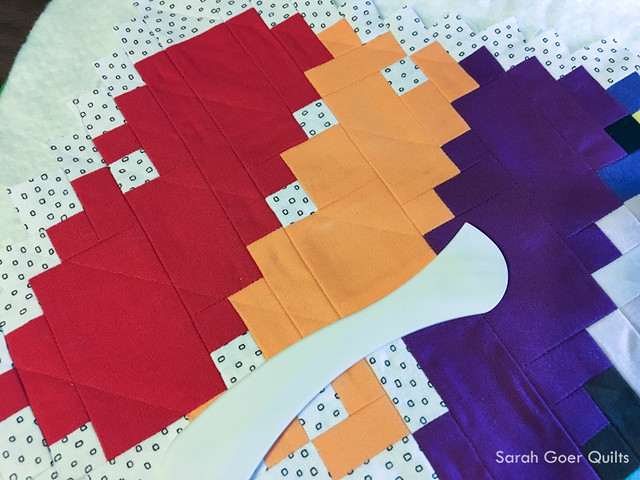
Back before Silicon Valley was Silicon Valley, the valley was full of trees. Long before I was here, Santa Clara County had 8 million fruit trees. My parents built their house in the 70's along the east foothills surrounded by orchards. The vast majority of these orchards are gone. Heritage Orchard at San Jose’s Guadalupe River Park is 3.3 acres, containing over 200 fruit trees, of the varieties that were grown in the Valley over the last century. This map (PDF) of the Heritage Orchard was the basis for the design of my quilt. Each tree is represented by a 1/2" x 1/2" square. As you can see on the map, the first three sections of trees are cherries, apricots, and prunes. The last section of the orchard has a wide variety of fruit and nut trees. I chose a low volume black on white for the area around the trees and bound in the same fabric.
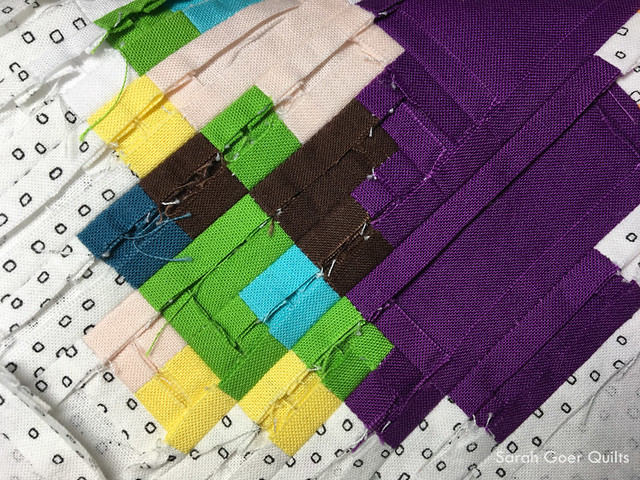
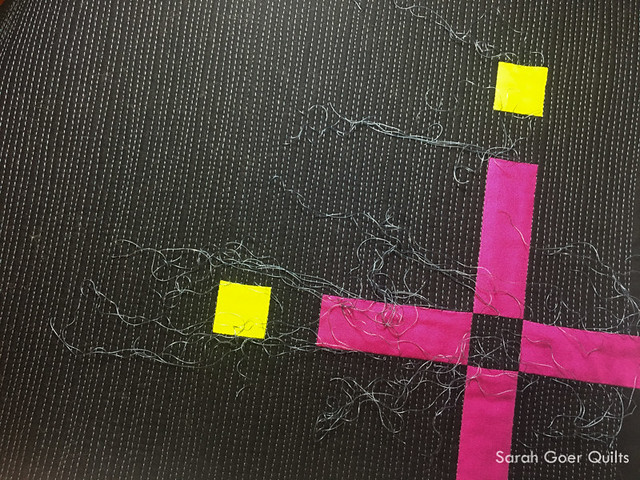
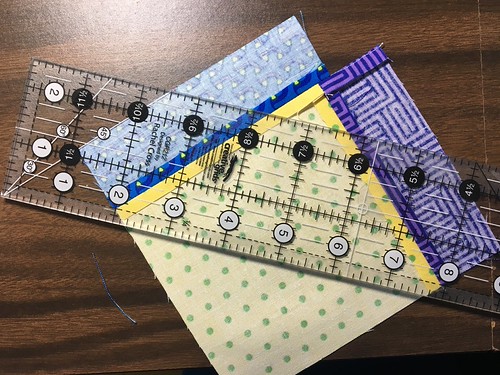
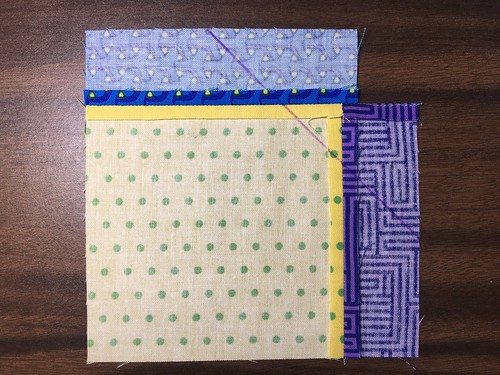
All those tiny pieces create a lot of bulk on the back. My smallest pieces were cut 1" x 1" and finish at 1/2" x 1/2".
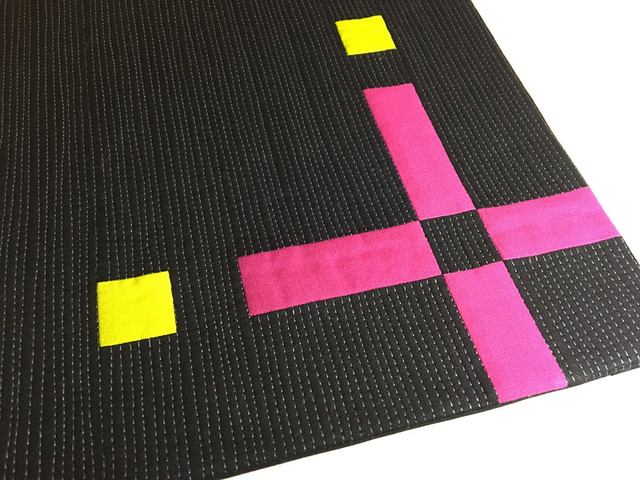
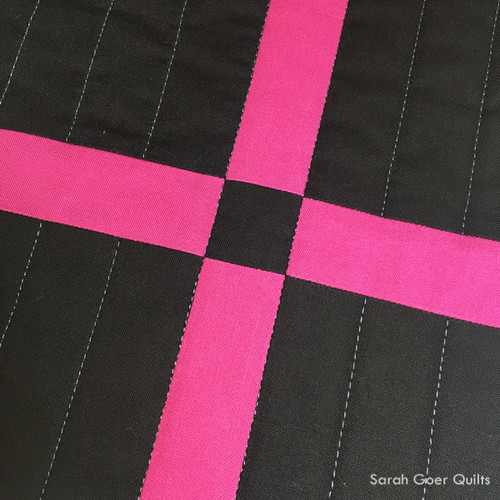
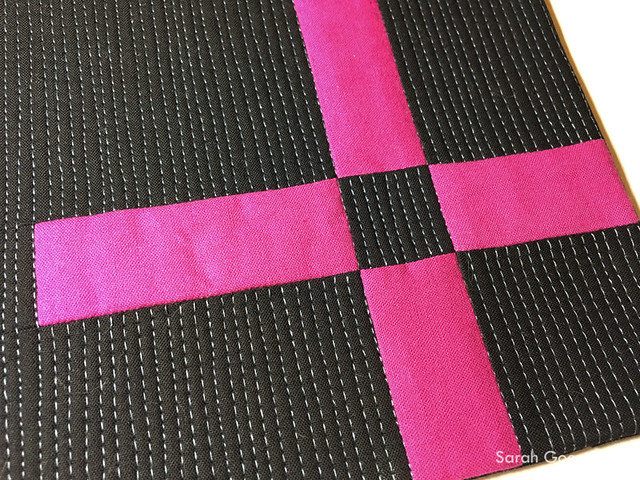
The quilt finished at approximately 7" x 10" and has over 125 pieces. I shared a bit about my project with guild mates without telling my inspiration and a guess was made that all my little bits of fabric were to represent computer chips. From that conversation I was inspired by Michelle and Mary to use the design of a circuit board for my quilting. I used my hera marker to mark some horizontal lines as a guide for my quilting. It is quilted in Aurifil Dove (#2600) 50 wt.
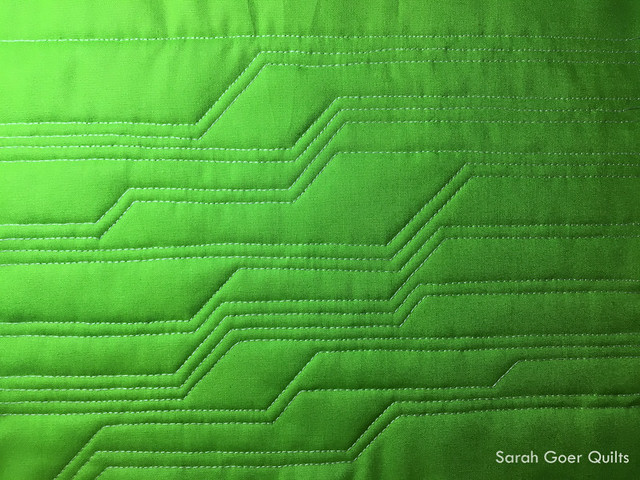
Also with circuit boards in mind, I chose a bright green solid for the backing. I thought these details were a great nod to the current Valley. I've named it Silicon Valley, Then and Now.
Thanks for visiting! I'm linking up to Project QUILTING 9.1