During my Summer 100 Day Project to make Improv Log Cabin mini quilts I stumbled upon the idea to made a spiral in my log cabin.
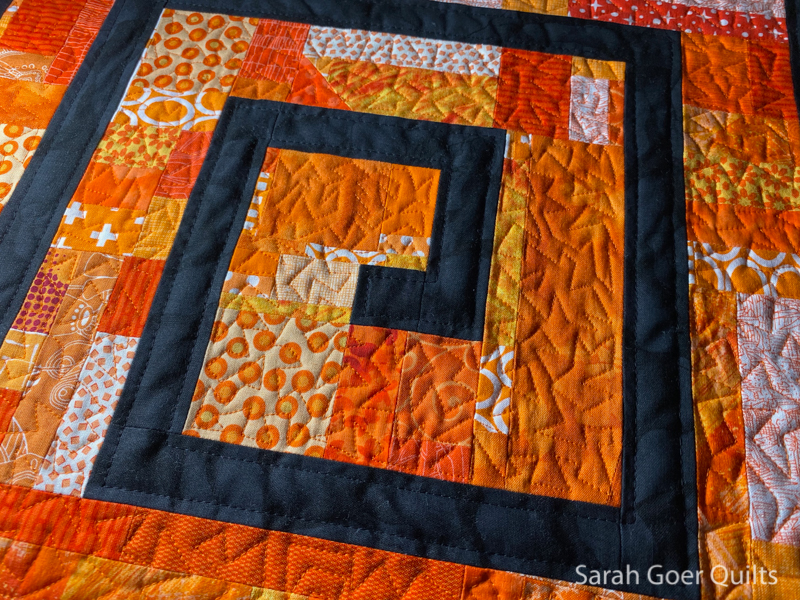
This log cabin was precisely pieced. I sketched on graph paper to make my plan. Then got to work.

I decided to combine my spiral plan with orange scrappy slab. (I think I had a piece of orange scrappy slab started that I was able to build on to).
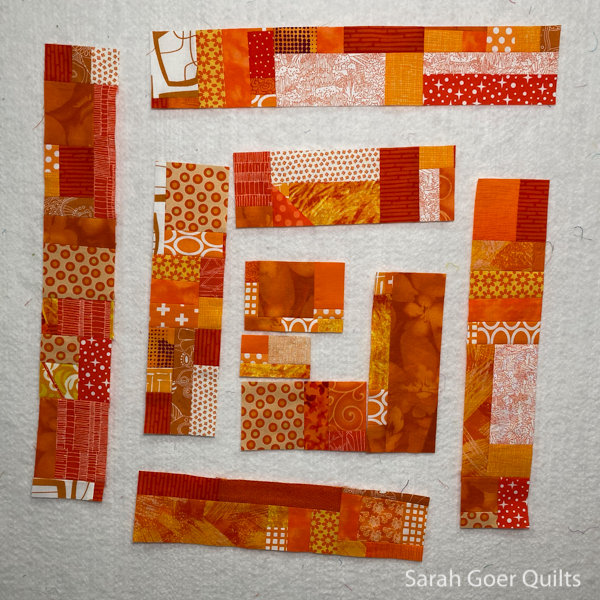
First think was to cut up my scrappy slab. I used 2 1/2" strips, trimmed down to size for each log.
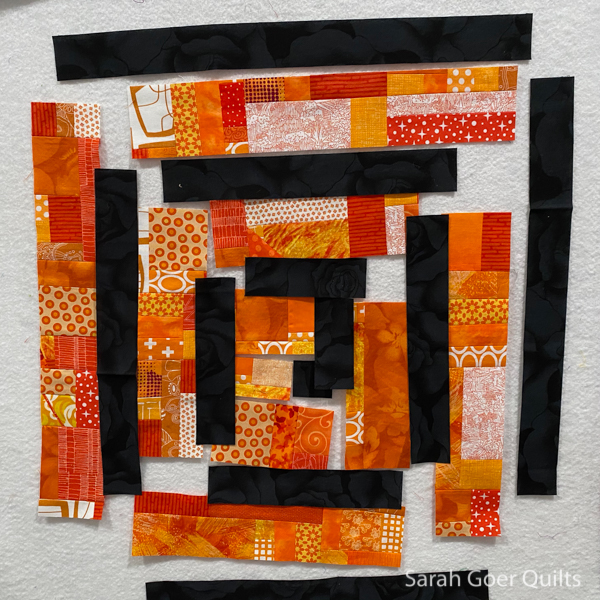
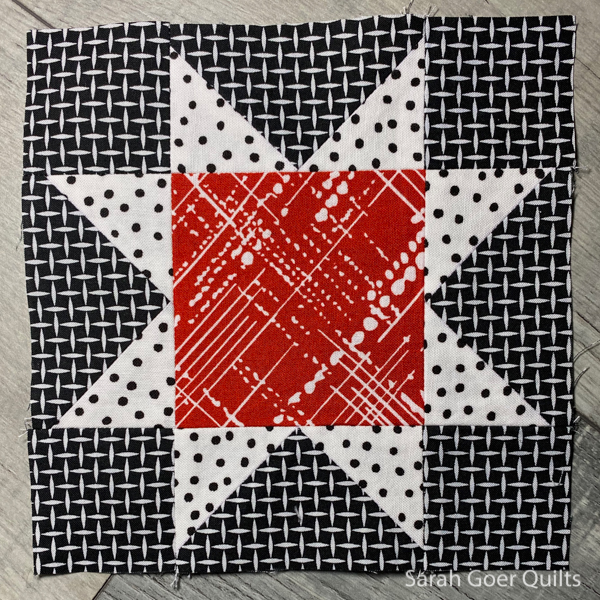
My palette was limited to orange, black, and white, and I chose a black on black print for my contrasting spiral. These strips were cut 1 1/2" wide.
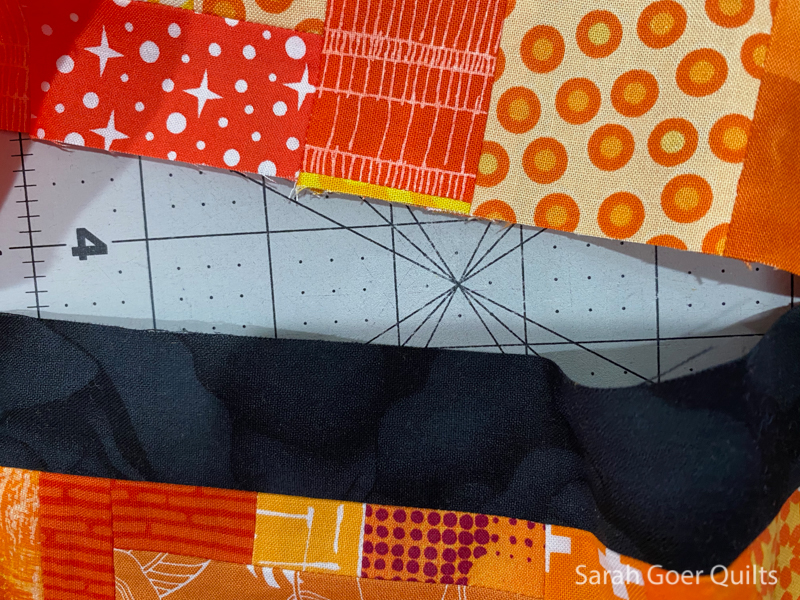
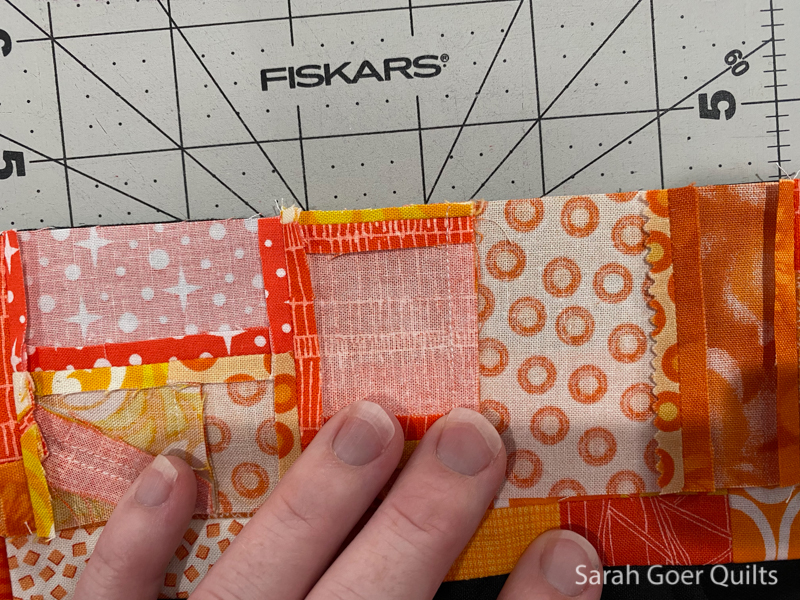
When piecing scrappy slab to neighboring fabric, sometimes it is unreasonable to press seams open given the bulk of the seam. These two photos show one area where the tiny strip of light orange will disappear in the seam, creating bulk.
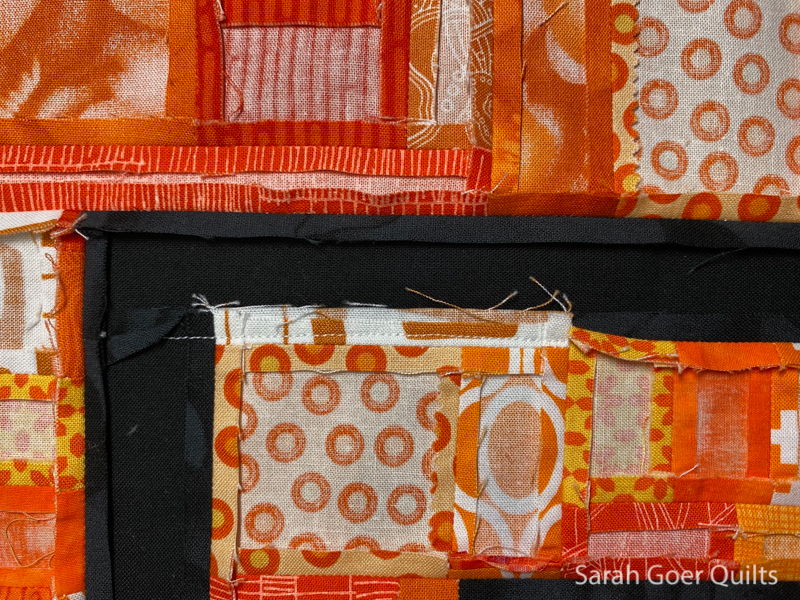
And this shows where the tiny strip of orange and white print will be visible on the front, but required I press the seam to one side. You can see this super skinny strip of mostly white fabric vertically in the photo below, just inside the left most vertical strip of black near the upper corner. One of my favorite parts of piecing with scrappy slab is where these tiny slivers of fabric show.
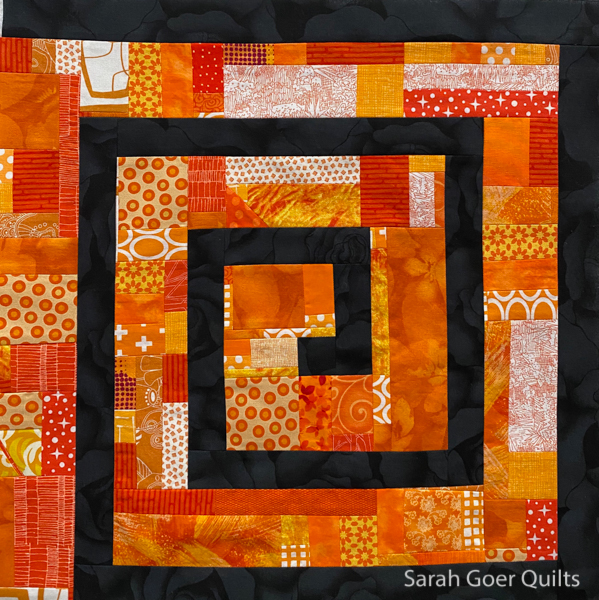
Tada! Quilt top.

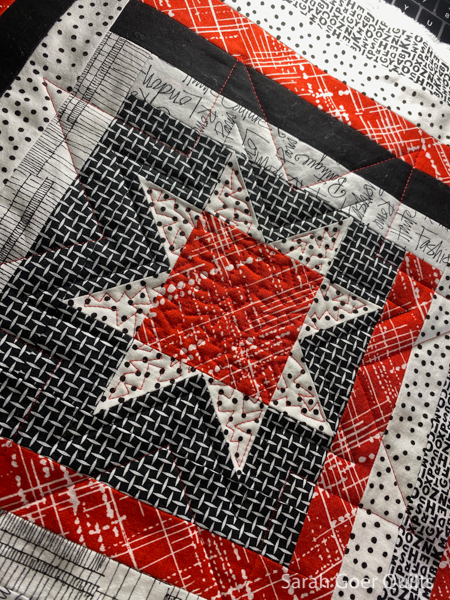
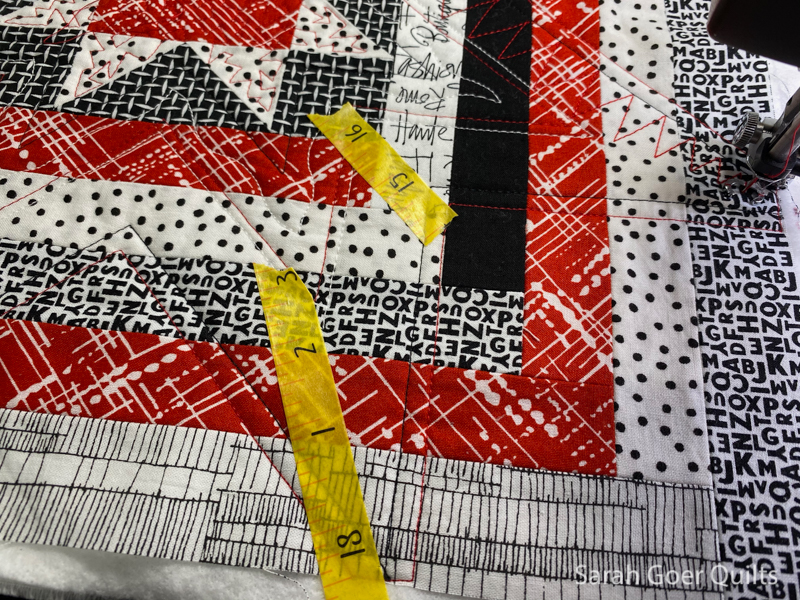
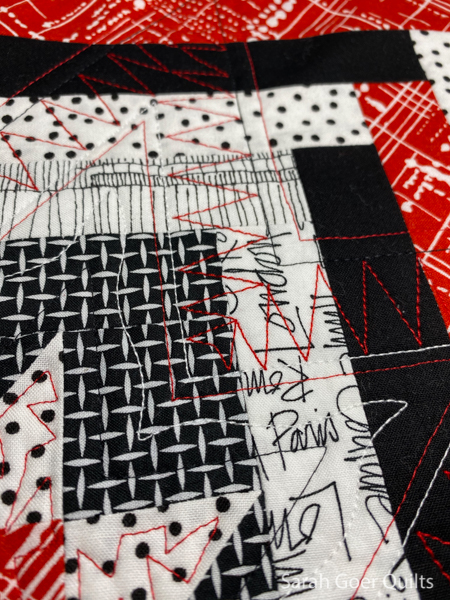
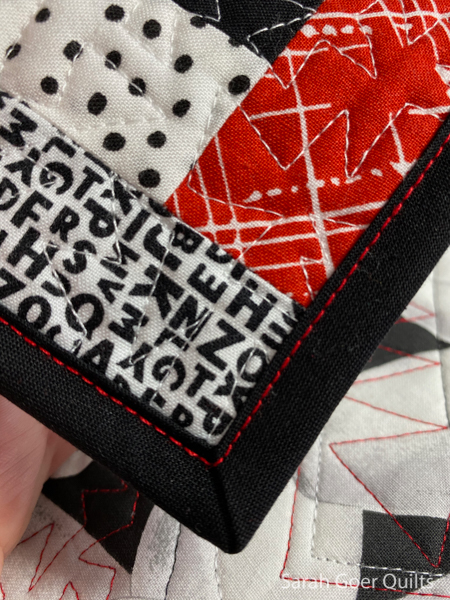
I used my favorite filler, a zig zag meander (which I also used in my red Improv Log Cabin), combined with echo quilting in the black logs. I actually spiraled in and then out all in one trip. Then I bound it in my solid Black Kona.
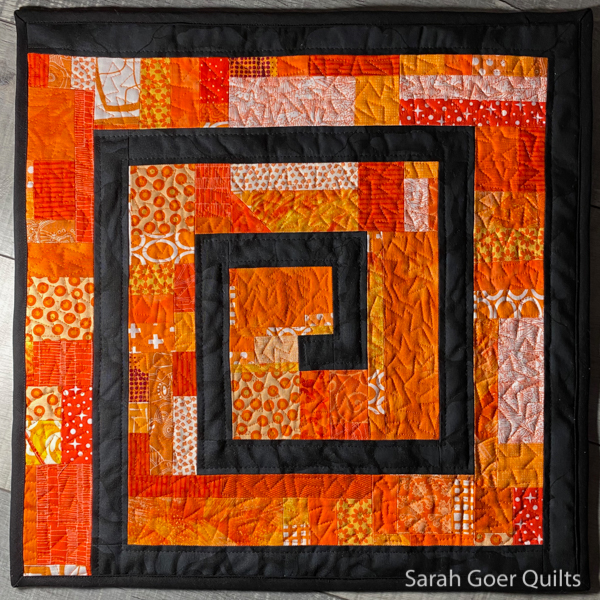
My quilt finished at 16 1/2" x 16 1/2".
You can read all about the other quilts in the series here:
This is day 7 of the 31-Day Blog Writing Challenge with Cheryl.