Tag Archives: Island Batik Ambassador

18 Comments

The products featured in this post were given to me by Island Batik, including Aurifil thread.

This month's Island Batik challenge was to go modern. I thought it was the perfect opportunity to play with my Planned Improv: Scrappy Squares technique in a larger scale.

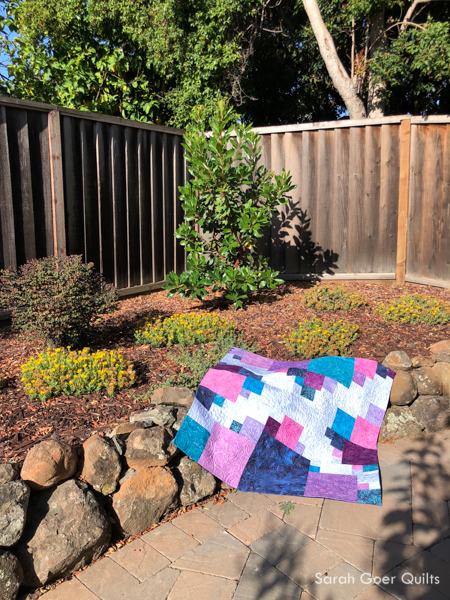
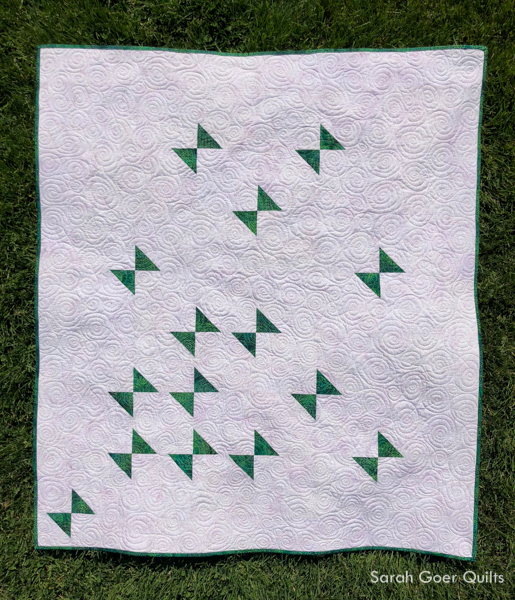
I settled on a scrappy palette of pink, purple, navy, and turquoise, using the light Lilac fabric for my background. The Lilac was a limiting factor as I had only half a yard. (I ended up with about 8" x 10" of Lilac leftover.) Here are some of my feature fabrics:

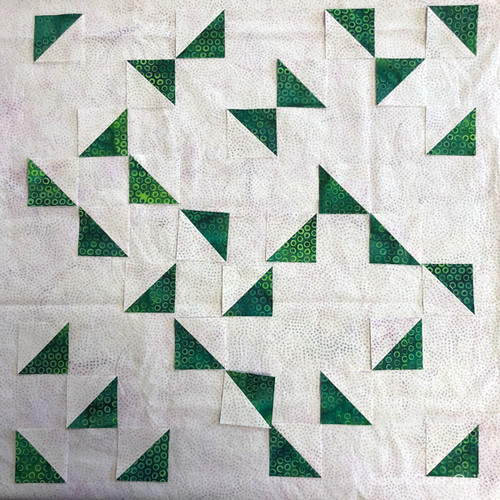
The Planned Improv: Scrappy Squares technique revolves around starting with squares and designing the layout before cutting background pieces.

It's a bit of a puzzle. This one was more complicated than normal and I painted myself into a bit of a corner. No worries! I was able to finish piecing it with a series of partial seams.

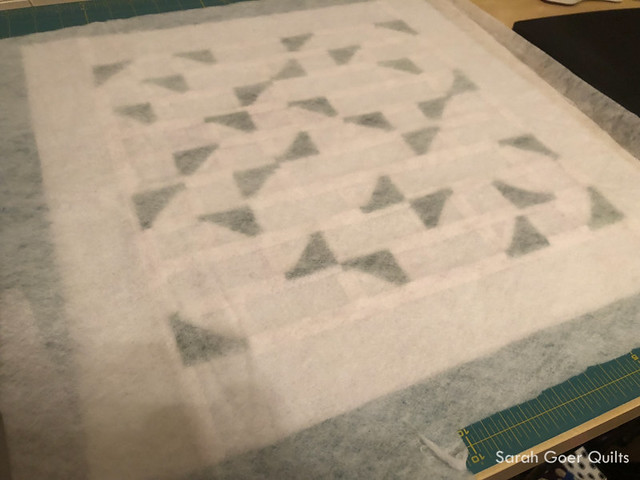
This was my final seam of the quilt top -- the little partial seam right in the middle!

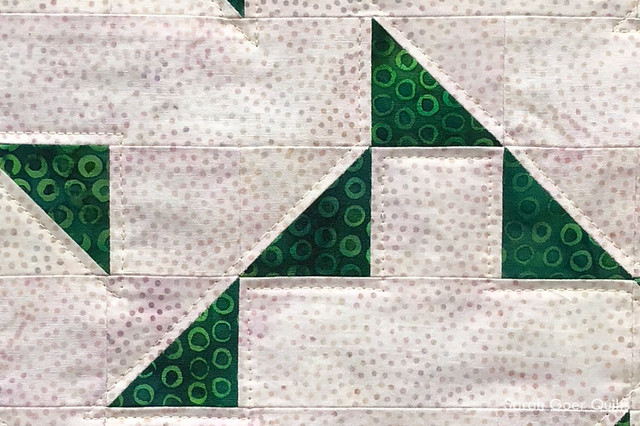
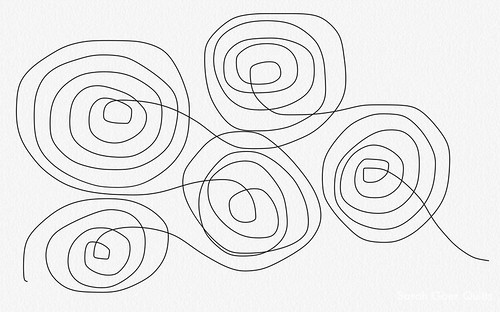
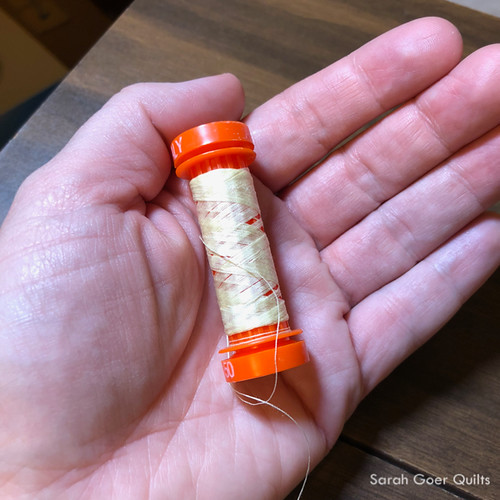
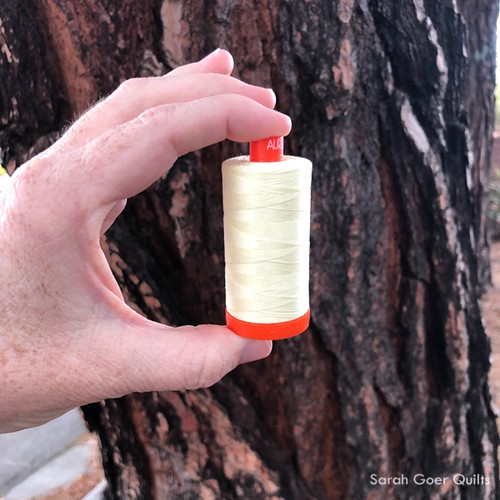
Once it was all together I had to contemplate quilting motifs. I chose Aurifil 50wt Light Lilac (#2510) for the background and Berrylicious Variegated (#4647) for the squares.

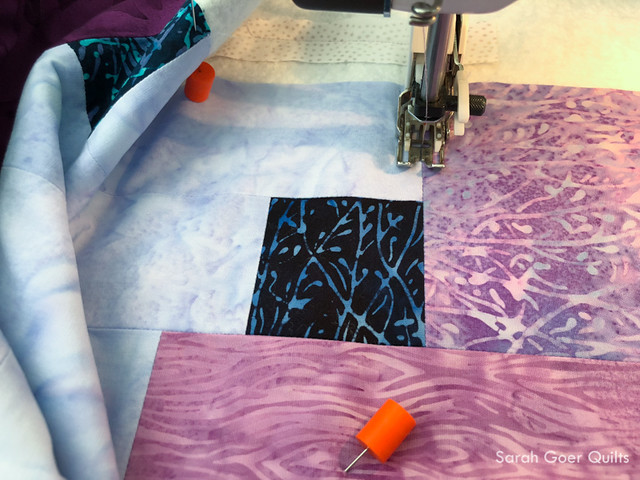
First I did some walking foot quilting to stitch in the ditch quilting in Light Lilac along the perimeter of the sections of squares.

Then I did a jagged stipple in Light Lilac all over the background. Finally, I finished up by quilting Berrylicious spirals throughout the square sections. The hot pink, turquoise, and white was the perfect companion to my palette! I chose a curvy motif to contrast the jagged quilting in the background.

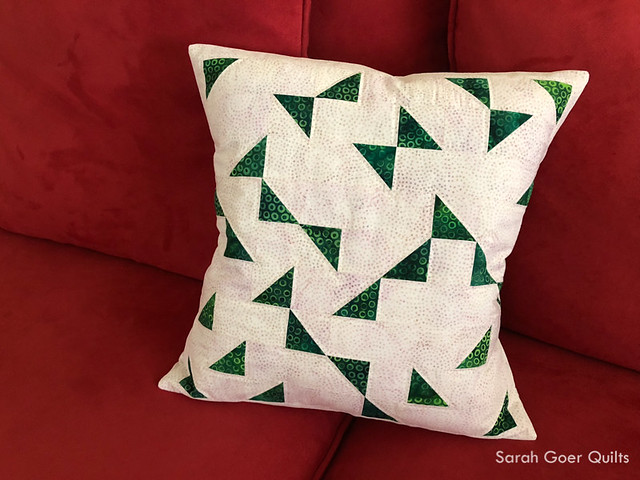
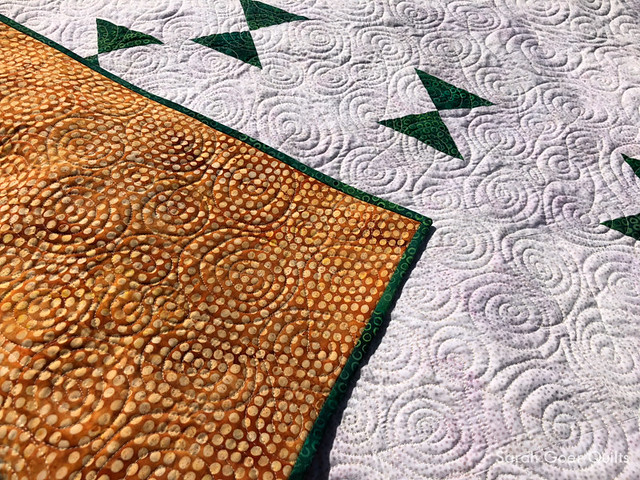
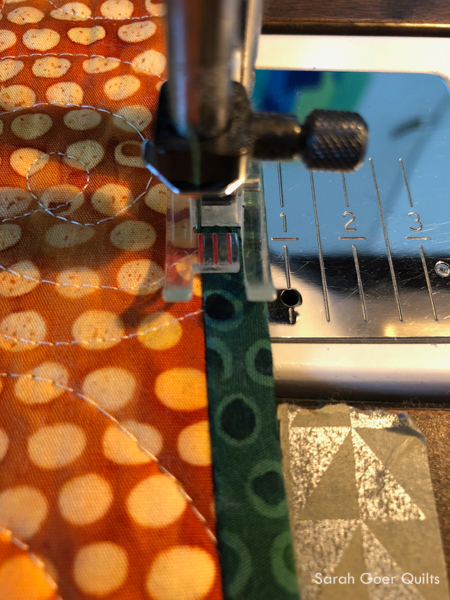
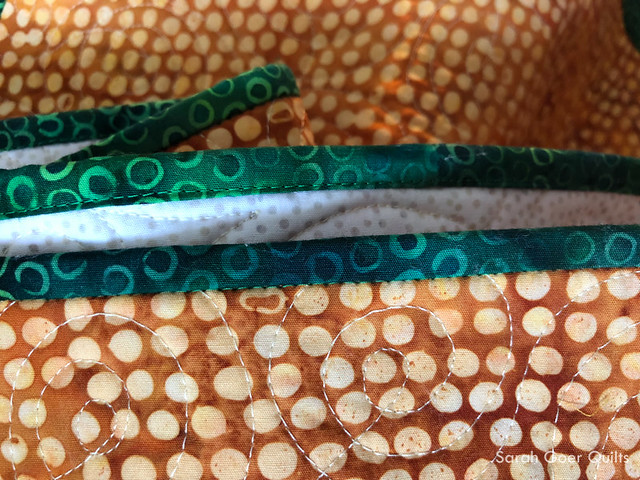
I finished the quilt with a faced binding. I love how the squares and the quilting float all the way to the edge of the quilt.

The quilt finished at approximately 40" x 40". The batting is Quilter's Dream Cotton Select.


Thank you for visiting to see my Island Batik Modern Batik baby quilt!

Check out some of the other modern creations this month by Island Batik Ambassadors:

Myra at Busy Hands Quilts

Connie at Freemotion by the River

Tina at Quilting Affection Designs

Steph at Steph Jacobson

Bea at BeaQuilter

Anne at Sweetgrass Designs

Alison at Little Bunny Designs

Sherry at Powered by Quilting

Vicky at Vicky's Crafts and Quilting


I'm linking up to TGIFF and Needle and Thread Thursday.

I've also linked up to 2018 Q2 Finish Along linkup. See my whole Q2 list.

16 Comments

The fabrics featured in this post were given to me by Island Batik.

Last month I created Emerald Swallowtail, a baby quilt designed with inspiration from a vintage quilt design. The creation of that quilt resulted in 30 leftover HSTs from the offcuts of my snowball corners. Step 4 of this tutorial shows how I like to sew a second line of stitching before cutting off extra triangles. I prefer to have leftover HSTs instead of just a pile of loose triangles that I'd have to sew bias edges together later to use. I have a bin where I keep orphan bits and blocks that these usually go into. I've used them previously to make mini quilts and small bags. My emerald HSTs didn't even make it into the bin though. I kept them out to use for this months Playful Pillow!

I decided I wanted to make something with the same limited palette as Emerald Swallowtail. I had used all of the green for the quilt (Bubble Hole in Leaf), but I did have yardage left of my neutral (Almond). Designing without a pattern I used a Planned Improv technique to limit myself to the HSTs and Almond yardage for the pillow. I designed on a grid, and decided that triangles could only touch on a point, not on a side. Here's the final plan.

My HSTs were trimmed to 2" x 2". Once they were pieced with filler pieces cut from the background yardage I had a 14" x 14" (unfinished) panel. I added borders to each side, intending to trim down after quilting.

I opted for Hobbs polyester Thermore batting. It is ultra-thin (1/16" loft) and I figured it would be nice for the pillow cover to not get crinkly in the wash. Here's a peak of the Thermore batting layered over my quilt top.

I added a backing layer of fabric for my quilt top before adding some walking foot quilting. I opted to echo each group of triangles approximately 1/8" off the perimeter using 50wt Aurifil #2110, Light Lemon. I'm happy with the look of this. Another option would be to add filler quilting in the background, or to add quilting inside and outside of these echo lines.

My finished pillow cover is 15" x 15".

And here it is with a 16" Poly-fil pillow form. This is the first pillow cover I've made, and I opted for a snug fit. I'm curious how the look would change with a down pillow form.

My back panels have an approximately 7" overlap (more than I think I needed). The back is unquilted fabric, with a hemmed edge. Here's what it looked like while I was in the middle of wrestling the pillow form into the cover. ;-)

How do you like to finish you pillow covers?


Thank you for visiting to see my Island Batik Playful Pillow!

Check out some of the other Playful Pillows created by Island Batik Ambassadors this month:

Connie's Scrappy Batik Pillow

Jessica's Frequency Pillow

Mania's Tuffet

Dione's Fairy Owl Pillow

Karen's Rainbow Trout

Laura's Cactus Pillows


I've linked up to TGIFF, Finish It Friday, and Needle & Thread Thursday.

I've also linked up to 2018 Q2 Finish Along linkup. See my whole Q2 list.

SaveSave

22 Comments

The fabrics featured in this post were given to me by Island Batik.

When I read the theme for this month's Island Batik Ambassador project, Looking Back: Vintage Quilts Inspiring New Creations, two words came to mind. Modern Traditionalism. Since Modern Traditionalism is a design theme on my 2018 Goals, I was very excited to get to work on this project.

I started with a half snowball block, which I imagine is already a variation on a snowball block, and played with the use of negative space to create my design. The design came to life in my graph notebook, where I generally start my quilt design sketches.

I chose my neutral fabric, Almond, for the background. My feature fabric, Bubble Hole in Leaf, is such a vibrant shade of green. I used every little bit of the green (with the exception of the HSTs created from the corners) and had a whopping 6" of binding leftover! I chose my backing fabric, Dot in Smore, since it was a 1.5 yard cut, large enough to back the quilt without requiring piecing. Win! ;-)

Once my quilt top was finished, I started to think about the quilting motif. I knew I wanted to do free motion quilting, and that I wanted it to be fairly dense and have a good texture. I settled on spirals, traveling into the center and then crossing over the lines of quilting to move to the next spiral. Here's a sketch of what I had in mind. I find drawing out a motif on paper (or in this case on my phone) is helpful with the muscle memory required to actually stitch it.

I chose 50wt Aurifil #2110, Light Lemon, which I received in a pack of small spools in varying weights when I recently attended the "Inside Aurifil" lecture by Alex Veronelli. The pale color reads as a neutral on my fabrics. My grey felt too dark and I thought the white be too drastic, so Light Lemon was the perfect choice. (I need more pale colors for quilting, as they blend so nicely.)

Well, I got about a sixth of my quilt quilted on my first bobbin, rewound the bobbin, and was nearly out of thread. See above. This was a gross miscalculation on my part. I generally buy small spools of Aurifil if I'm only needing it for a portion of a quilt, like on my Wizard of Oz baby quilt which used seventeen colors. Most of my thread is large spools. Realistically, I just didn't give it much thought. And naturally, I ran out of thread at about 11pm on Saturday night.

A little Sunday morning scrambling (thank you IG friends!) and I found a local shop with a large spool of Light Lemon. Woo hoo! All told, my 43.5" x 49" quilt took 4 1/2 bobbins of quilting. So worth it! I love the texture! I used Quilter's Dream Select cotton batting.


My binding was prepped as bias binding, but then I sliced the wrong direction when I made my strips, so I have accidental straight grain binding. *shrug* (There were lots of little issues on this quilt!) At least I had just enough to make it work. I tried a variation of my machine binding technique and on the final pass stitched from the back, stitch in the ditch. This technique essentially hides the line of stitching on the back (good since my green was such a contrast to my backing fabric) and the bobbin thread catches the edge on the front of the binding. (I was 97% successful, not bad for a first attempt!)


Perhaps when you first saw the quilt you thought of butterflies. So did I. (My family and a couple close friends did, too!) A little research on green butterflies led me to the name Emerald Swallowtail. The Emerald Swallowtail is a beautiful butterfly with bands of bright green on it's wings. I'm already thinking of what colors I'll make this quilt in for a larger throw version. What colors would you use?

For more examples of Modern Traditionalism in quilting you can visit the Modern Quilt Guild's website.


I've linked up to Needle and Thread Thursday, TGIFF and Finish It Friday.

I've also linked up to 2018 Q2 Finish Along linkup. See my whole Q2 list.

SaveSaveSaveSave

SaveSave

SaveSaveSaveSave

SaveSave

SaveSave

SaveSave