We are into the last quarter of WIPs Be Gone with less than 25 days left in the year. (Where did 2021 go!?) I missed my 50 Day update here on the blog, so here are the Day 50 and Day 75 updates for WIPs Be Gone, a WIP finishing challenge running for the last 100 days of 2021, hosted by Leanne of Devoted Quilter.
To be honest, I've lost steam a bit over the last couple weeks, but I am planning to finish some more quilts in the next few weeks.
Day 50 Update
Nine little finishes, plus some other progress in quarter 2.

I bopped around making some progress on a few different things. Then as day 50 approached I focused on my tiniest WIPs to finish this pile of nine mini mini quilts. They finish at 2 1/2" x 3 1/2" each (Artist Trading Card sized).
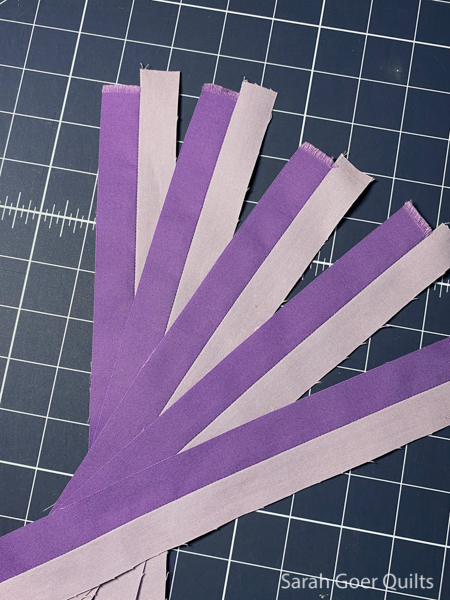
This project was only a WIP because I had a fabric pull and an intention. In late October I started piecing my purple Prism Play quilt. This will be a submission to an upcoming SAQA (Studio Art Quilt Associates) Northern California/Northern Nevada regional exhibition. Oh, if you'd like to join SAQA, you can do so now with code: FRIEND to save $20 on membership.
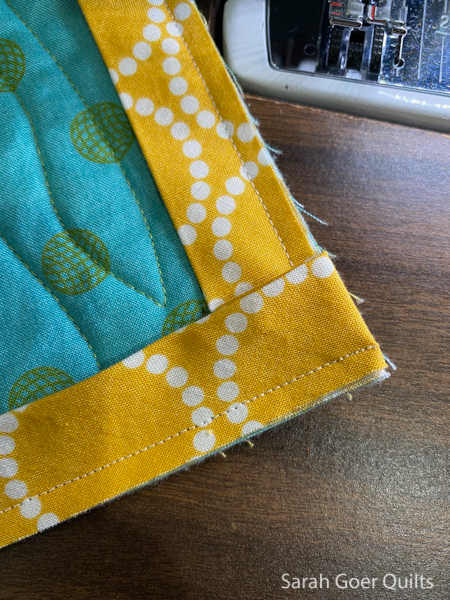
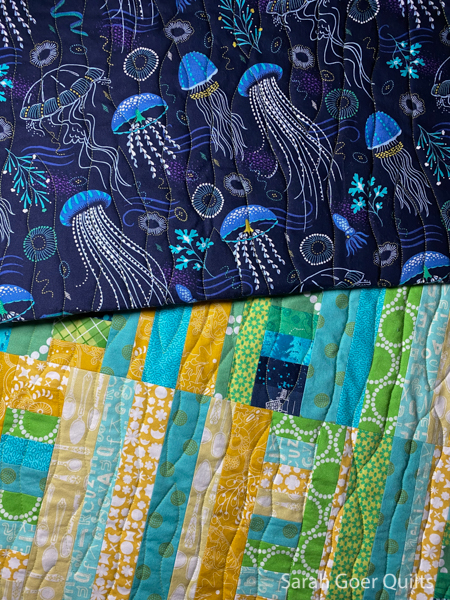
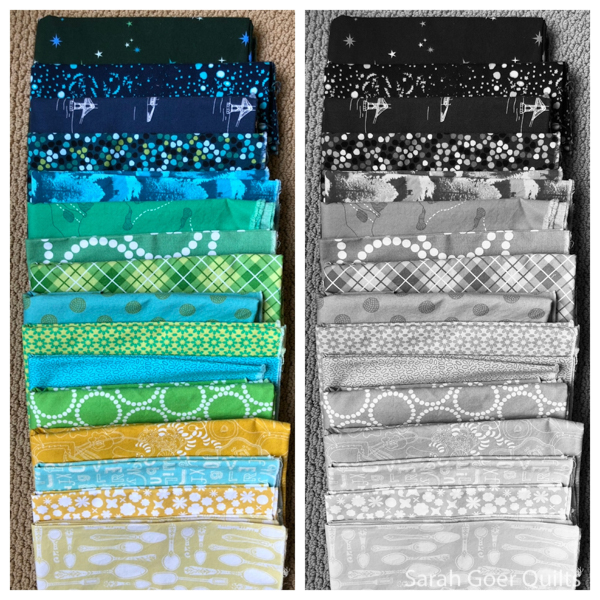
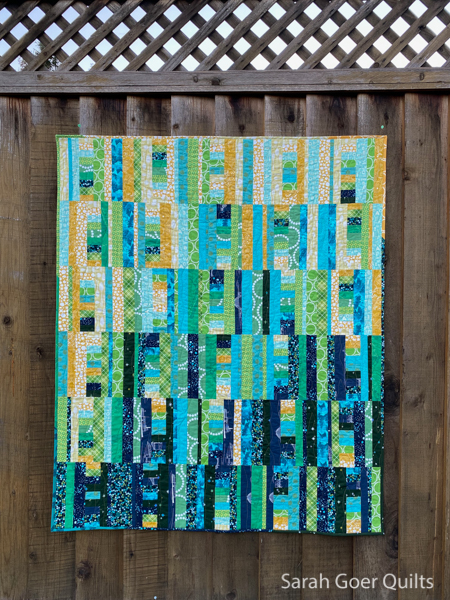
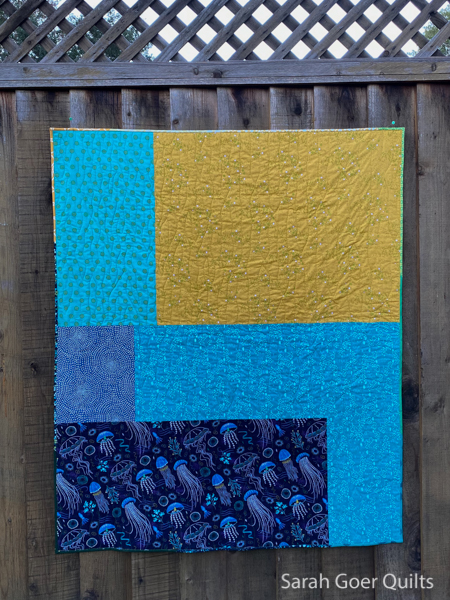
I made a scrappy binding and started binding my Waterfall quilt. (Have you seen my machine binding tutorial?)
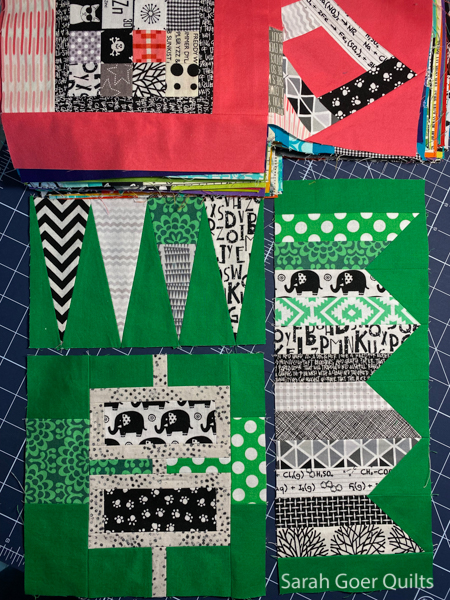
The other thing I did in Q2 of WIPs Be Gone was to take a full inventory of my UFOs/WIPs. It had been about 2 years since I'd updated my list. I like having the reference to see it all in one place. Pictured above is my Patchwork City project. I finished piecing the 75 blocks in a 100 Day project that started last year around this time.
Day 75 Update
Four finishes in quarter 3.
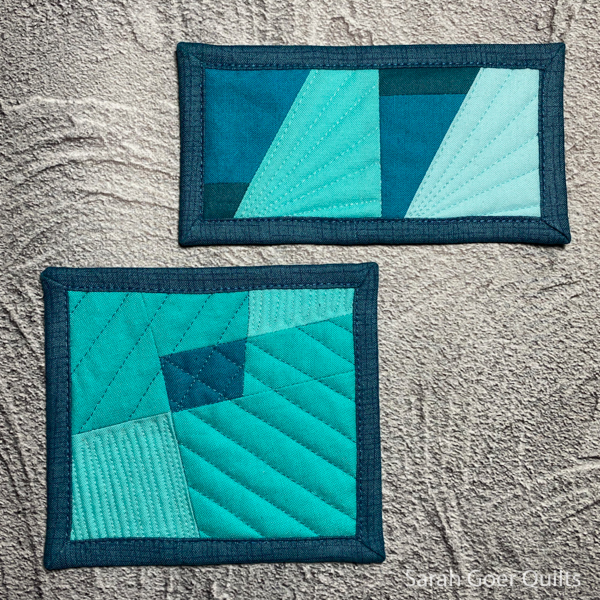
Just after day 50 I kept working on my tiniest quilts. These two teal mini minis finish at 5 1/4” x 2 3/4” and 4 1/2” x 4”.
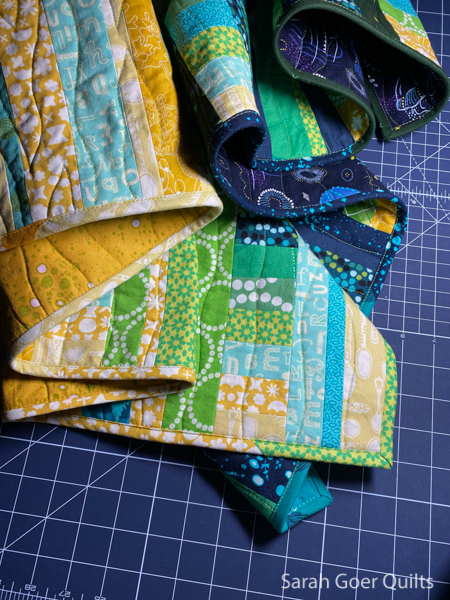
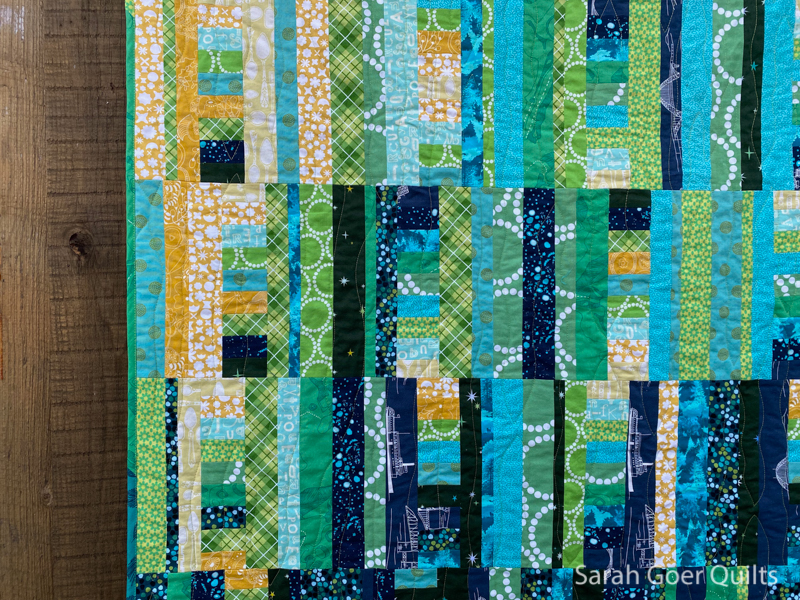
I finally circled back to my half bound Waterfall quilt and finished it up.
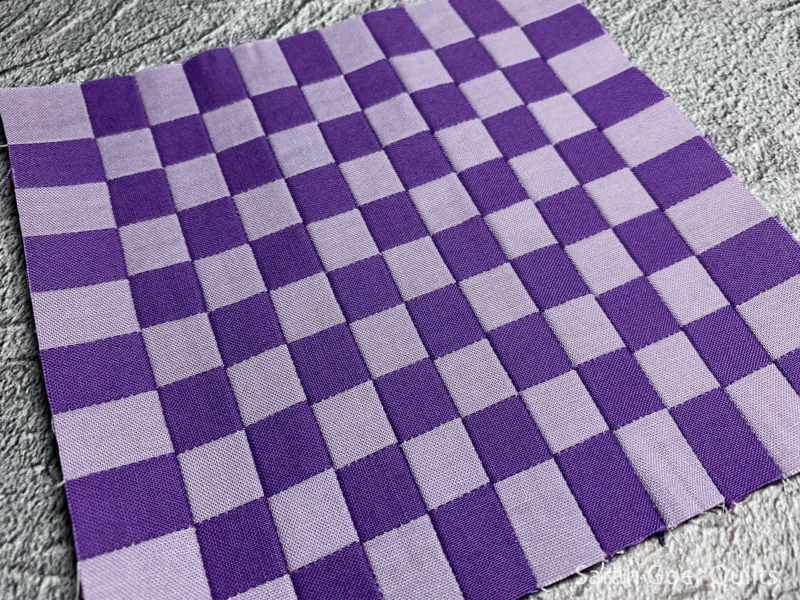
Made a little component of my Purple Prism Play project. This 6" square is the first part of what will be a 15" x 45" quilt.
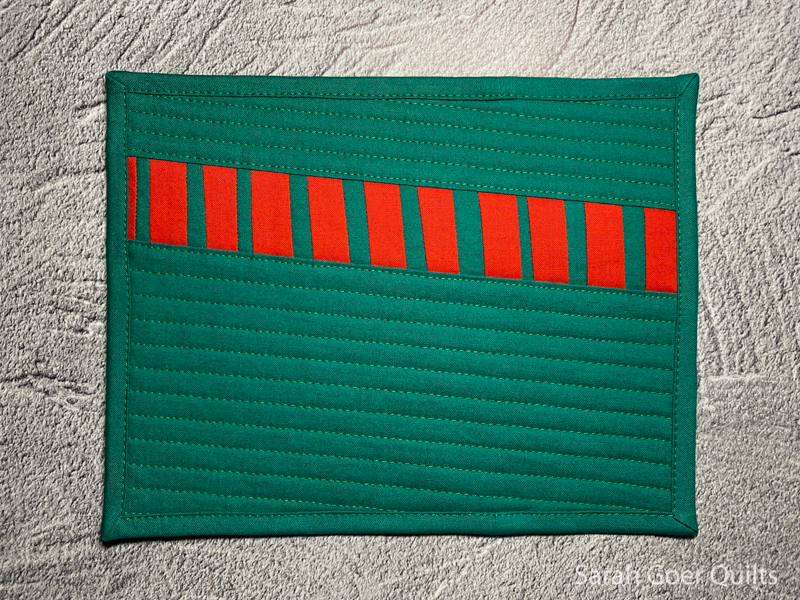
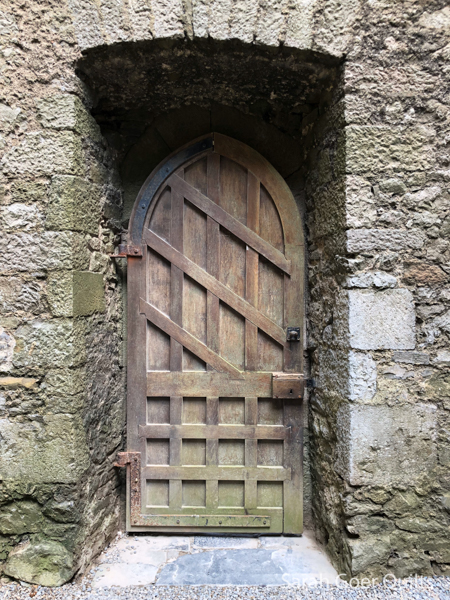
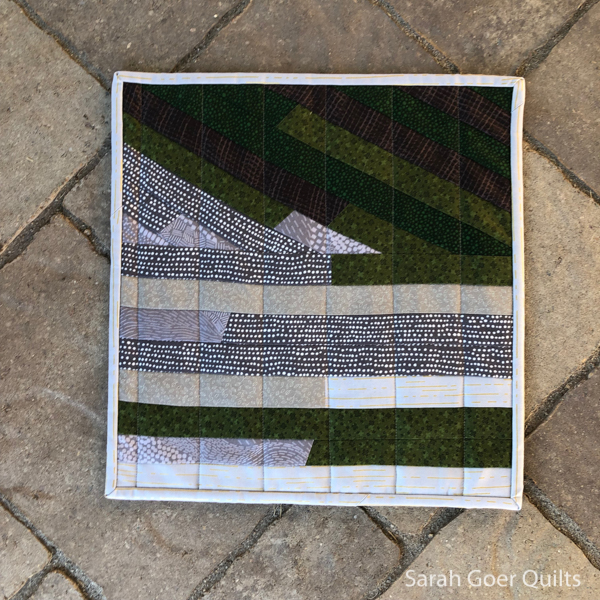
Inspiration is everywhere. I finished up this mini quilt inspired by a friend's photo.
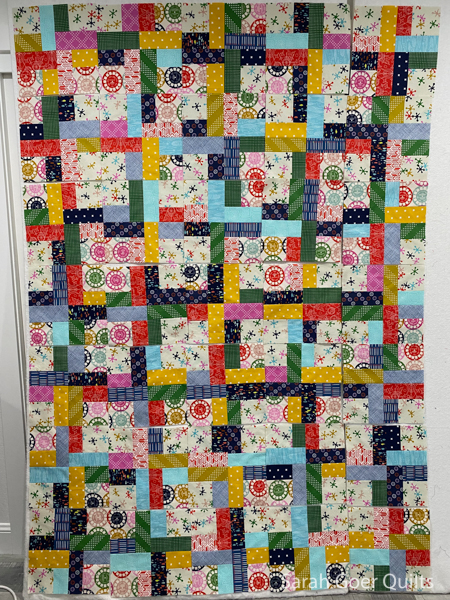
This project was started in 2016. This year I finished making all the components (that then were cut into quarters). During WIPs Be Gone I have put together 35 blocks. Now they've been packed away to switch gears and work on something different. I have lots to choose from.
In case you missed it, here's the link to my Day 25 update.