Based on the classic precision pieced snake blocks, Sarah Ruiz asked us for improv snake blocks.
She pointed us to these two websites as examples of what the classic snake block looks like.
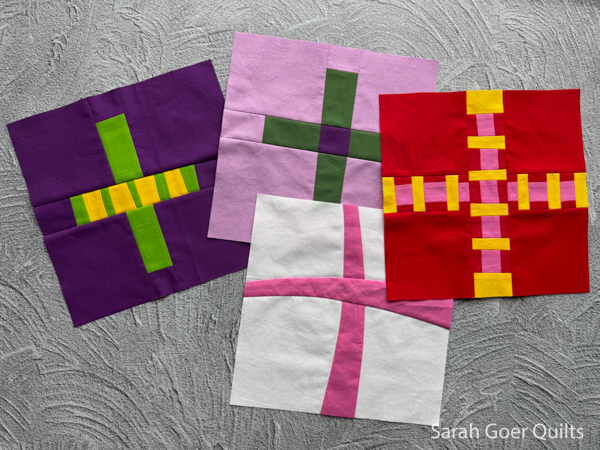
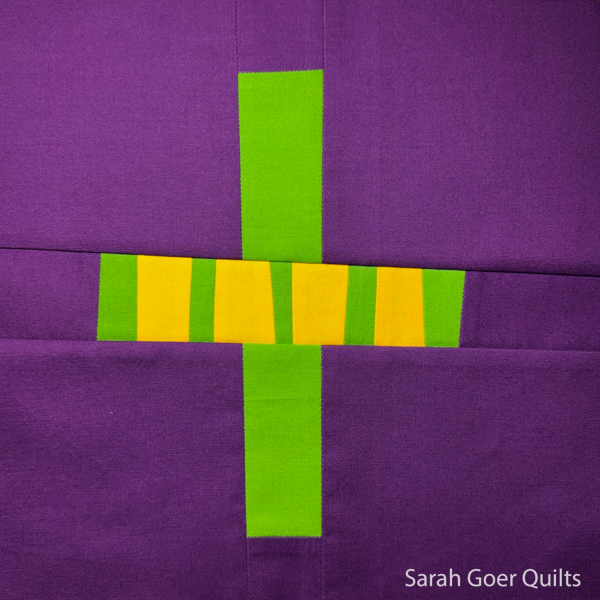
Sarah chose a palette of dark teal (for the arcs), magenta, coral, yellow, and cream. For each color family, we were encouraged to use various hues, and a minimum of two color families per section. We could include any type of straight-line improv piecing, with the only curved seams being the improv quarter circle arcs in dark teal.

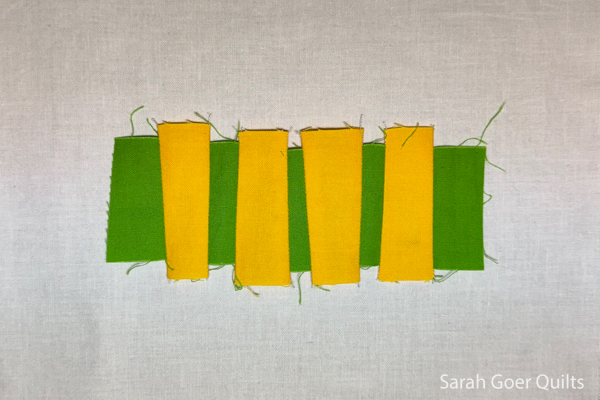
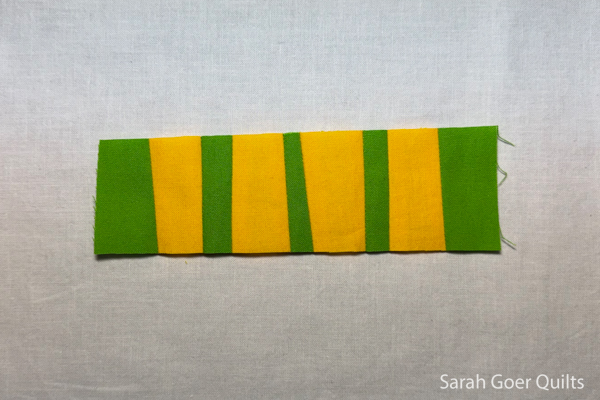
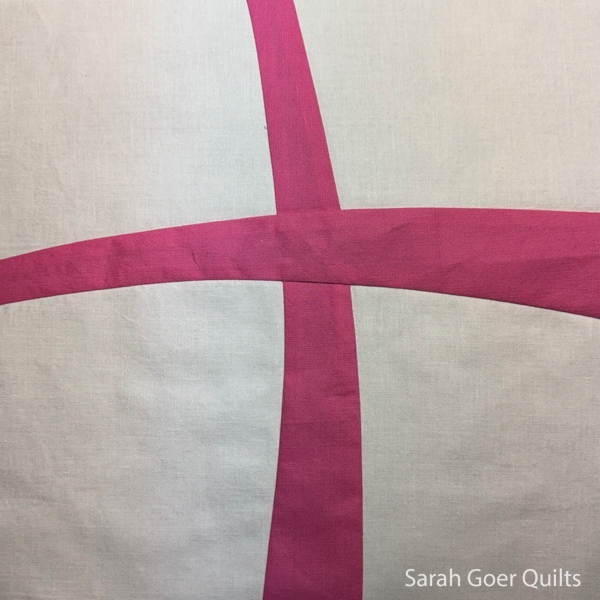
After pulling fabric the first section I pieced was this corner section. I had pulled yardage and scraps in the appropriate colors and this quarter circle of magenta was calling to be a corner of one block. I slice and inserted three 1/8" wide skinny strips.

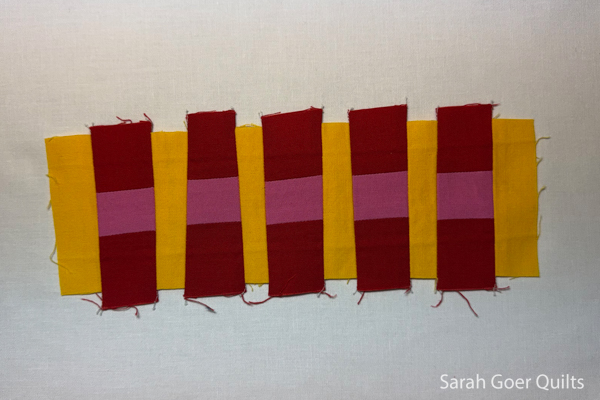
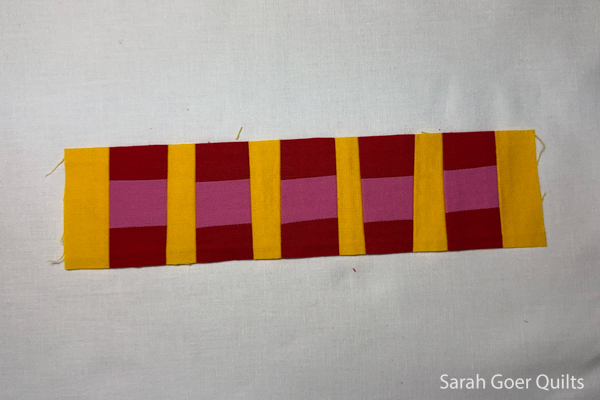
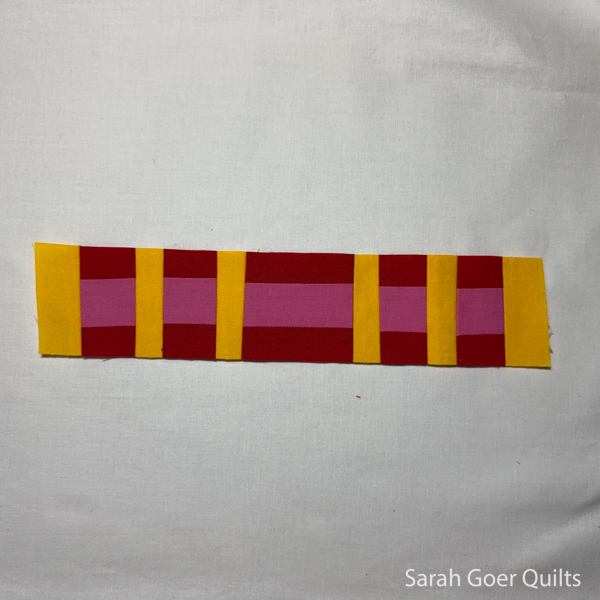
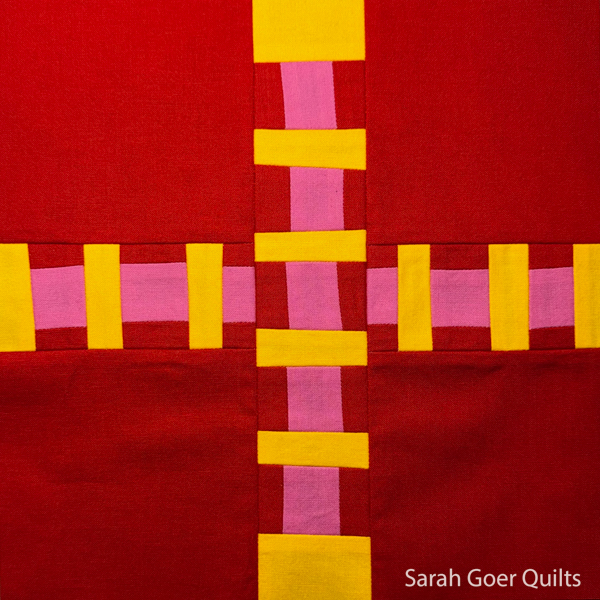
Then I started piecing boxy sections of magentas and corals to be a center section. Since I wanted to use different color combinations in the different background sections, I pieced yellow and cream for one corner.

For the second block I took inspiration from my round robin unit. I created a large wonky strip set wide enough to be trimmed on the diagonal to be the center section of my second block.

Again taking inspiration from my scrap shapes I used a triangular scrap and pieced around it to create the second corner for block two.
Finally, I decided to make another cream and yellow slab for the second corner of block one (below), heavier on the cream this time.


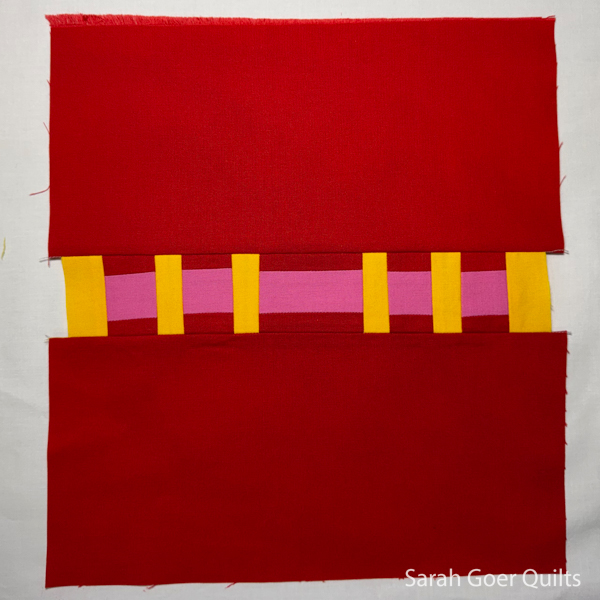
I attached the teal strip to the corner section first. Then I lay the resulting panel on top of the center panel of fabric (2nd photo above). I lined the edges of the corner up about 1/2" inside the edges of the center panel. Then I checked to make sure there was enough fabric in the overlap where I would cut and sliced through both layers at once (using this method) before piecing the curved seam (3rd photo above).


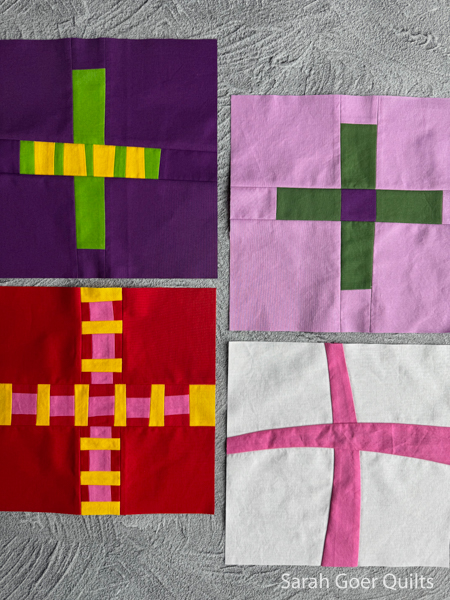
These blocks were such an opportunity to play. I loved choosing different color combinations and deciding on different styles of improv piecing.

It will be fun to see Sarah's quilt top come together. I like the visual interest of the teal arcs not lining up perfectly.