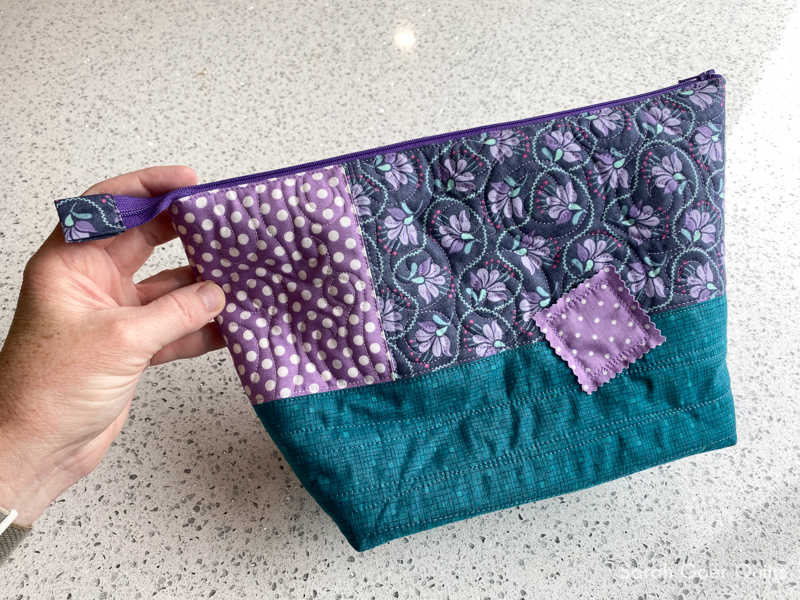
Today was our holiday part at Bay Area Modern Quilting. There's an annual tradition of a gift swap among members. In 2017, I made this apron for Gerre. And last year I made a pair of fabric trays for Joelle. This year I was assigned to make for Mary, and she indicated that her favorite colors were purple and teal and that she'd like "anything." I knew immediately that it would be fun to create something for her and decided her "anything" would be a bag, making it a twofer as it fits the requirements for the November Travel Handmade Bag Making challenge for the Aurifil Artisans.

I started with a fabric pull, including a zipper that coordinated. I spent a fair amount of time pursuing bag patterns and considering what I'd make. In the end, I settled on the Noodlehead Open Wide Zippered Pouch in size large. There are quite a variety of zipper pouch tutorials out there, but I just love this one so much! It's a great pattern, can be made with just one or two exterior fabrics, or tricked out with piecing or appliqué. Unlimited options!
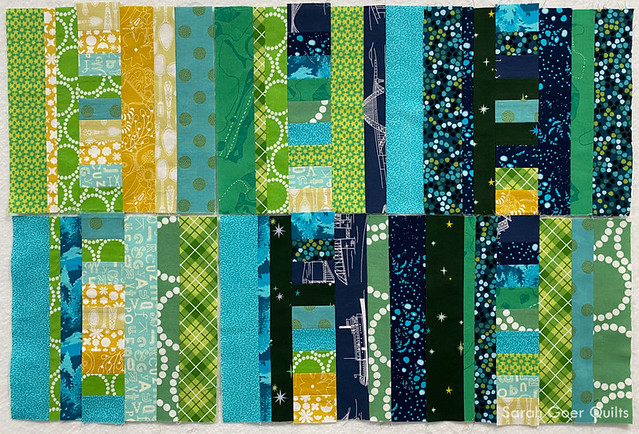
I like making this size bag with fusible fleece on the exterior panels, but I didn't want to make a run to the store. Instead, I used a remnant of Quilters Dream Deluxe batting from this quilt. This thicker loft batting gave the bag great structure. Since I was quilting with batting, I made my panels a little oversized and trimmed down to size after quilting.

I had considered piecing the exterior panels, but decided on a split panel with the floral on the top and the teal Christa Watson fabric on the bottom. However, the floral was just a couple inches too narrow for this so I was able to use the polka dot to fill in. I ended up trimming off the floral size to leave a better ratio of the polka dots instead of just 1-2" per panel.

One my exterior panels were pieced I auditioned thread colors for quilting. I like having a variety to choose from.
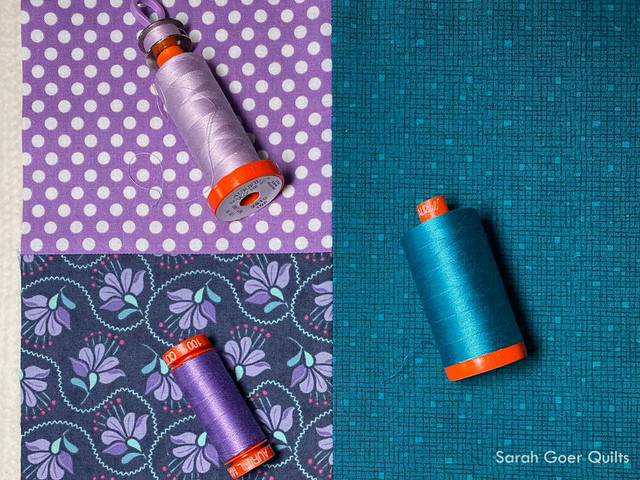
I settled on these three: Light Lilac (#2510), Violet (#2520), and Dark Turquoise (#4182). I love that quilting with 50wt doesn't compete with the pattern on the fabric.

I chose three different motifs for the quilting. Here's a view from the back.

I used my walking foot for the organic, wavy lines in the teal sections, tried out a new-to-me motif from Leah Day's 365 FMQ Designs in the polka dot sections, and used one of my favorite motifs, spirals, for the floral sections. I didn't have backing fabric on my quilt "sandwich" since the lining would cover the back of this quilted panel.

After quilting, I appliquéd the square of polka dot fabric to the front panel.


Then I chose a lining fabric, stitched it all together, added the tab of fabric on the end of the zipper.
The gift exchange is so fun every December. People made a variety of delightful gifts -- coasters, table runners, aprons, placemats, bags! Tomorrow I'll show you what I received. :-)
I'm participating in the 31 Day Blog Writing Challenge with Cheryl of muppin.com.