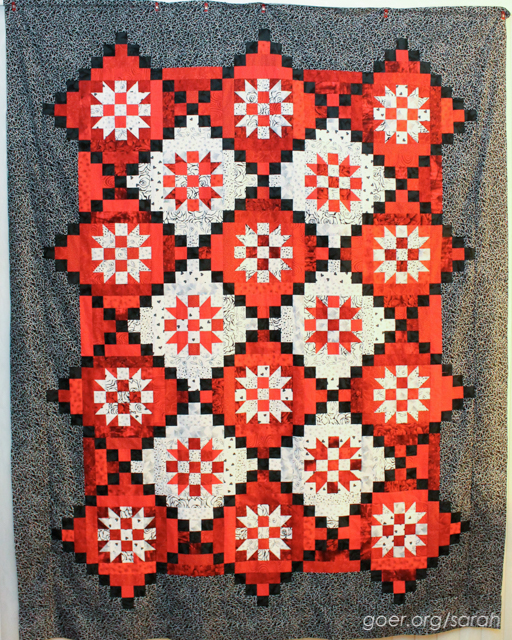
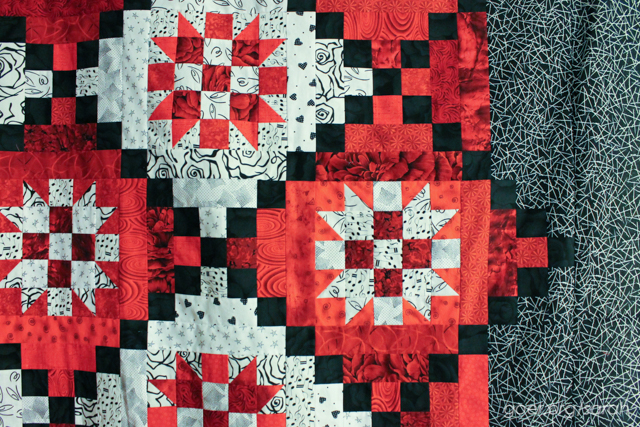
Here's my progress on my December ALYoF goal... a mystery quilt I started in 2006! I have just under 48 hours to crank out a finish with some uncomplicated free motion quilting. I'm so excited to have the quilt top finished. I'm looking forward to giving it away, but I might have to spent some time looking at it first. :-)
Little Letters
I finished piecing all my letters for my two little letters quilts. I need to cut about a million (okay 84) 1.5" corner squares for the sashing. Then I'll be able to get these all pieced together.
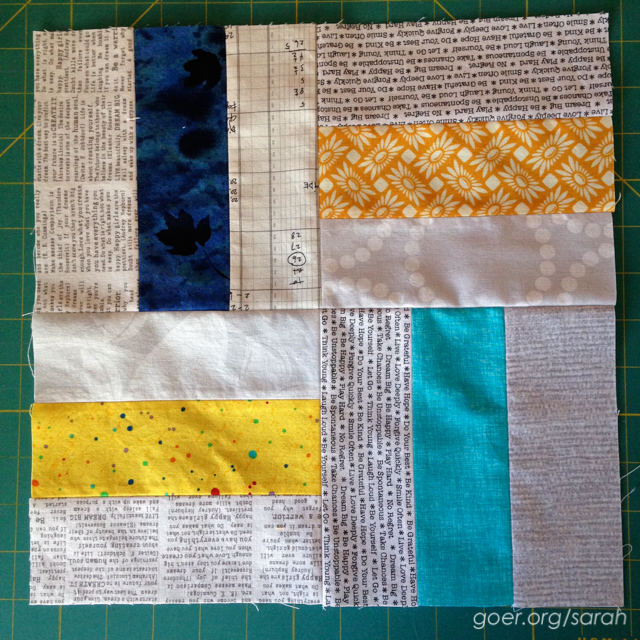
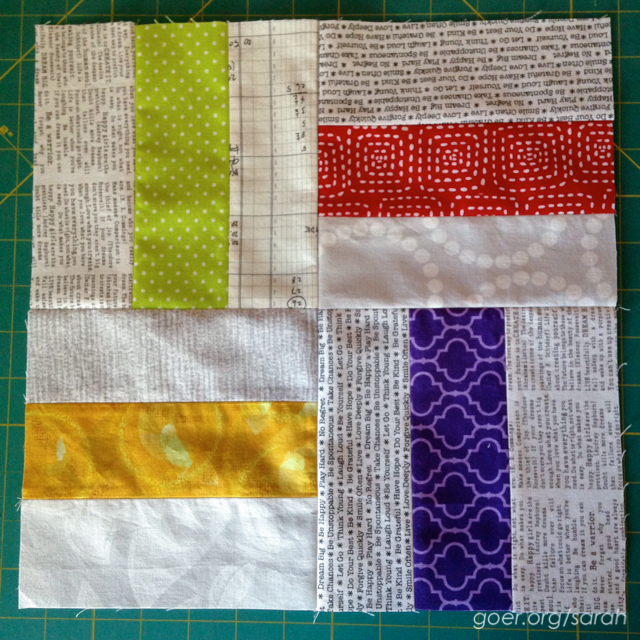
do. Good Stitches
Here are my December do. Good Stitches blocks for the Promise Circle. These scrappy domino blocks went together very quickly. I was even able to raid my 2 1/2" strip scrap pile for some of the pieces. They are on their way to Diana in New York. I'm looking forward to seeing the finished quilt.
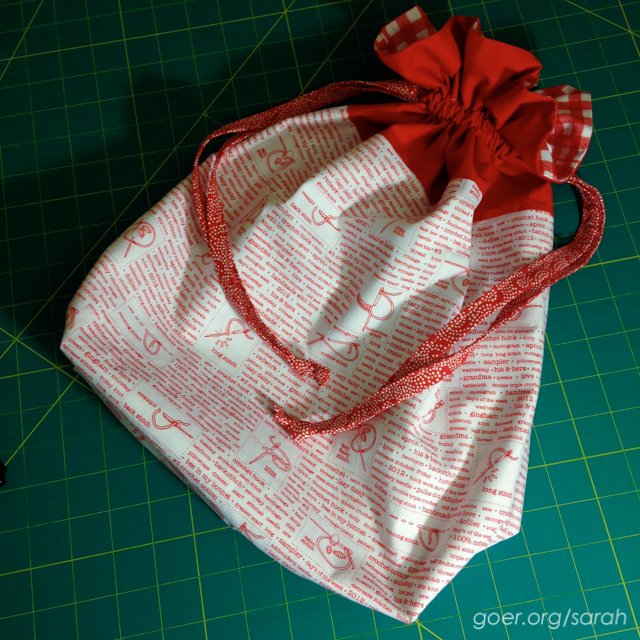
Drawstring Bag
My mother-in-law does embroidery and a while back I noticed that she was keeping her supplies in a plastic shopping bag. Then I saw this adorable fabric and I decided that she needed a large lined drawstring bag for her project and supplies. This one is the Artist Bag size of Jeni Baker's Lined Drawstring Bag.
#disneyminiswap2015
I started making progress on my Disney Mini Quilt. I won't be able to show too many progress pictures, because I think it would give it away to the recipient, but I'm very excited about my plan and hope she'll love it!
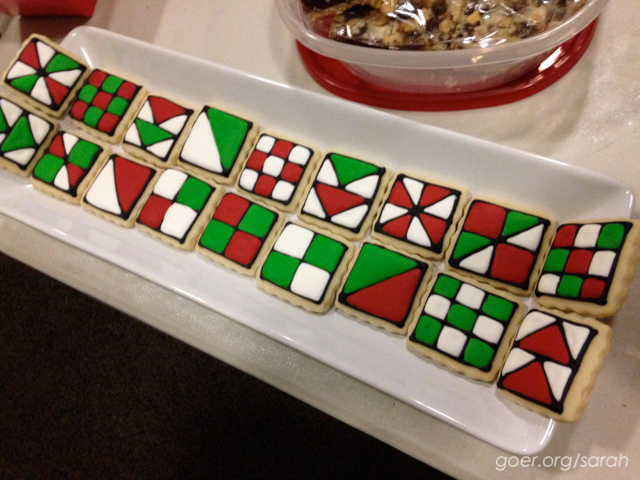
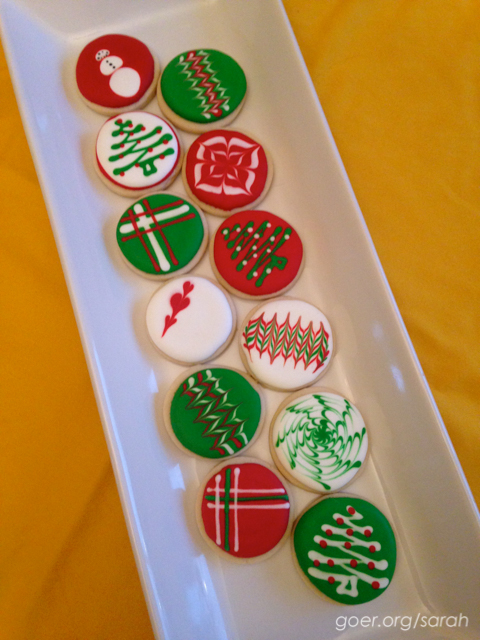
Cookies
I made 10 dozen holiday cookies... Here are the quilt block cookies I brought to my guild's holiday party and a selection of the 7 dozen that I brought to the annual cookie party that I attend.
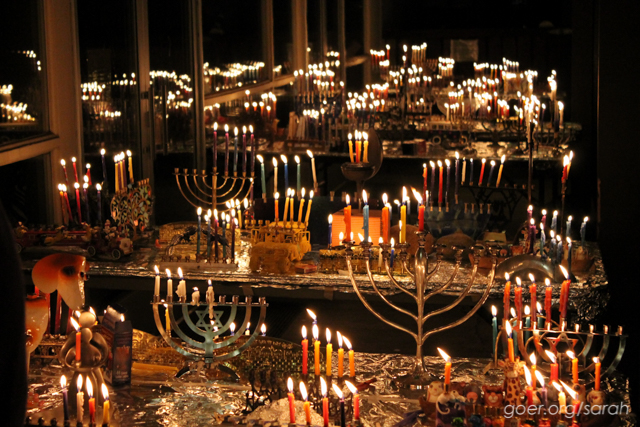
I guess I've been busy. We also celebrated Hanukkah and Christmas with family. I hope the holiday season was enjoyable for you and your family.
Hanukkah celebration with our congregation (4th night).
Welcome to those of you who are here to share a finish with TGIFF or to check out what everyone else has been up to. I'm really excited to be hosting Thank Goodness It's Finished Friday!I've been trying to finish up some older projects and stash bust some of my older fabrics... many from when I started quilting in 2002. I recently decided to put together this baby quilt. The feature fabric was leftover from a pillow case that I made for my nephew a few years ago. I decided that the cars would make a cute baby quilt and pulled two fat quarters from my stash to go with it.
I did a little measuring of my leftover car fabric and found that I could get twelve 5.5-inch squares out of it (leaving very little waste). I decided I'd make 4-patch blocks with my red and yellow fabrics. For those I cut 3" strips of each fat quarter and strip-pieced them.
Then I cut these into 3" segments, to piece the 4-patch blocks. (Strip-piecing tip: When cutting be sure to square up the edge, and line your ruler line along one of your seams.)
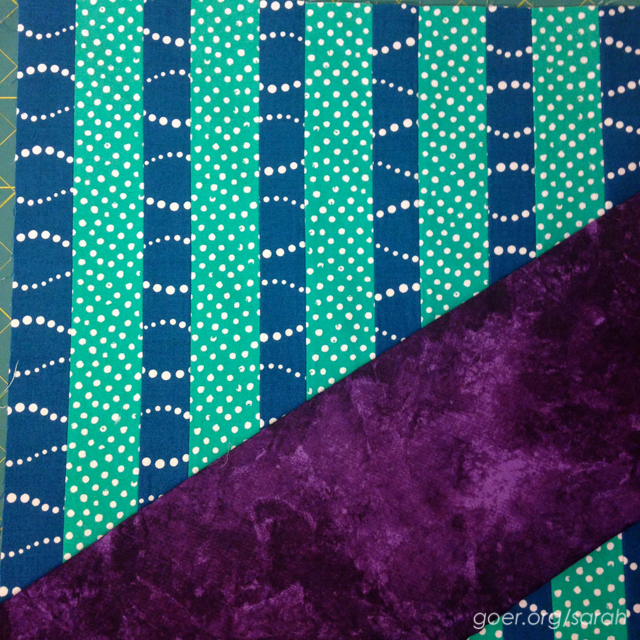
Now, I didn't like my options for border fabric from my stash, so I picked up the lovely green dots at PIQF. I used a striped fabric from my stash for the backing and binding. I love the effect of the striped fabric used as bias binding with the diagonal strips. The whole project went together very quickly.
Make Your Own
This could be done with any size block. Start by determining an optimal size block for your feature fabric. This might be determined by how much fabric you have, what size your pieces are, or the scale of the print. Then to determine the dimensions of your small squares just divide by two, then add 0.25 inch.
For example if you had 4-inch squares that you wanted to use for the feature fabric,dividing 4 by two equals 2 inches, then adding 0.25 is 2.25, so the small squares should be 2.25 inches. You could strip piece by cutting 2.25-inch strips, then crosscut into 2.25-inch wide pieces.
Once you've pieced your 1-patch and 4-patch blocks together, you can add one or more borders to reach your desired quilt size.
If you're new to my site, here are some of my favorite finishes:
I knocked one of my three current quilting projects into the finish column last week. Here's the full report on Basic Shapes, my IG (instagram) Mini Swap quilt. It has made it's way to Becky, so I can finally tell you all about it. This project was a lot of firsts for me.
first quilt swap
first IG swap
first medallion style quilt
first flying geese
first time using Rita Hutchens' tubular strip piecing method
first frankenbatting
first time quilting using aurifil (I have been piecing with it)
first time using 1 3/4" binding strips
I loved watching the progress in the IG community. It was so inspiring (and at times intimidating) to see all the beautiful work being done by the hundreds of other quilters participating. I'm hooked, seriously. I've already signed up for two three more IG swaps (the Schnitzel and Boo Mini Quilt Swap: round 3, as a late addition to be a swap angel in the Disney 2015 swap, and to the new rainbow mini swap).
Then my 2.5-year-old helper had to take a picture... apparently we had different understandings of what "Do you want to help Mama take some pictures of her quilt?" meant.
A little on my process:
I had a hard time making a plan for my quilt and decided to start with doing something I had never done. I chose a blue fabric to make some flying geese. I also made some with orange. I made the flying geese using Rita Hutchens' Totally Tubular Strip Piecing after seeing her speak at a guild meeting. Halfway in, I decided to alternate the blue and orange geese. They aren't perfect, but I'm pretty happy with them. I'll definitely be doing more of Rita's magical tube piecing. I loved the geometry of the process.
I decided the flying geese would be a fun first border on a medallion style quilt, so I found a 9" star block to use in my center, pleased that the math worked out and I had 32 geese, with a total length of 36". I got stuck there for a while. There were 120 pieces in that 14" square. I kinda didn't know what to do next.
I decided to do the thin green border as a rest from the busy center. Then having used the green, I wanted to avoid it in the final border. I was worried that the last two borders were too simple, but I think with so much detail in the middle it worked out very nicely. In the end, the quilt finished at about 18" square. I'm looking forward to another medallion style quilt. Maybe by myself, or I'd love to do one round robin style with a group.
(I guess I thought the blue side was the top when I was working... it ended up on the bottom corner.)My frankenbatting. It was remarkably easy to piece together with a 3-step zigzag stitch.
I had a great time quilting it. It's the most dense quilting I've done. I worked without marking my lines (cause I think I just don't have the patience for that) and I really felt like I was in control. It was the first time I've quilted with Aurifil thread and I am so pleased! It was so smooth and I had zero thread breaks while I worked. This is amazing compared to normal for me. I'm sold on Aurifil and just picked up some red thread for quilting the mystery quilt. (I see a collection of Aurifil in my future... I'm eyeing the Aurifil color card.)
I attach my binding by machine, and usually use a 2" width, but I've found that it's a little wider than I want it to be, and the stitching visible on the back is 1/8" from the edge of the binding. I tried the 1 3/4" width on this project and it was a little tight, some places the stitching on the back is on the edge of the binding, but I was overall pleased. I added corners at the top for hanging.
I haven't yet received my mini quilt from the swap, but there is so much amazing work being done by all the swappers. Check out #igminiswap on Instagram.


 I've been trying to finish up some older projects and stash bust some of my older fabrics... many from when I started quilting in 2002. I recently decided to put together this baby quilt. The feature fabric was leftover from


 I knocked one of my


