With the new year I started the new project of teaching my 4 1/2 year old son to quilt. He's making a simple one-block quilt with six rows of six blocks.
This week he pieced the last set of pairs together and then pieced the pairs all together into rows, so we ended the week with six pieced rows. The biggest problem we're having is getting him in a good position so he can see well and not lean his elbows on the edge of the table (which is stopping his hand from moving with the fabric).
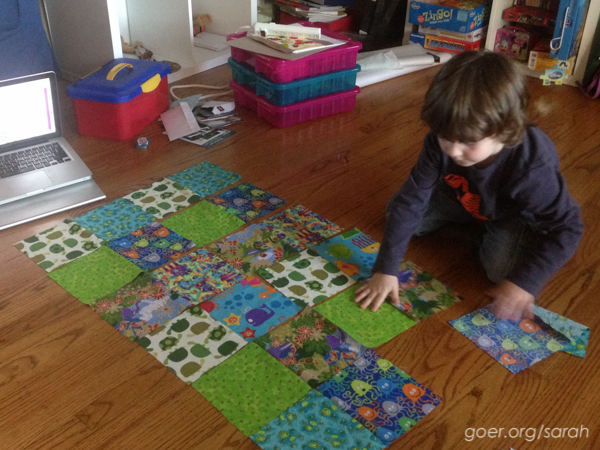
Once he finished piecing the blacks into pairs, he used his planning picture (on the computer screen) to lay all the pieces out on the floor.
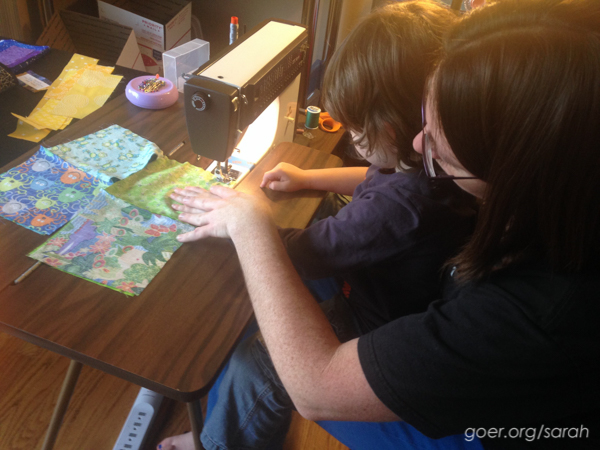
Then he pieced the three sections in each row together.
Here are the completed rows.
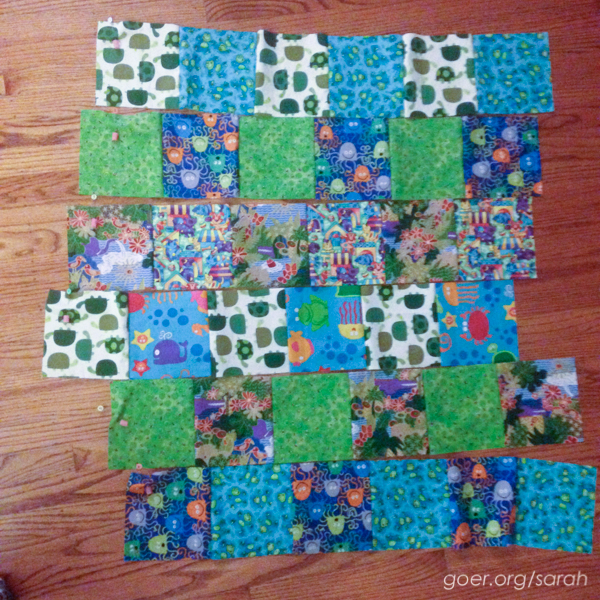
And we numbered some flowerhead pins so he could label the rows. (He loves pinmoors.)

I had planned to teach him to press the seams once he finished piecing the rows, but I decided I'm not sufficiently ready to do that. See, I press the seams open for ease of quilting so it's quite a picky job. Instead, I decided I'd let him help me iron my yardage and fat quarters that I needed to cut for one of my projects. He'll be able to help me finger press the seams open and watch me do that pressing job. In the end he did get his hands on the iron, and carefully pressed some of my purple fabric. (Now all the pieces for my Rainbow Mini Swap quilt are cut out! Yay!)
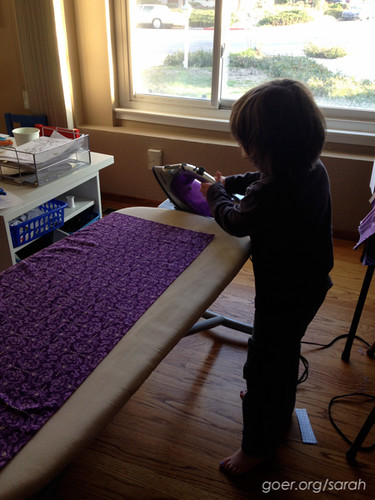
I realized since he is left-handed I needed to have him stand on the other side:
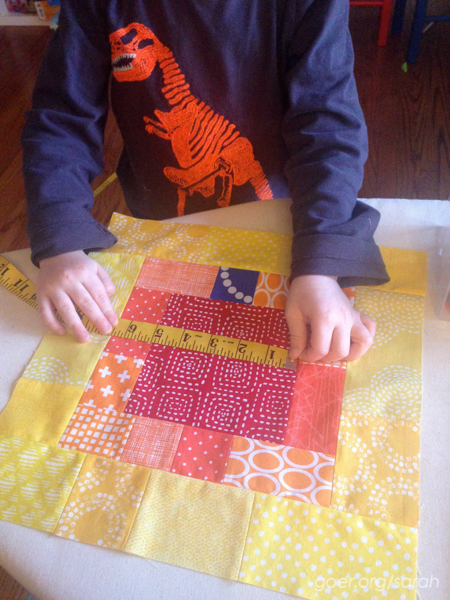
This week he also learned about the fancy stitches that the machine can do. (He was a little disappointed that he couldn't use these for piecing the blocks.) He can almost change the presser foot himself. I showed him how to thread the whole machine and he threaded the needle. He also did some measuring for fun.
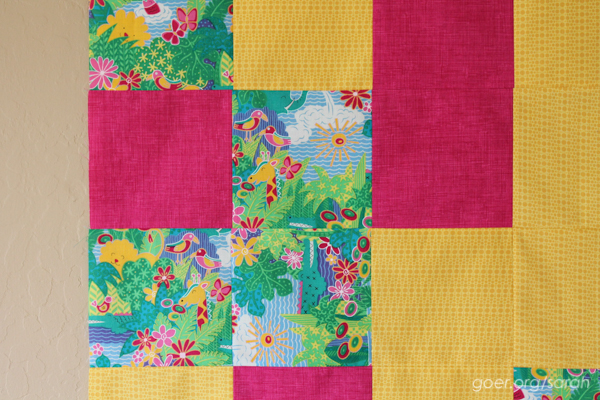
For my related one-block project, I turned my pile of partially pieced blocks into a completed quilt top this week. My daughter's "pattern" is growing on me. From this:

To this:

If you're just joining us you can check out Part 1 and Part 2 of this series. :-)
Continue following along with Part 4.
Linking up to Fabric Tuesday.


Jenny
Ooooh, I wasn't brave enough to let my son iron! I do have a GO! cutter though, and he loved cutting out pieces. I had my machine on one of his craft tables and he used his chair (about the size of the table and chairs in your son's secret treasure room (LOVE that room!)) it was much easier for him to sew that way.
sarah
Post authorThe kids have an art table in the same room as my sewing machine (visible in the first picture of him ironing). Maybe I need to try moving my sewing machine to that table when he's sewing. It would allow him to drive the foot pedal as well! Thanks!
Marji
I keep picturing free form quilting in contrasting color for the solid 'swaths' in her design. Yellow on pink, pink on yellow in some fun swirls, etc. Good call and nice work on the pressing session. Those little quarter inch seams are tricky for even big fingers to keep from getting too hot!
sarah
Post authorI was considering what colors of thread I have and I think it'll be white for the quilting, which will show up well on the hot pink and okay on the yellow. Perhaps I can do daisies and swirls. I have another project all pinned at ready to quilt, so it'll be a little while before I get to this one.
Bo
Kid's quilts look great!!
sarah
Post authorThanks, Bo.
Lara B.
Sarah, everything about your teaching your son to quilt is so precious. I was just thinking also that blogging about it has led you to document it more thoroughly than we moms of yore used to. LOL. Great job!
sarah
Post authorI'll have to be sure to copy and paste the story of it all into a book for him. Thanks for the message, Lara. I'm so glad you're enjoying it.
Laura
looking good! I'm really enjoying hearing about the process.
sarah
Post authorThanks, Laura.
Terri Ann
That's so wonderful teaching him to quilt! He looks like he's having a great time doing it, there's something so fulfilling about making something with your hands that must really translate at any age. Plus it's kind of like legos but softer, right :)
Thanks for the stash tour, I can't wait to organize my stash like that and be able to store like colors together and borrow your tip about the $1 store foam board for a bolt!
sarah
Post authorAnd patterns are fun as well! I expected he'd have 30 randomly placed blocks... but he definitely had a different vision. I love the mini bolts... but if you had a ton of yardage then the foam board would take up a lot of space. As most of my fabric is under a yard then I don't mind the extra width of the foam board. And the price sure is right! Thanks for visiting!
Quilting Tangent
Wonderful, teaching your son to quilt.
sarah
Post authorThank you.
Robin Rosenberg
LOVE LOVE LOVE this series. I can't wait to see how he progresses (and how your girl progresses as well). I think we all need a play date at my house to help me set up my sewing room - and have your kids get involved!!! (I can imagine them sitting on the floor surrounded by my haphazard stash, picking through it.) And maybe your boy can help me design a project too!
sarah
Post authorLast week was a little slow (hence the lack of new post), but we should have some time this weekend. We'd love to come over. Email me. :-)
Silvia Sutters
I actually really like your daughter's lay-out. It's really cool! It's really great that your son got to do so many things, like threading and ironing. I think my daughter is still a little too little for the iron, but maybe because it's an Oliso and those are super heavy.
sarah
Post authorI like her layout too. I still need to quilt it. I think it may be my first project that I do graffiti quilting on. A hot iron is scary. Especially when pressing seams open. Ironing fabric before I cut it seemed like a much better option. :-)