The products featured in this post were given to me by Island Batik, including batting from Hobbs and thread from Aurifil.
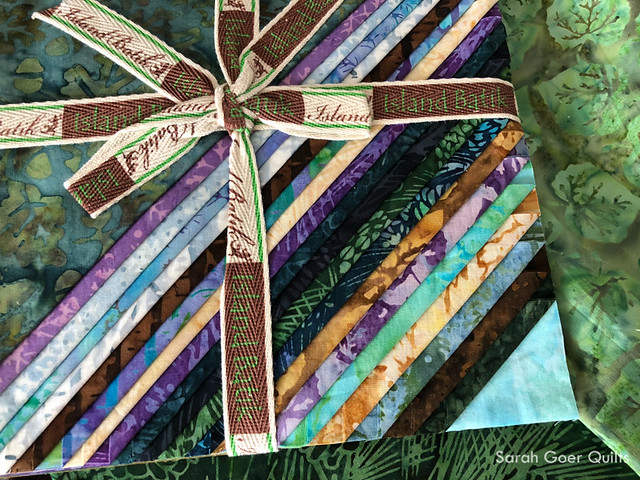
This month's Island Batik challenge for the Ambassadors was Try a Technique. I immediately knew that I wanted to try my first color wash quilt. I've been inspired by the work of Jaye Lapachet (Fabric of the Year 2013, 2014, 2016) and Timna Tarr (Gallery). I chose the Island Batik Mountain's Majesty Stack of 10" squares since it had such a great variety of values.
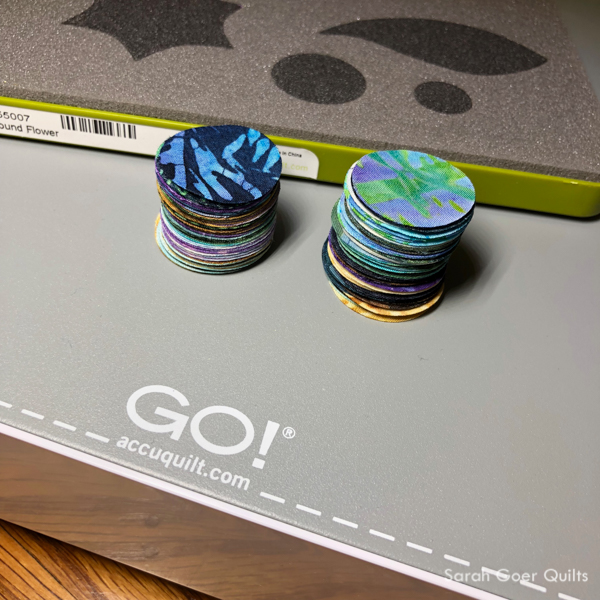
My units were constructed with 1" circles fused on 3" squares of fabric. Size was dictated by what I could get out of 10" squares. I cut six 3" squares from each of 21 fabrics and put fusible (I used Misty Fuse) on a section big enough to cut out six 1" circles per fabric. I began by using an AccuQuilt Go (borrowed from a friend) to cut out 6 circles from each of the 21 fabrics. I'd used die cut systems for paper over the years, but this was the first time using the AccuQuilt or cutting fabric with a die. It was a quick and easy way to cut out 126 circles... and for them to be perfectly round!
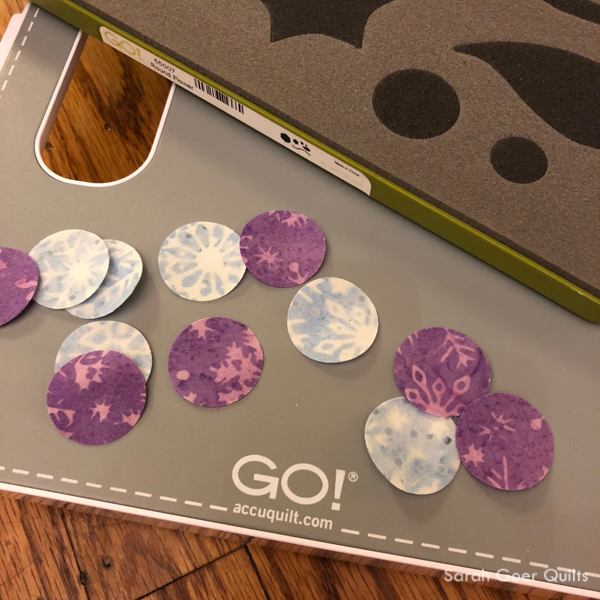
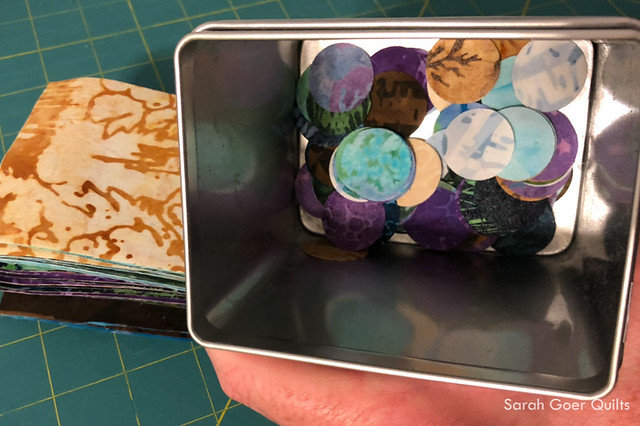
At that point I created my units randomly. I chose a circle at random from my tin to fuse onto the center of each square.
I used the system I learned in Lyric Kinard's class for fusing, by putting the pieces inside a folded sheet of parchment paper. With parchment on top and bottom of my fabrics I didn't need to worry about getting the fusible on my iron or my ironing board.
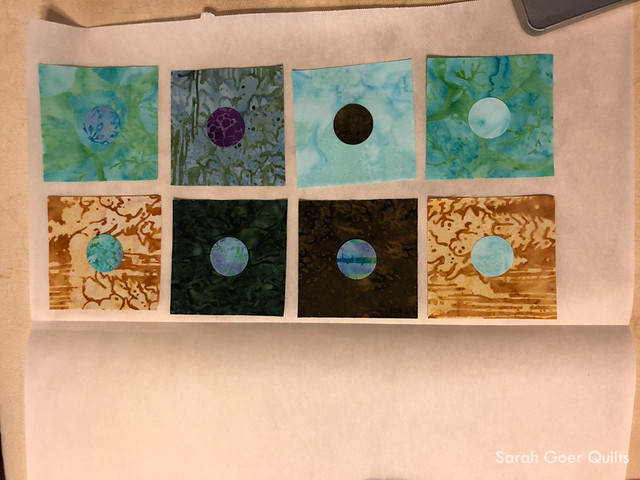
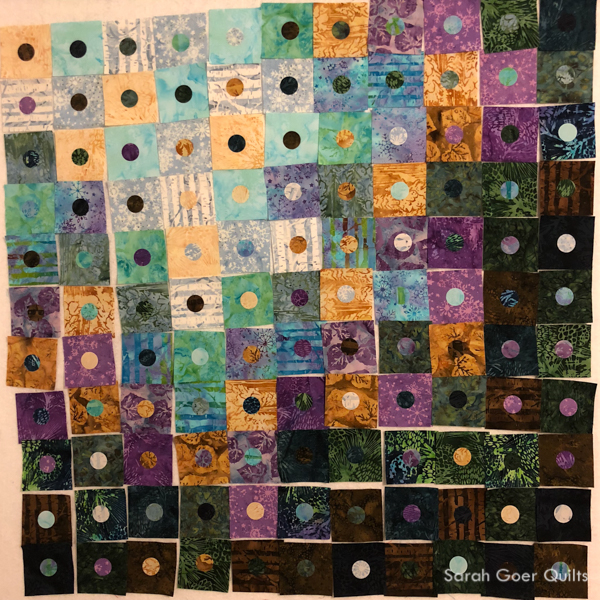
Once I created my 126 units I organized them by value. I use a black and white image of fabrics to detect slight value differences. In this case I organized them into five sections by value.

Then I started with the leftmost pile and began laying out my pieces on the design wall. (No process photos here.) I started in the upper left and arranged the pieces so that there were no squares of like fabrics touching on an edge (touching on corners was okay). I ignored the fabrics on the circles. I moved down and to the right as I went through each pile. I had five extra squares which helped with making everything work out since I had extra to swap in if there was a problem area.
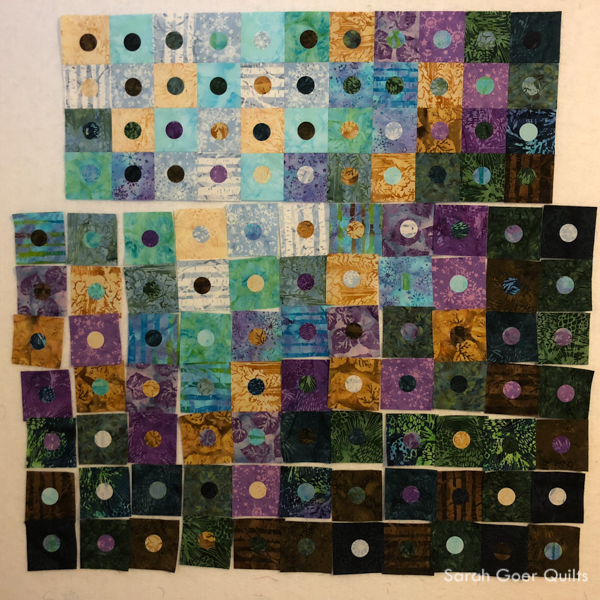
I love how a project on the design wall shrinks up as it is pieced.
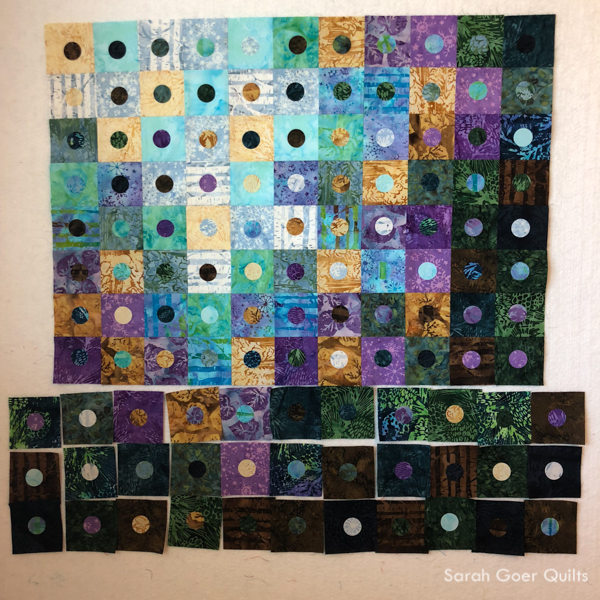
And finally...
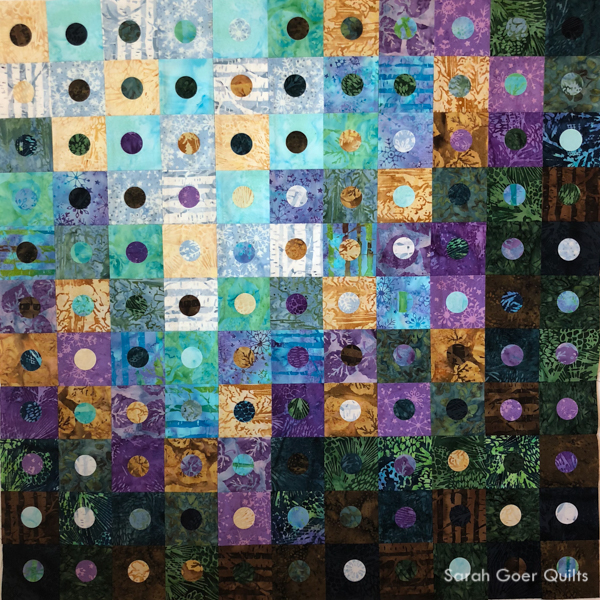
I'm super happy with this mini, which is 28" square, and I'll totally be playing with color wash again! I have some simple quilting in mind, but I'd love to hear how you'd quilt this. It's worth noting that I didn't stitch on my circles after fusing so the quilting needs to hold them in place. ;-)
Thanks for visiting!



Carole Lyles Shaw
Beautiful work! I love the fusing tutorial--parchment paper is so important to keep those irons healthy.
sarah
Post authorThank you, Carole!
lisa
Thanks for sharing this Sarah. It looks like a fun process and you gave us enough detail that I think we can give it a go. The batiks give it a nice dimension. I'm wondering how it would look in solids or hand dyes.
sarah
Post authorShoot me a message if you try it out. Solids or hand dyes would be a great variation. Thanks for visiting, Lisa!
Yvonne @Quilting Jetgirl
The top looks great, Sarah!
sarah
Post authorThank you, Yvonne!
Anja @ Anja Quilts
Great project. I have no quilting suggestions, but looking forward to seeing it finished.
sarah
Post authorSo do I. ;-) Thanks for visiting, Anja.
Mania
I loved very much this quilt. I also have been at a Lyric's class while she visited Athens 2 or 3 years ago.
sarah
Post authorSmall world. I really enjoyed all Lyric's prompts for sketching in the beginning portion of the class.
Mania
You are absolutely right. This part was my favotite too!
Dione
What a great mini quilt and a lovely way to show off all the beautiful colors in the Mountain's Majesty pack. I can see the color wash process becoming quite addictive! :)
sarah
Post authorThank you, Dione. Not sure when I'll get back to it, but I'll definitely try color wash again. :-)