Tag Archives: quilting with kids

42 Comments

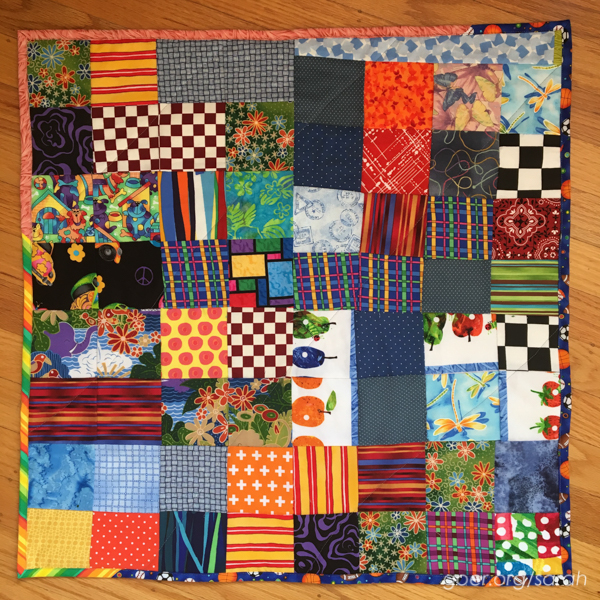
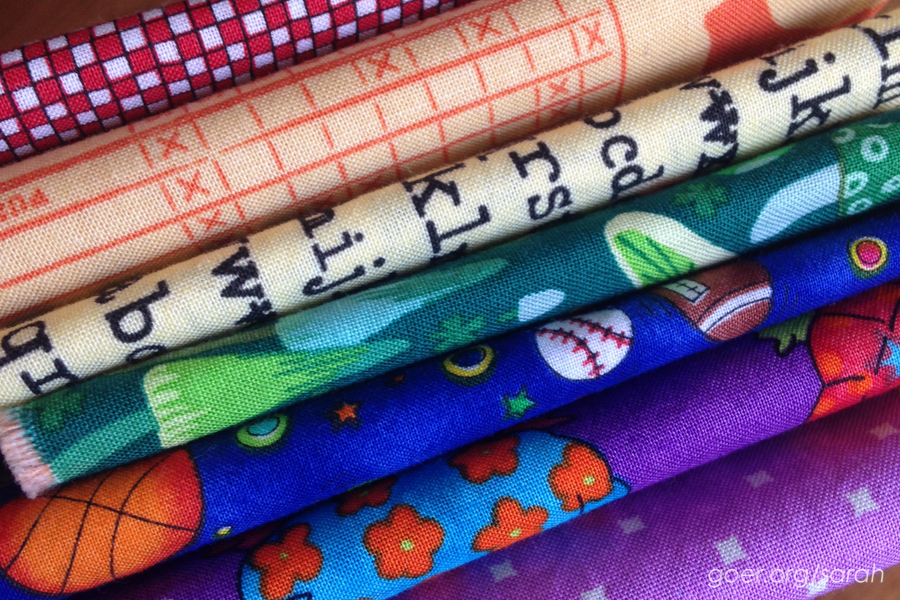
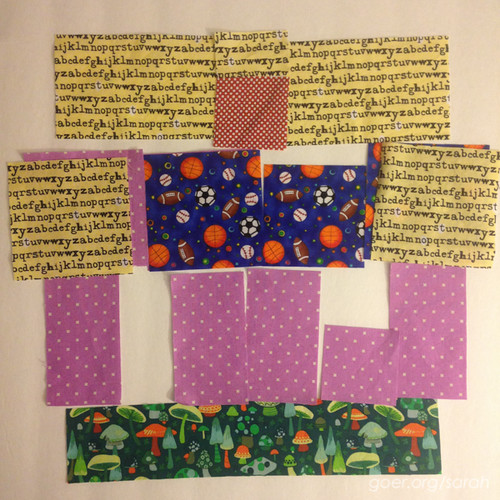
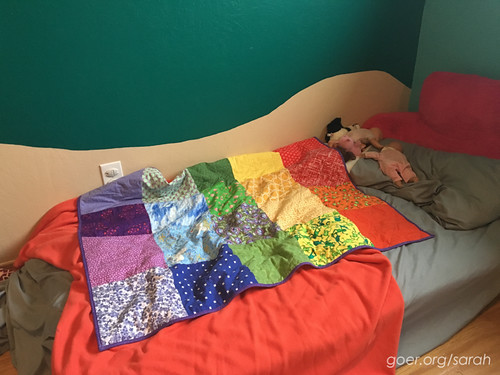
My daughter turned four in May. She finished her first quilt last week and boy is she proud! She pulled the rainbow of fabrics from my stash (because she didn't have a stash at that point, a problem we've since rectified). The girl has an eye.
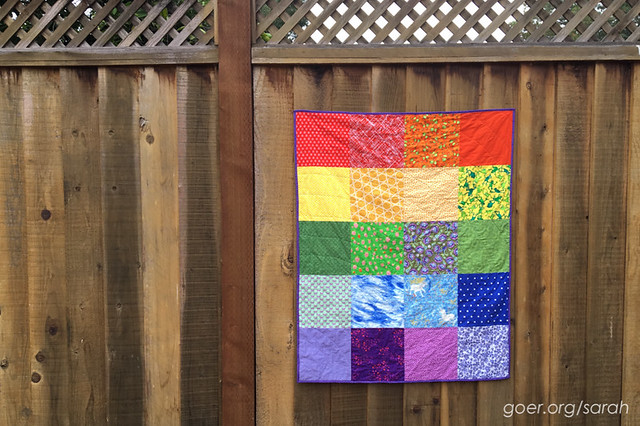
Now this may seem like a simple case of second child syndrome, since my son had a seven part series on his first quilt. In reality, she finished hers much more quickly than he did. Perhaps because I wasn't also chasing around a 2 year old while I was helping her sew. Additionally, we opted for a larger quilt with fewer pieces for her, so there was less piecing. (I totally owe you a "The Making of Rainbow Swift 2" post.)
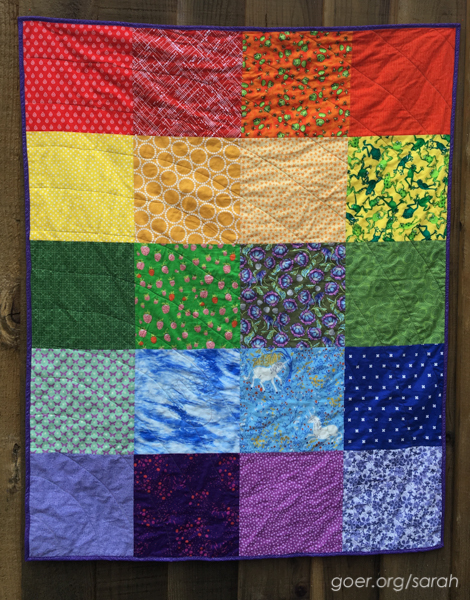
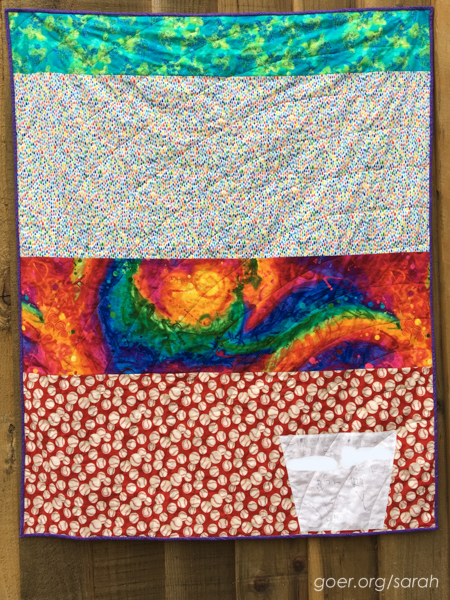
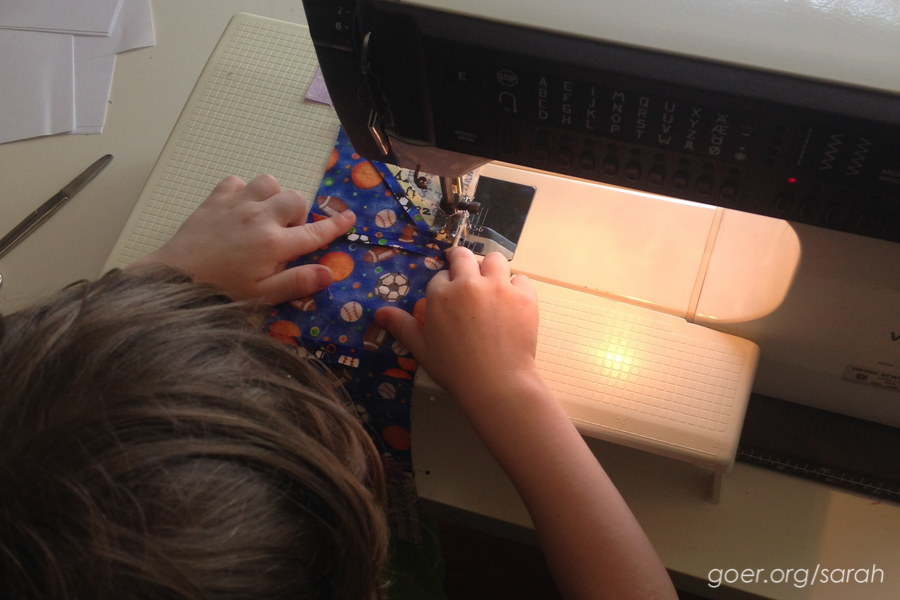
The quilt is about 40" by 50", made up of 10" squares. Like my son, my daughter did all the piecing of her first project sitting on my lap at my machine. I pressed all the seams for her. And by the time we were on the quilting step she was itching and ready to sit at the "kids" machine (same model, on a kid sized table) to do the quilting by herself.
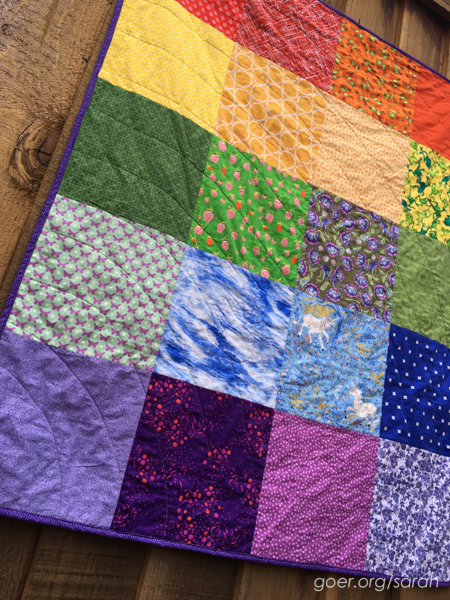
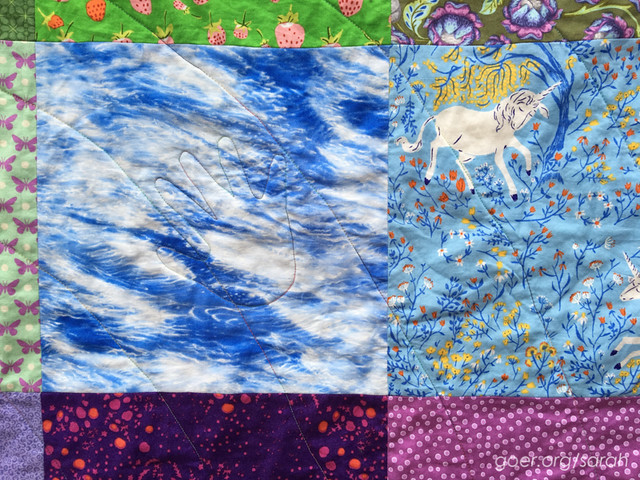
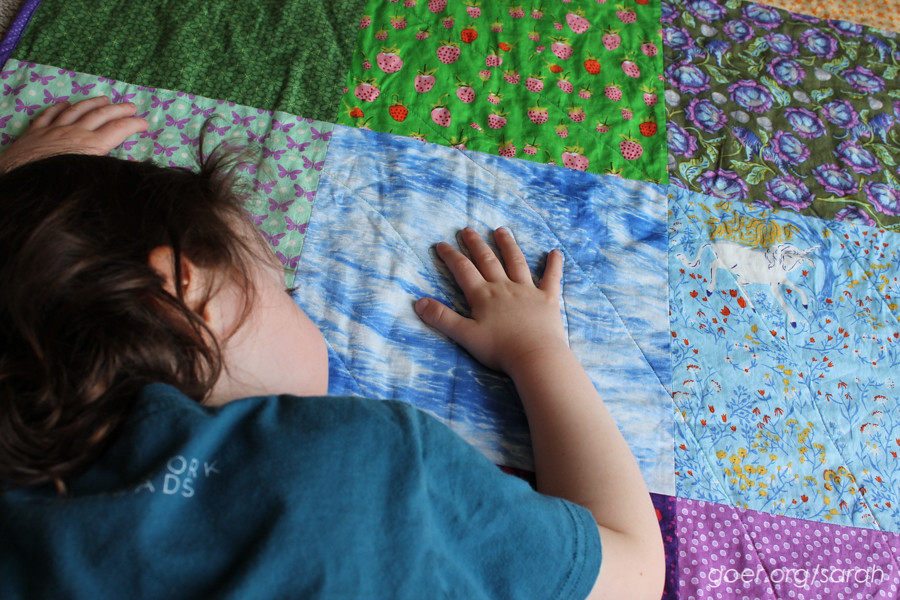
She still needed help with her walking foot quilting, particularly because she opted for curves when we brainstormed her options. I mostly managed the bulk of the quilt and reminded her when to stop and start to reposition her hands. She's great at stopping to take out the pins. Once she was done, I quilted her life-sized handprint onto the quilt. I love this fun little detail.
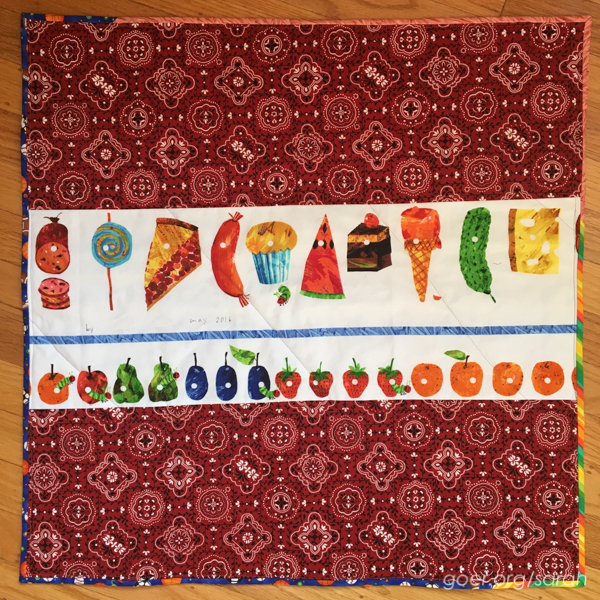
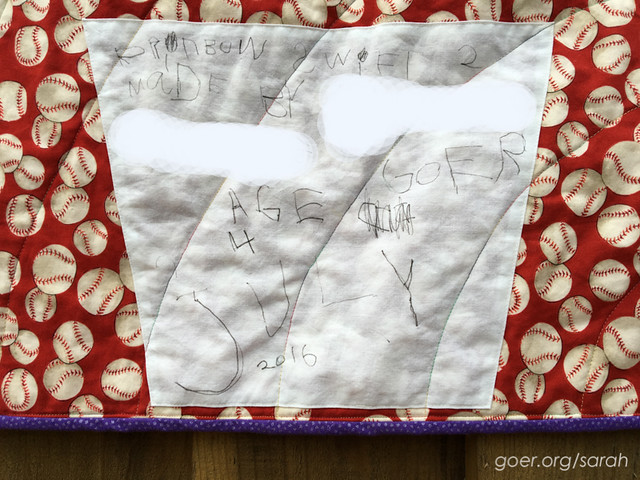
She hand wrote her quilt label. I love that she named the quilt Rainbow Swift 2. Rainbow Swift is the doll quilt my son made for her. The label is GIANT.
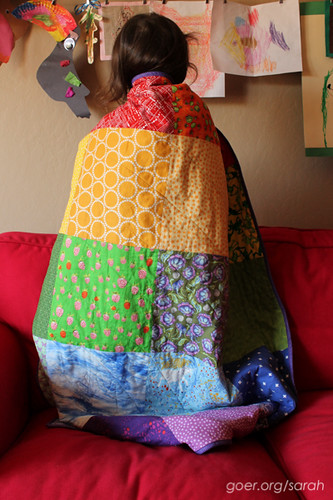
It was great fun to see her enthusiasm and pride in her work. I'm so happy that I can share my passion with my kids. We got it finished (I made and attached the binding) just in time for her to bring it along to my guild meeting last Monday for her first quilt show and tell. She's been sleeping under it every night since. And many morning she even makes her bed!
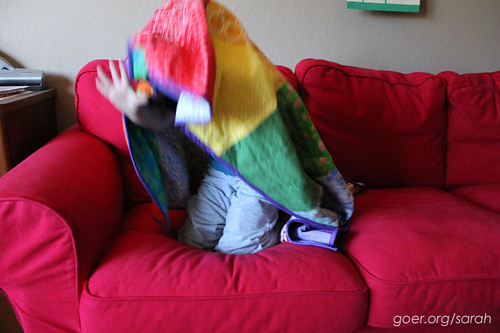
It's also great for hiding under and surprising people. ;-)
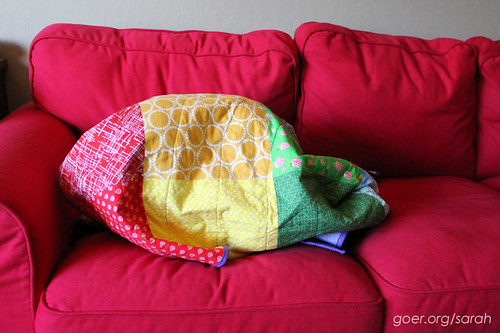
My son handed down a few months ago when he declared, "I'm not in training anymore."
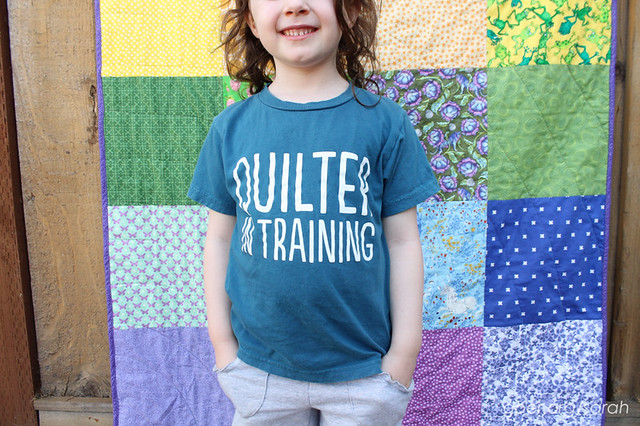
An Interview with the New Quilter

Tell me the process of making a quilt.

Sew them together. Sew the squares together and then you sew the sandwich together. But first you put pins and pinmoors in. 

How did you decide on the name “Rainbow Swift 2”?

I already had Rainbow Swift and I liked the name.

How was it to be taught by your mom?

I liked it. Because [my brother] got to sew and I didn’t. (I think this amounts to “it was about time she taught me.”)

What did you like best about making a quilt?

I like that it is big and it can almost fit my bed.

What about the process of making it?

Sewing it like a rainbow. It looks real like a rainbow because the stitches go curving. [Admires her work.] And it’s rainbow thread. And there’s rainbow raindrops on the back and kind of rainbow curly fabric.

What is your favorite part of quilting?

My favorite part of quilting is sewing the stuff together.

What was the hardest part?

The hardest part was curving it [while quilting] because I had to press harder with this hand to make it curve that way.

What’s the most important thing to know to make a quilt?

To know not to go too fast and take out pins when you need to.

What would you tell a new quilter?

To do that same thing.

Will you submit your quilt to the next SCVQA quilt show?

Yes.

What are your plans for “Rainbow Swift 2“ now that it is done?

To cuddle with it and sleep with it.

What are you planning for your next quilt project?

To make a kitty quilt. And there’s stripes on the front. (sneak peak in my last post)

Is there anything else you’d like to add?

Yes. I like sewing and I wish I could sew every day like Mom.


Thanks for visiting!

I'm linking up to Needle and Thread Thursday, TGIFF and Finish it Friday, as well as the Q3 Finish Along finishes party. See all my Q3 WIPs in my goal post.

30 Comments

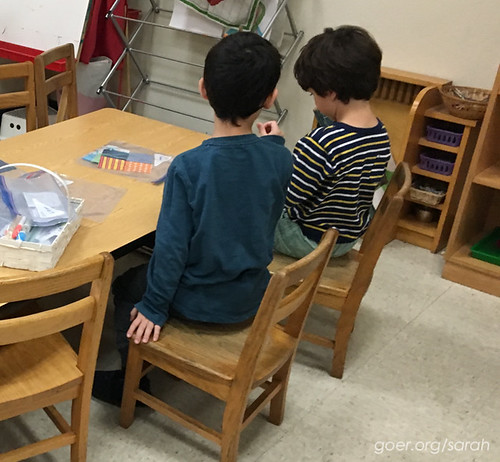
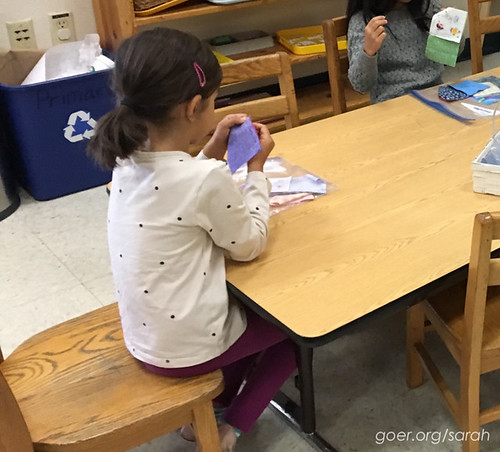
My kids go to a Montessori school. They were each in Primary this past year, which includes kids ages 3-6, preschoolers and kindergarteners. In the classroom the students have a lot of choice time for work (less so in kindergarten, but it's still there). And one opportunity they have is sewing. I blogged about my son's sewing experiences as school when we started his first quilt a year and a half ago.

My son's first step sewing in the classroom was to stitch using a tapestry needle and embroidery floss in plastic canvas. G started at the outside corner and spiraled his way to the center, stitching (with a running stitch) through each square. His second project was to stitch, again with a tapestry needle, on a piece of burlap with a picture drawn on it. (Sometimes the kids like to add sequins when they are stitching.) The third project he did was to make a stuffed bear. For this one he used a woven fabric and thread with a standard (sharp) needle. He used a running stitch, approximately 1/4" from the edge.

Last Fall, I was asked by my son's teacher to take on the project of making a class quilt with each class of kindergarteners. Um, yes! Of course!

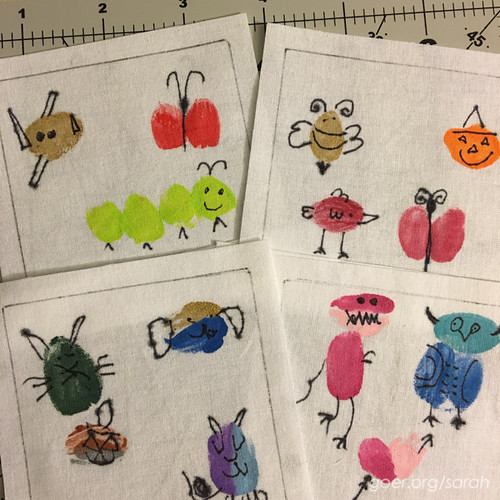
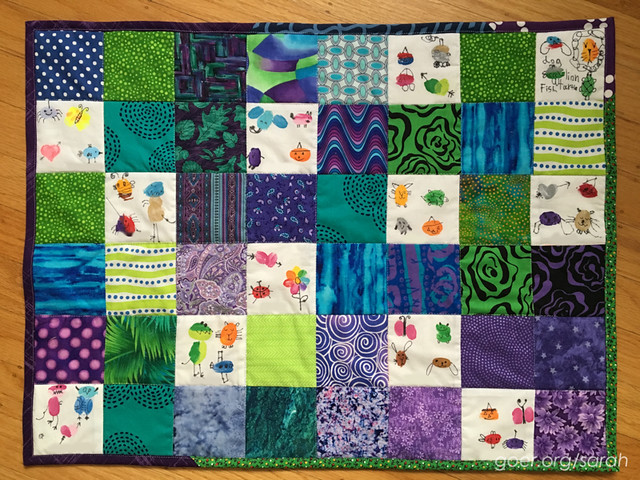
I was excited to take on this project with the kinders. The teacher and I met to plan the scope of the project and to set a timeline. There were 9 and 11 kinders in the two classes, respectively. They each had some sewing experience. A few had done all three projects above, while some had less experience. We decided for each student to make a 4-patch block and to personalize their work by letting them do some painting on one white square of fabric. The painting part of the project was done with the help of one of their teachers before I arrived on the scene. She used Ed Emberley's fingerprint book for inspiration and the kids used fabric paint to make their fingerprints, then used fabric marker to draw on the details. Their names were also written on these squares (though I've removed the names from the photos for this post).

I began with each group of kinders by sitting on the floor in a circle and sharing a finished quilt and a quilt in progress, so they could see what a quilt was, and what parts went into making it.

For the fabric they would paint, I cut the pieces larger and marked their work area with a Frixion pen, then trimmed them to size after they were painted.

I pre-cut a variety of colored fabrics from the scraps in my stash into 3 1/2" squares and decided that one class would use warm colors and the other would use cool colors, both so that the two quilts would look different, and so that each would have some cohesion within it. This sparked a discussion with the kids about warm and cool colors during my initial quilt talk. Then I spread out the fabrics on the floor and we went around the circle three times for each child to choose their three pieces of fabric to accompany their painted square.

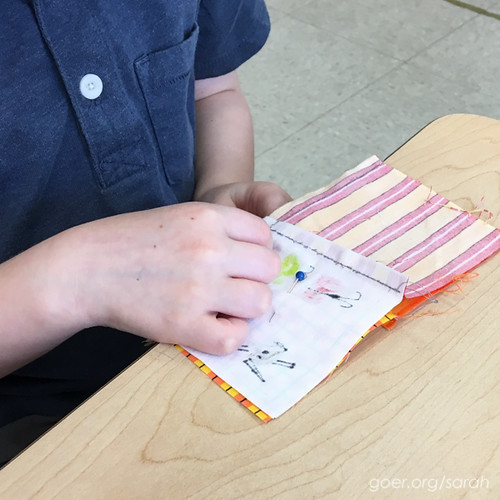
At this point I worked with kids in smaller groups (4-6 at a time) to get them started on their stitching. We determined that it was easiest for the kids to have their squares pinned together and to have a line drawn to stitch on. (Some preferred lines on both fabrics, front and back.) Oh, they also like their thread tied onto their needle, so the needle doesn't easily slip off when they pull too far. One class seemed to be a little more self-motivated than the other. I ended up checking in with them regularly, but most made progress when I wasn’t in the classroom. The other class had some more reluctant sewers, so I spent small amounts of time many times a week with them. Some were willing to take only 6 stitches each time I visited. Eventually, everyone finished their 4-patches. Here are a few.
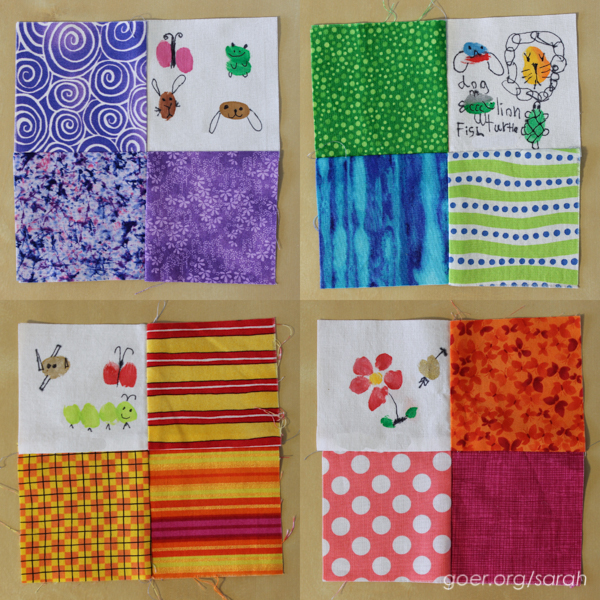
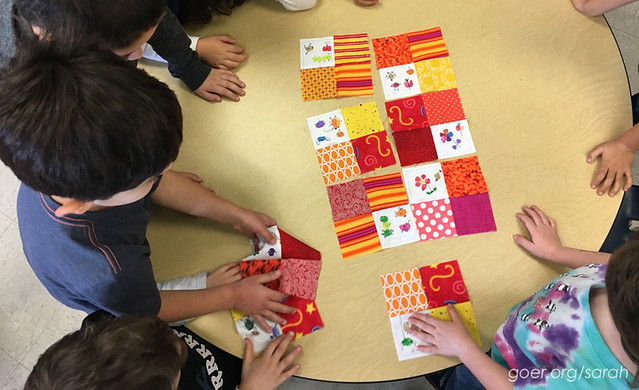
We worked as a full group again in each class to talk about composition of the overall class quilt. Specifically, we discussed having the blocks placed so that none of the white squares shared a side, and so no like fabrics were adjacent. In one class we had two students choose three identical fabrics, so we discussed having them placed farther apart so that was less noticeable to the eye.

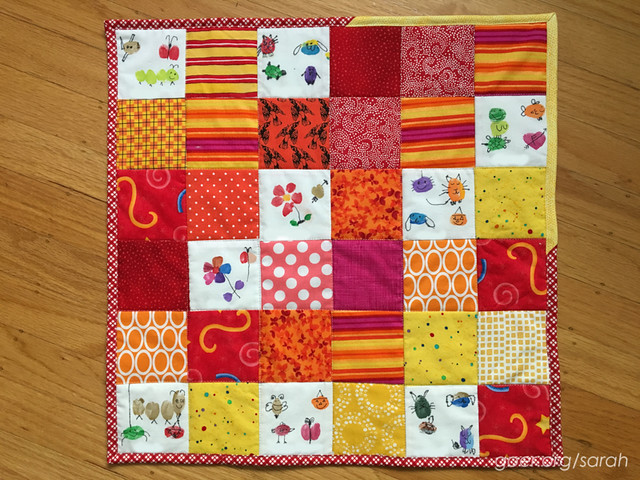
After these discussions, I took the blocks home to press them and machine piece the quilt top. I also did some machine quilting (in the ditch-ish) and bound the quilts using remnant binding pieces. The quilts are now hanging in the classrooms. Here they are!


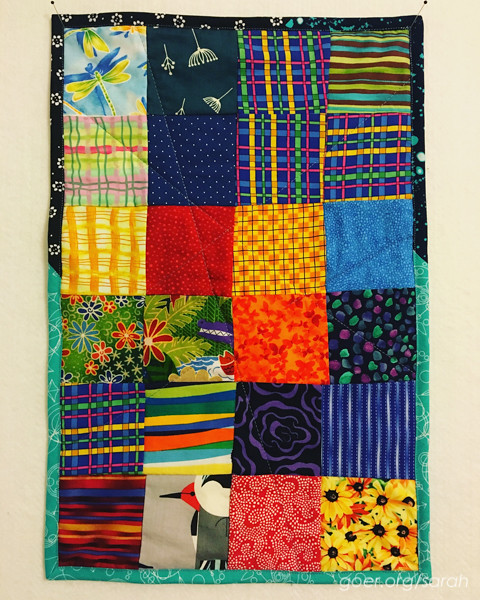
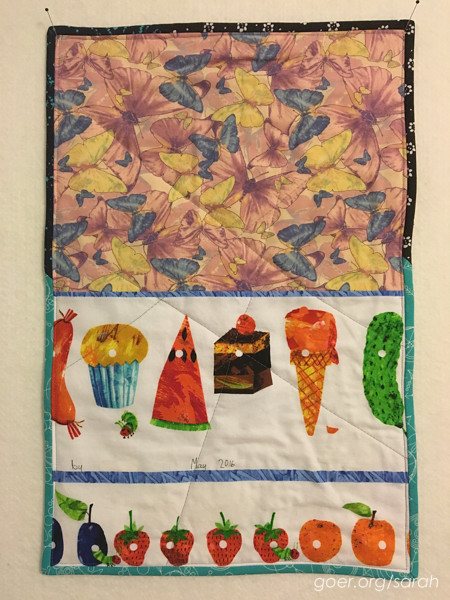
In one class, many students did bonus sewing. Four kids did a significant amount of bonus sewing. One girl has a quilter in the family, so she worked on her project outside of class as well as in class. She didn’t want finishing help and intends to get help from her family to finish her first quilt. Another girl meticulously pieced 24 squares to make a finished 12” x 18” quilt. She hand pieced the entire top. A boy, with the help of a friend, completed a 24" x 24" hand pieced quilt top. There were a couple generous seam allowances and some not quite square pieces of fabric which resulted in the two halves not lining up, so I offered to piece in some filler fabric so we wouldn't have to trim off excess from one half.

For both students, I pieced their chosen backing fabric, then met with them to label their backing fabric, to work with me to pin baste the quilt, and to choose fabrics from my leftover binding bin. I brought my sewing machine to school so that they could each machine quilt their projects, and I finished the quilts at home by trimming them up and binding them.

Hers:

His:

I had a great time working with the kids on the class projects as well as these extra quilts. Unfortunately (for me), both of the students who made their own quilt have moved out of the area, so I won't be able to work with them at school next year. I sure hope that they will keep sewing!

Linking up to Needle and Thread ThursdayTGIFF and Finish It Friday.

28 Comments

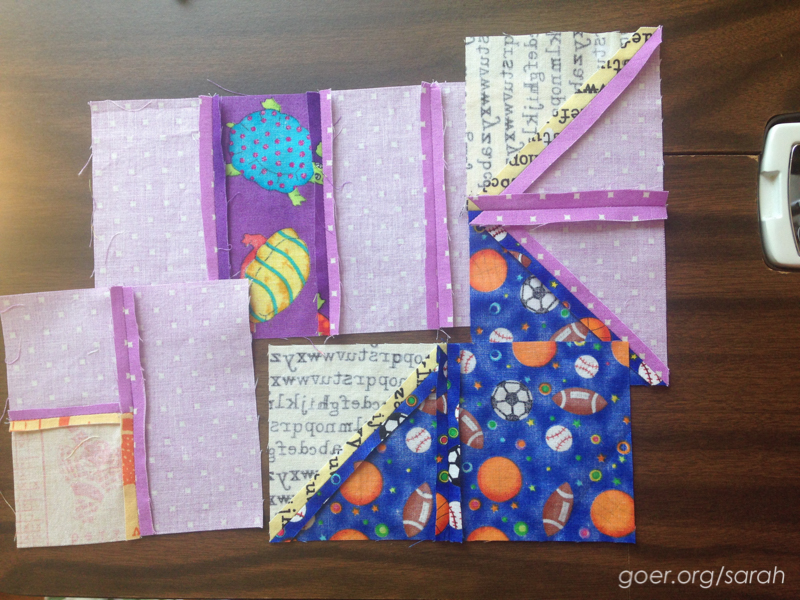
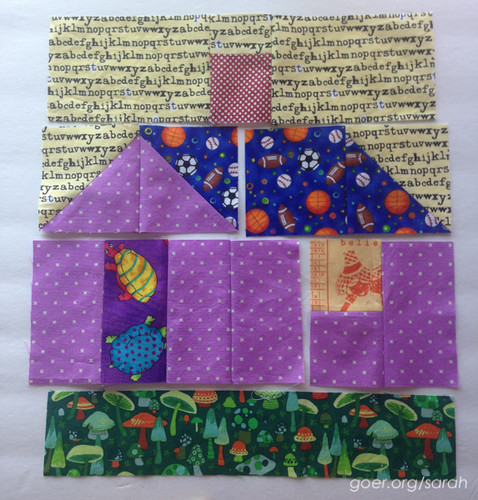
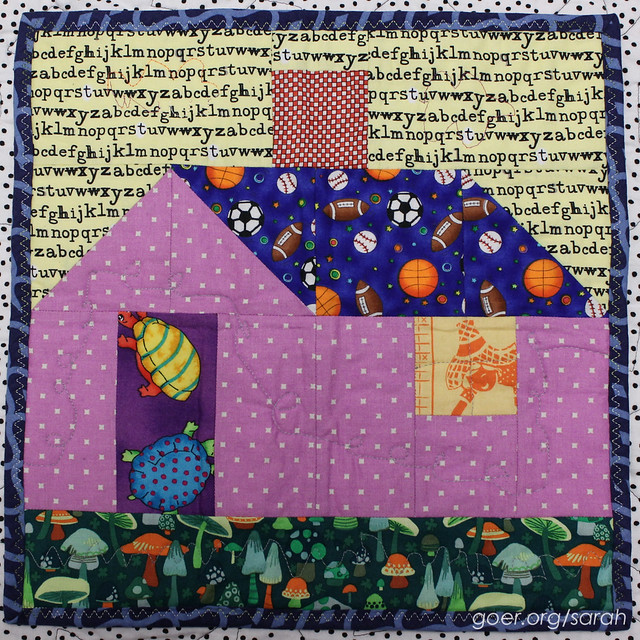
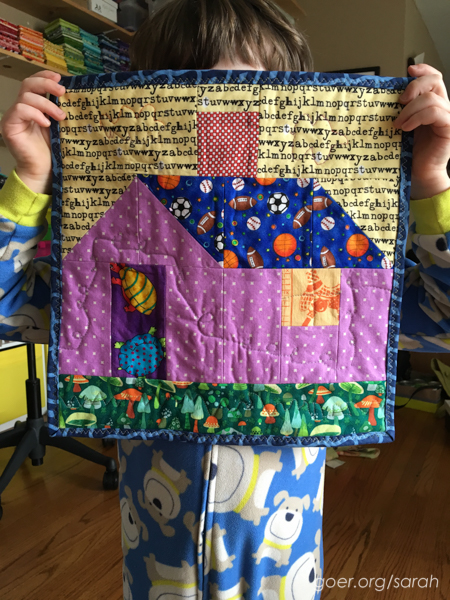
My son started quilting just about a year ago and finished his third quilt this month in time to gift to his dad. His first two quilts were squares and rectangles, making this one the first time he's sewn half square triangles. He picked his fabrics from his Finish Along winnings from my post about his first quilt, some fabrics he's picked up at the SCVQA guild sale table, and from my stash. His chose his block design, House on the Hill, from Big Book of Quilting, by Michele Morrow Harer.

I cut out all of his pieces. I'm not sure what age I'll feel comfortable letting him use the rotary cutter, but 5 1/2 is not it. ;-)

At this point he pieces independently, sewing at the kids' art table. I press his seams open for him and help him stay organized while he chain pieces.

I love that he chose the turtles for the door and that he wanted to fussy cut the woman to be looking out the window. He decided to rework the pattern a bit to have only one chimney (instead of two).

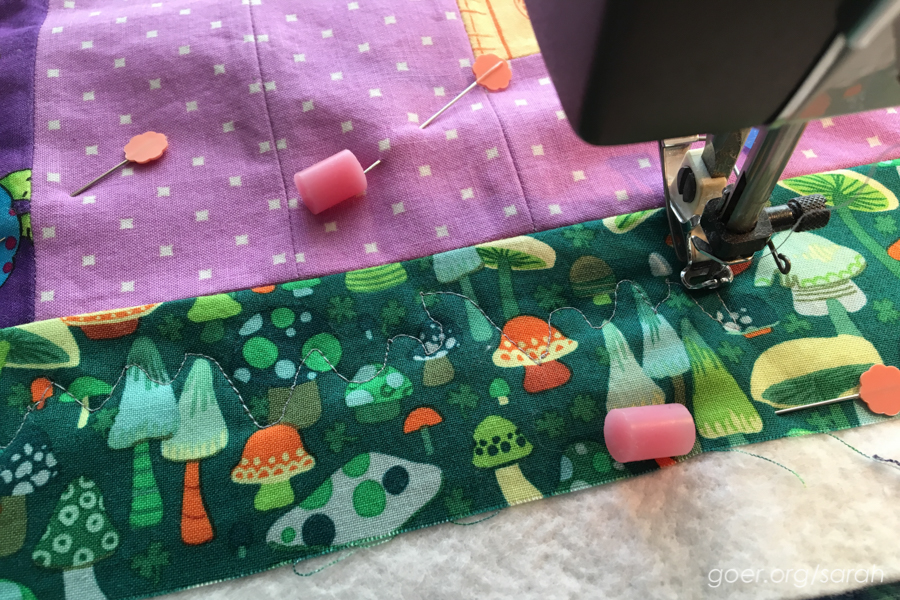
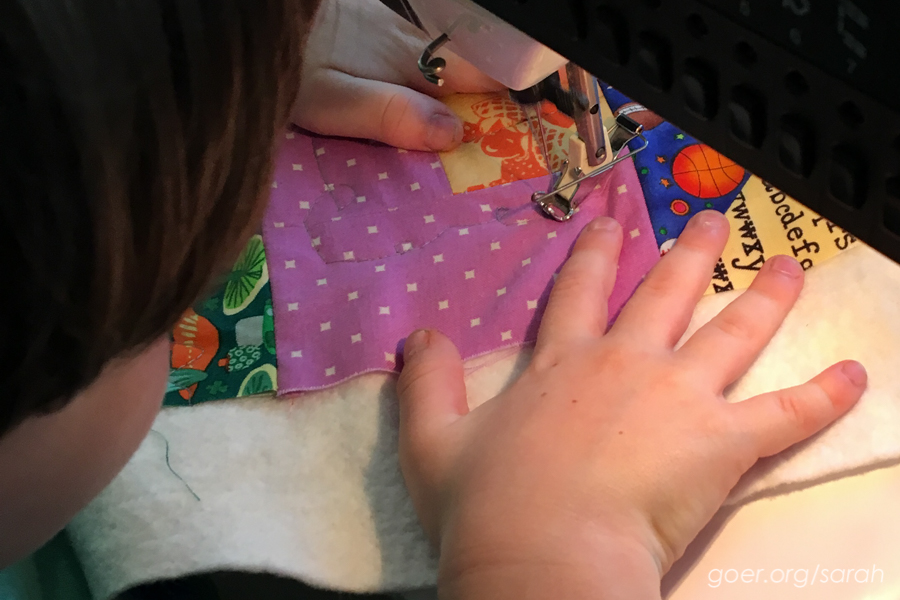
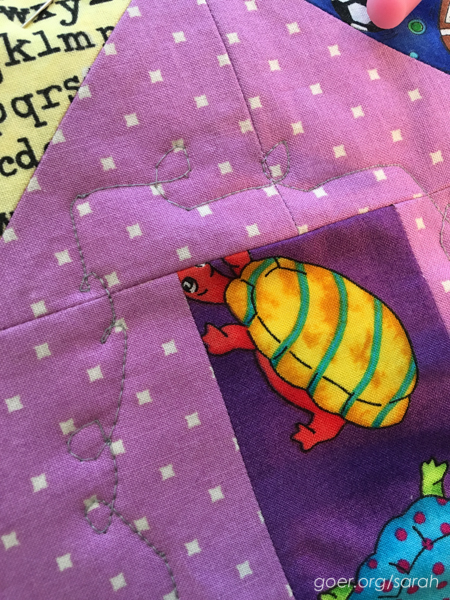
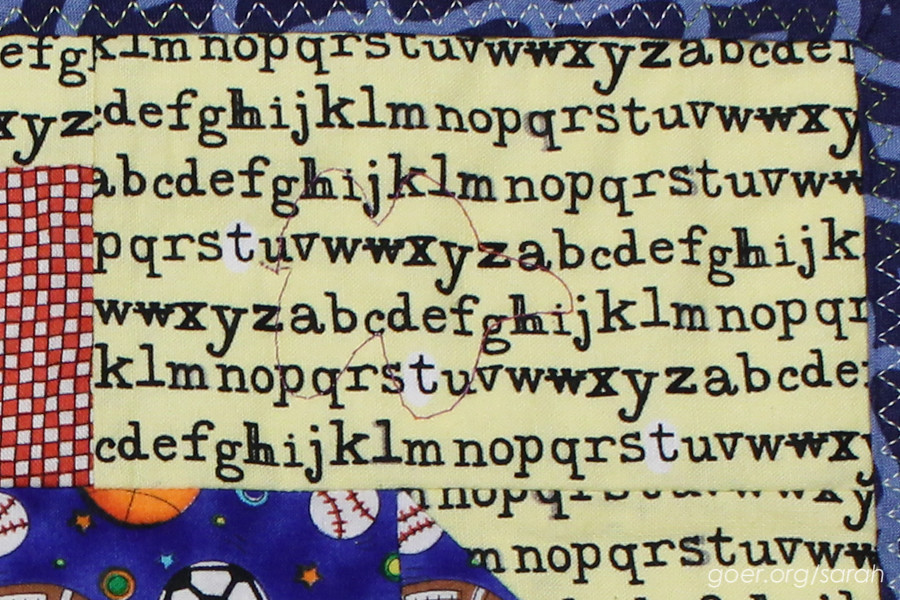
He had used the walking foot for quilting his first two quilts, but once he had pieced this quilt he decided that he wanted to free motion quilt it. He really wanted loops. Okay, kid. I set up the machine for him to free motion quilt and he practiced a bit on a practice quilt sandwich. Then he went work on his mini. I supervised and assisted as needed.

He started by quilting the ground area, then wanted the lines on the window. I'm most impressed with his loops on the house and his clouds (in variegated thread). He chose blue binding from my leftover binding box and he assisted and supervised me in attaching the binding. Since he chose a (different) variegated thread to attach the binding, I recommended the three-step zigzag for the top stitching. I figured it would be less exact for him than trying to attach it with a straight stitch. The quilt finished at 12 1/2" x 12 1/2".

He's looking forward to showing this one and Rainbow Swift at the January SCVQA meeting.

I'm linking unto Needle & Thread Thursday and Adrienne's 2015 Q4 Finish Along post. See all my Q4 goals here.