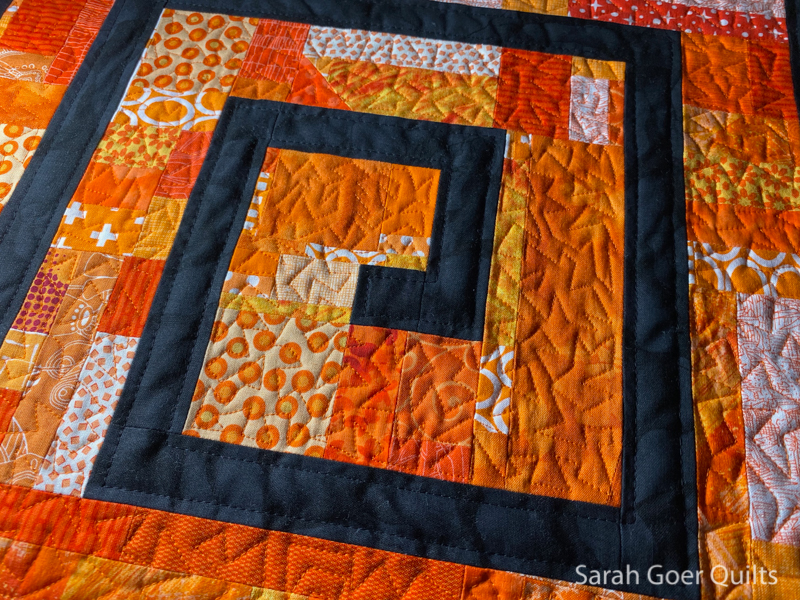
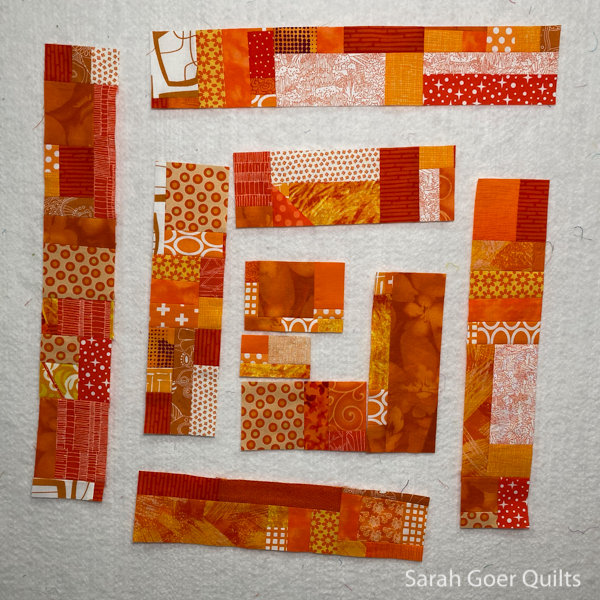
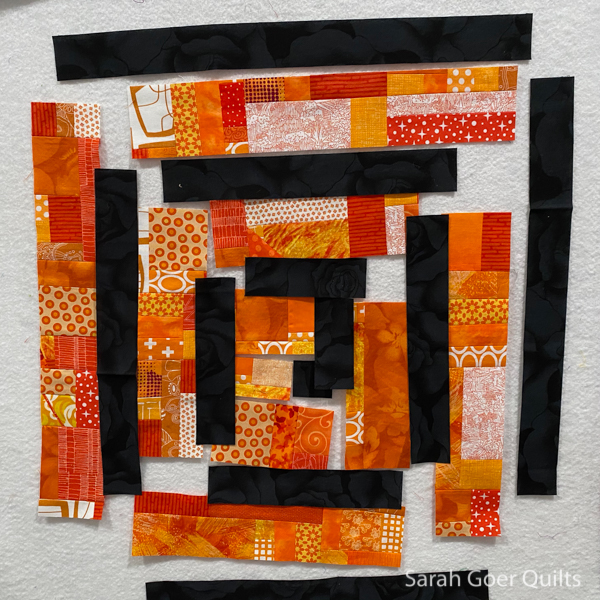
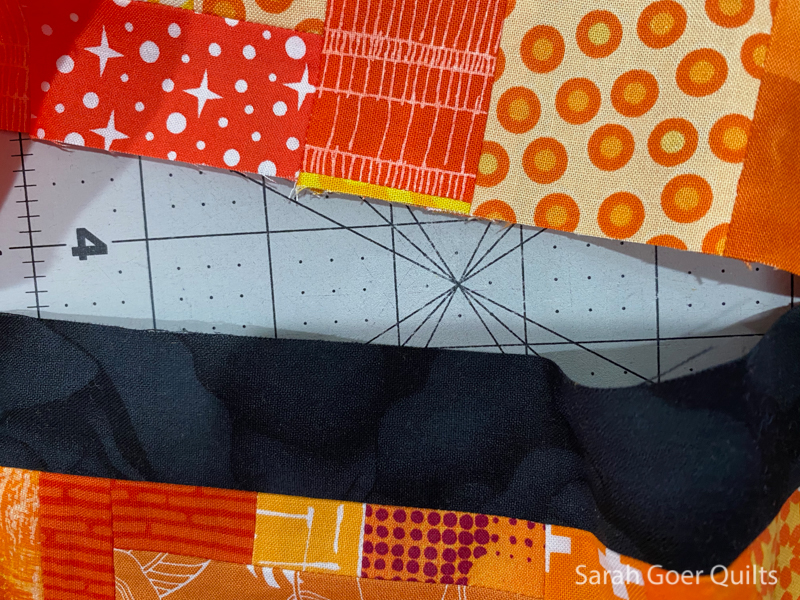
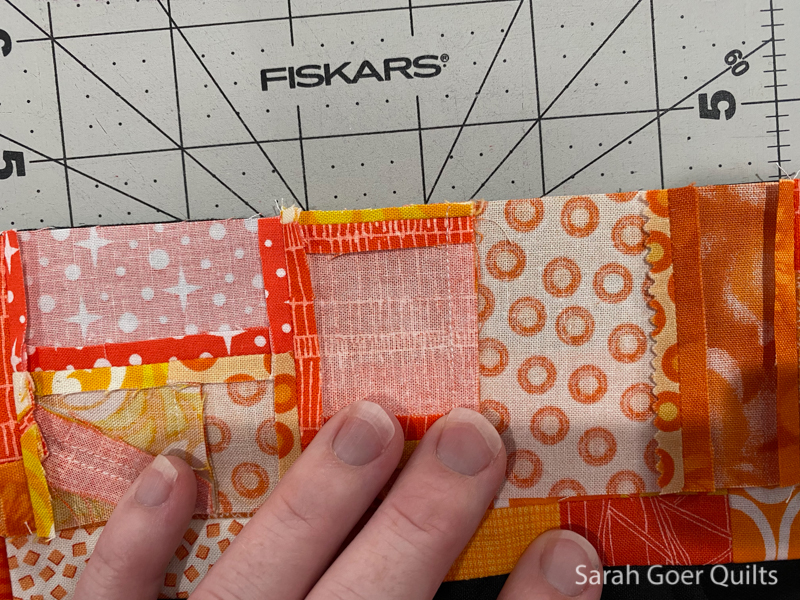
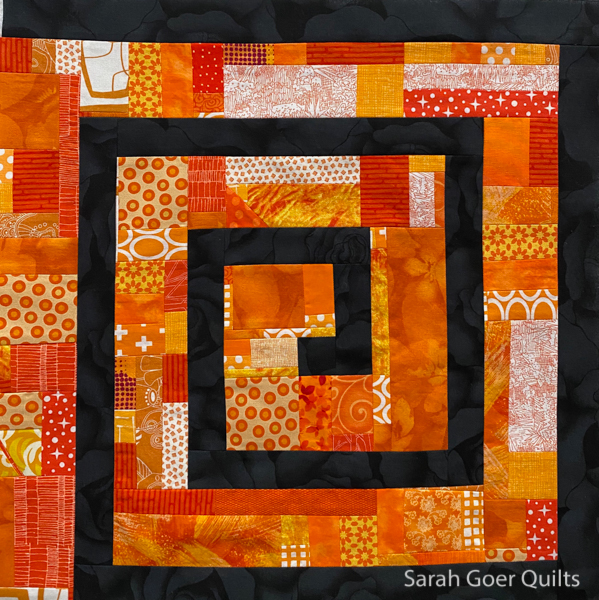
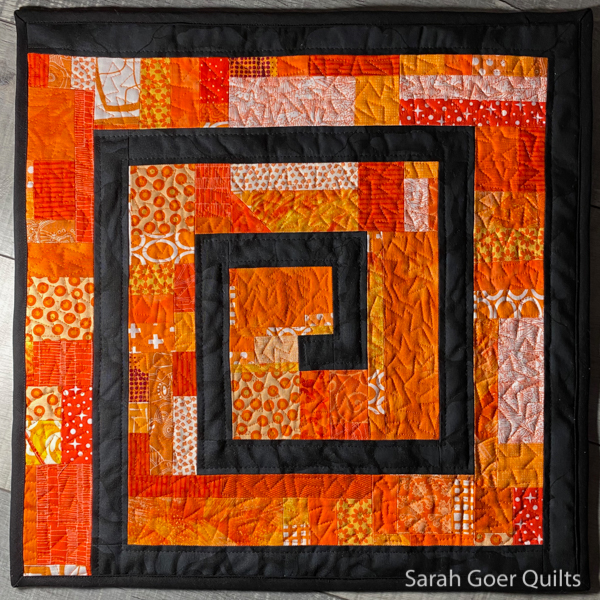
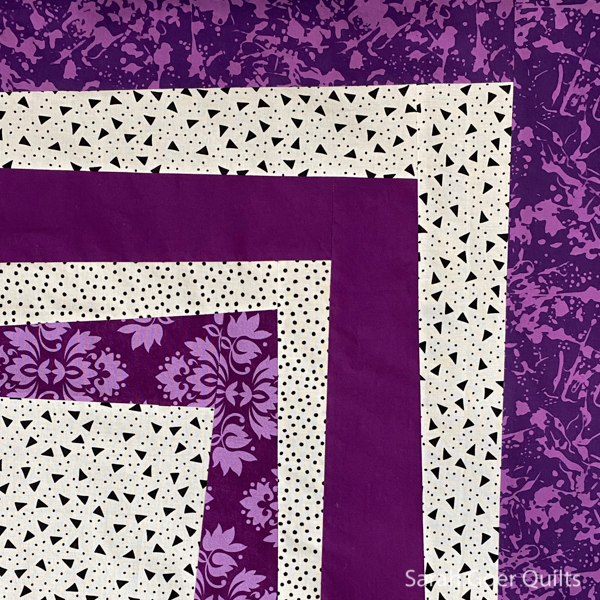
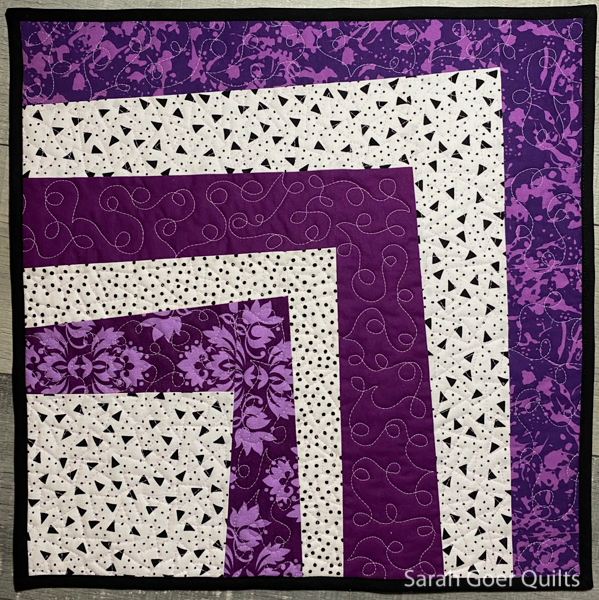
As I reached the end of my 100 Day Project (July - October 2020) I realized that my series of mini quilts was one color short of a rainbow. Therefore, I had no choice but to make my final improv log cabin purple. There weren't many days left, so I opted for quick and easy. I hadn't made a quarter log cabin yet, so that's what I created, alternating black and white prints with purple prints.
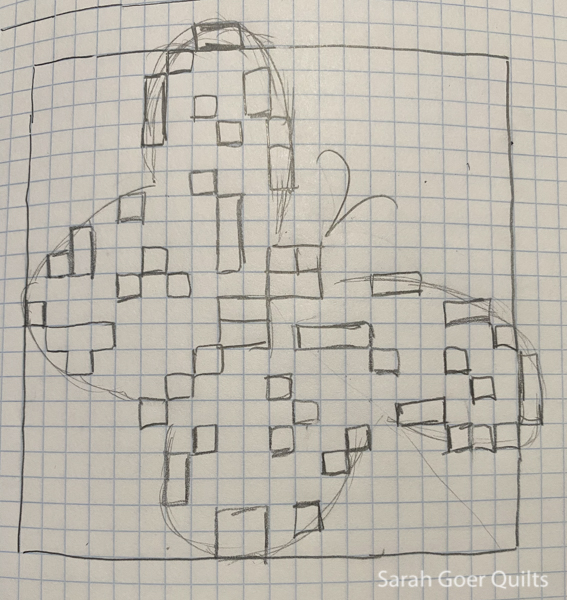
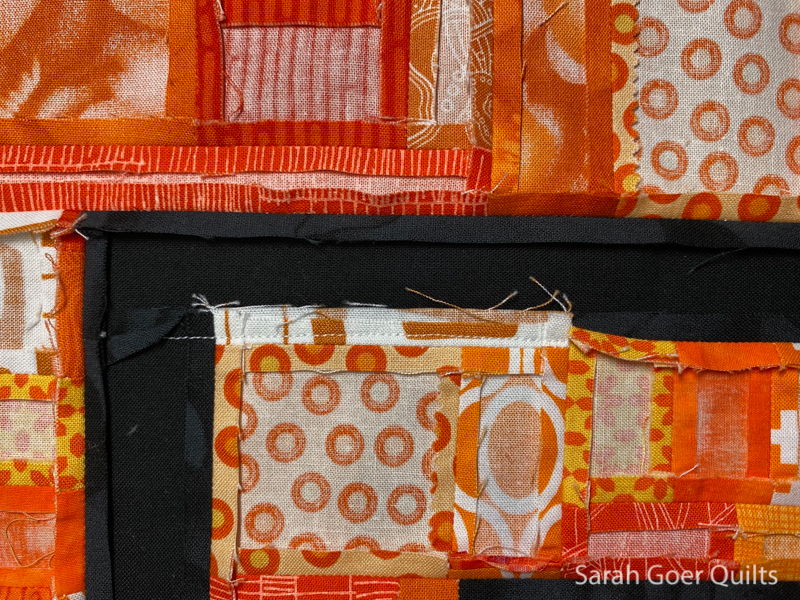
I chose two filler motifs for the free motion quilting.
In 100 days, I completed these five mini quilts, start to finish. Each is 16 1/2" x 16 1/2".

And the full 2020 series:
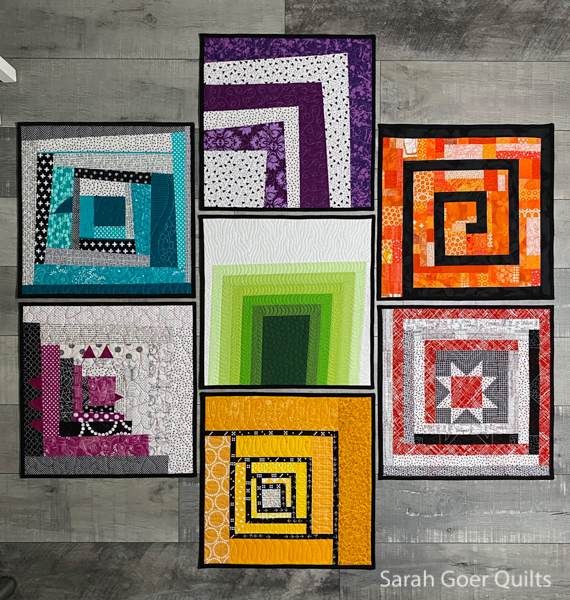
I chose the log cabin due to the ubiquitous nature of the traditional log cabin. I love the variety of styles achievable with the log cabin. I feel like this series could continue indefinitely.
You can read all about the other quilts in the series here:
This is day 18 of the 31-Day Blog Writing Challenge with Cheryl.