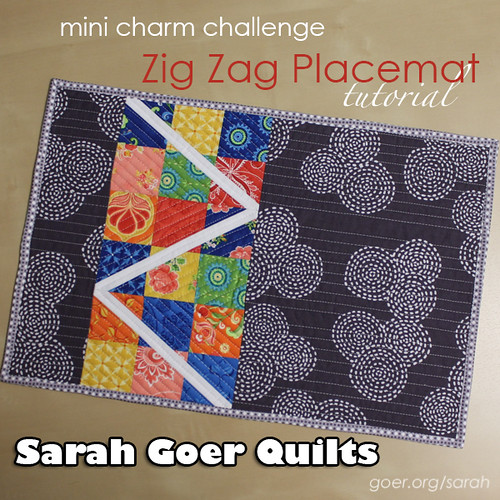
I'm participating in the Mini Charm Challenge, organized by Kylie (@sewkylie on Instagram). Welcome to my tutorial for the Zig Zag Placemat.

Materials (for one placemat)
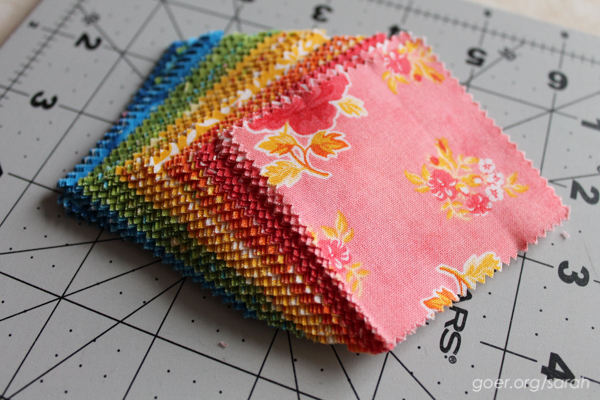
- 18 - 2 1/2" squares from a mini charm pack (or cut your own!)
- 3" x 8" contrasting fabric (white shown)
- fat quarter of coordinating front fabric (grey/white round stitch shown)
- fat quarter of backing fabric
- 14" x 20" piece of batting
- 62" finished binding (be sure to make a little extra)
For this project I used Fancy by Lily Ashbury for Moda. All of my seams are stitched with a shorter stitch length and 1/4" seam allowance. Seams are pressed open.
Cutting Instructions
Step 1: Cut your contrasting fabric into three 1" x 8" strips.
Step 2: Cut your front coordinating fabric into two pieces, 3 1/2" x 12 1/2" and 9 1/2" x 12 1/2".
Step 3: Cut backing fabric and batting 14" x 20".
Sewing Instructions
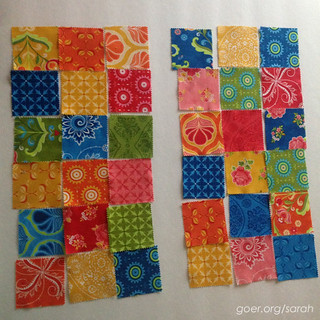
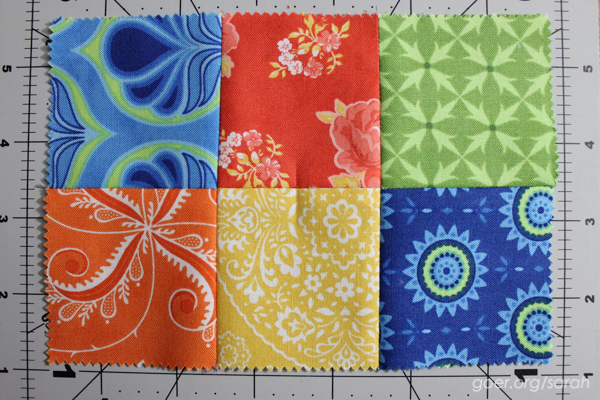
Step 1: Choose a layout for your charm squares. Each placemat will use a 3 by 6 array of squares. Here are my layouts for the two placemats I made. The beauty of using a mini charm pack is that everything coordinates perfectly!
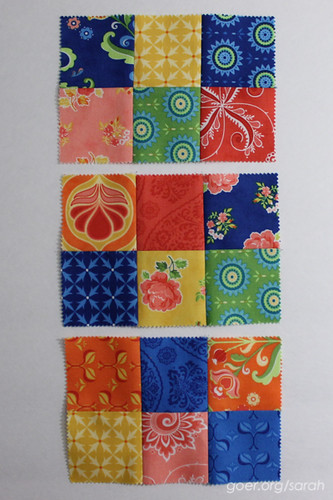
Step 2: Stitch the charm squares into "6-packs" so you have three units per placemat, three squares wide by two squares tall. These units should measure 6 1/2" wide by 4 1/2" tall, unfinished.
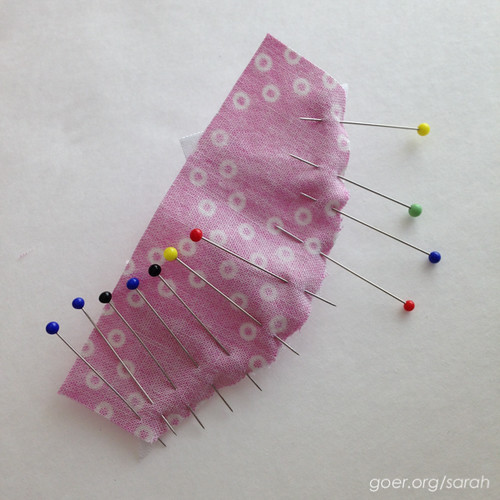
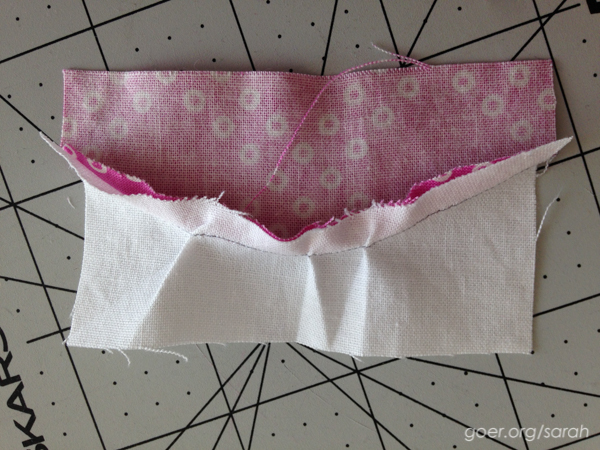
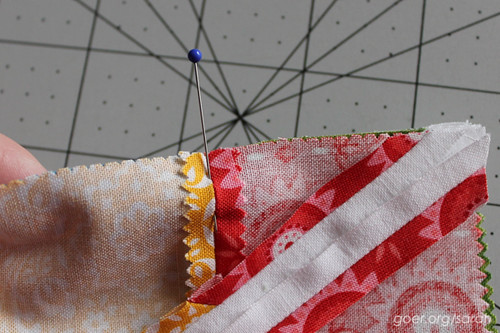
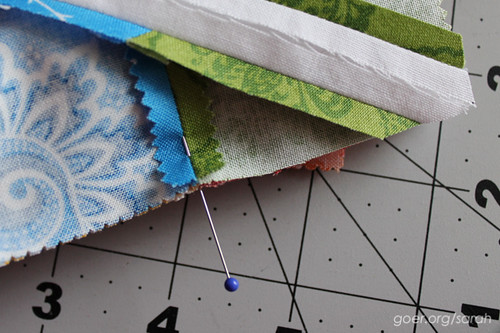
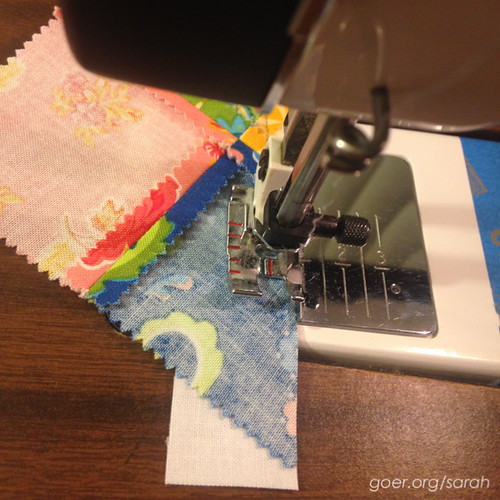
TIP: To get those seams lined up as perfectly as possible, I press my seams open, and then use a straight pin right through the seams in both layers. Here, you can see what that looks like from the top and bottom. (Note: These pictures were taken from a later step in the process, but the idea is the same to build the 6-packs.)
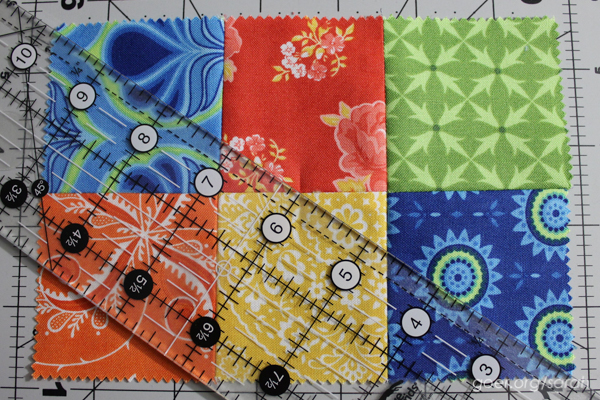
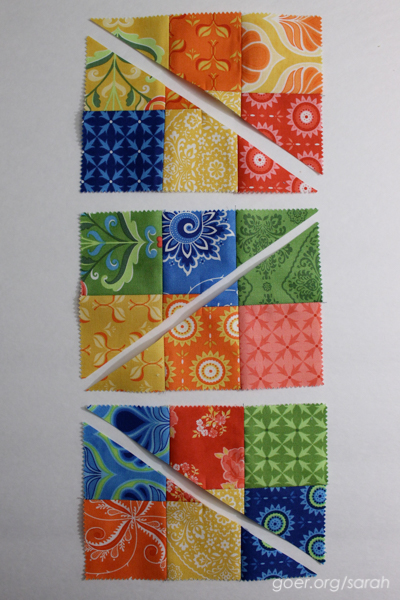
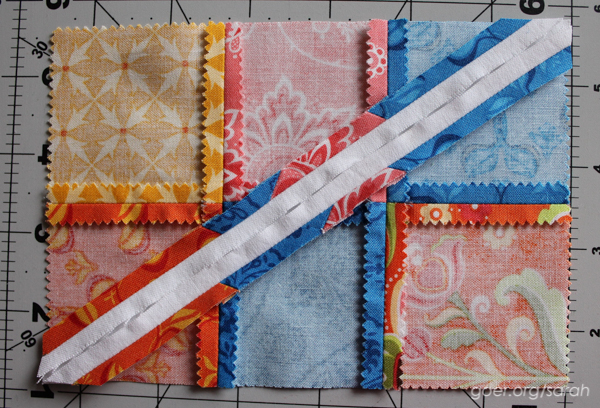
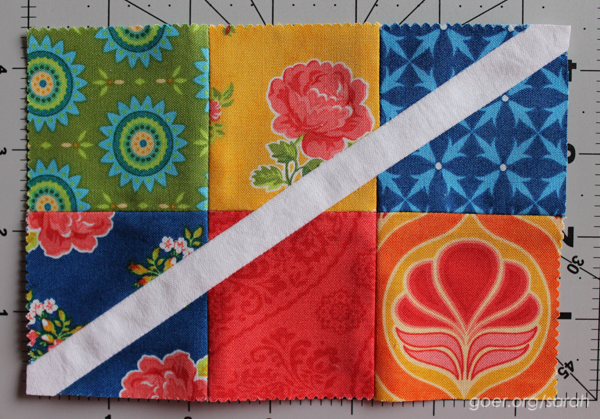
Step 3: Slice the 6-packs in half, corner to corner. You'll need one to go the opposite direction of the other two. I have two going "downhill" and one going "uphill." I started by marking the center of my block by folding a crease into the middle of the center squares. Then I lined up my straight edge from corner to corner (a bit hard with the pinked edges on the charms) and through that center point made by my crease and the seam.
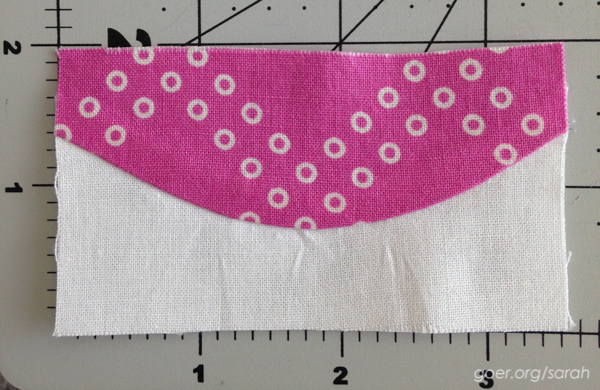
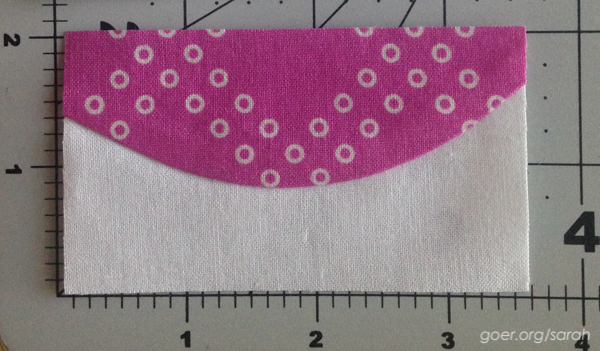
Step 4: Stitch the 1" strips of zig zag fabric into your 6-packs. The 8" long pieces should be just a smidge longer than your diagonal cut edge of your 6-pack. When lining up edges for sewing, the strip should hang past the edge of the 6-pack equally on each end, roughly 1/8" to 3/16". Piece with an accurate 1/4" seam allowance. This will allow this strip to simply replace the seam allowance and the finished unit should remain 6 1/2" x 4 1/2". Viewing the back of your seam you should see the edges of the strip touching each other.

Step 5: Trim each 6-pack down to 6 1/2" x 4 1/2". This should mostly be trimming of the edges of the strip you've just sewn in.
TIP: Since the edges may be hard to line up accurately, use your ruler to line up the corner square's seams at the 2 1/4" mark in both directions.

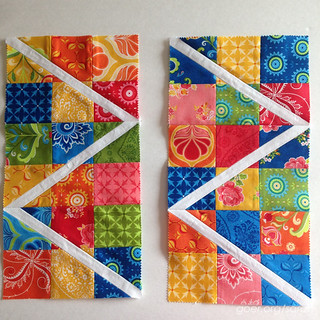
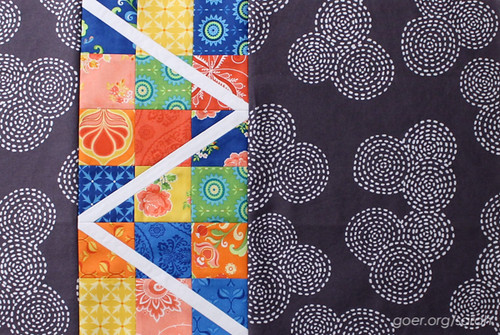
Step 6: Piece together your three 6-pack units to create the zig zag. Here are my zig zags for two placemats. These units measure 6 1/2" x 12 1/2". Refer back to my tip in step 2 for lining up seams.
Step 7: Attach the 3 1/2" wide piece to the left of the above unit and the 9 1/2" wide piece to the right. This gives you the full placemat, with an unfinished measurement of 18 1/2" x 12 1/2".
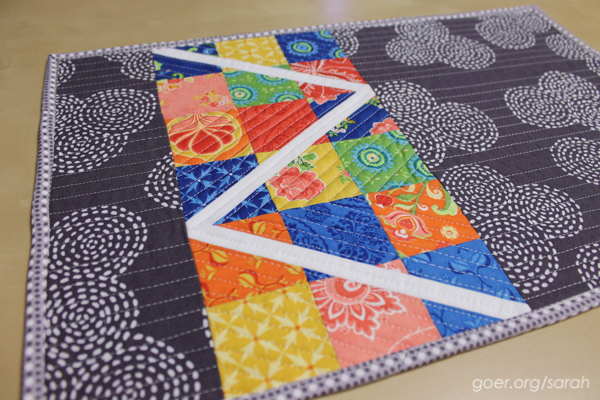
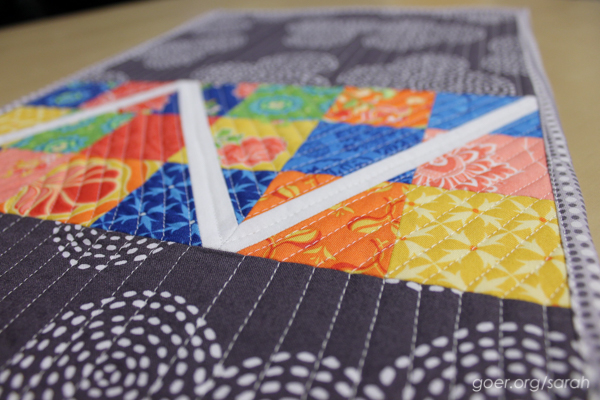
Step 8: Quilt and bind as desired.

Please visit other bloggers in the Mini Charm Challenge:
Sept. 14 - Jennie at Clover and Violet: Curvy Top Pencil Pouch
Sept. 15 - Lisa at Banana Cherie: NaKoa Mini Quilt
Sept. 16 - Me. Thanks for visiting!
Sept. 17 - April at The {Studio} Blog: Mini Charm Baby Bib
Sept. 18 - Nina at Nina with Freckles: Cute as a Button Mini Quilt
Sept. 19 - Konda at Moose on the Porch Quilts: Happy Hexi Flowers Small Quilt
Sept. 20 - Mary at See Mary Quilt: Rainbow Byte Mini Quilt
Sept. 21 - Kylie at Sew Kylie: Patchwork "Sew" Wall Decor