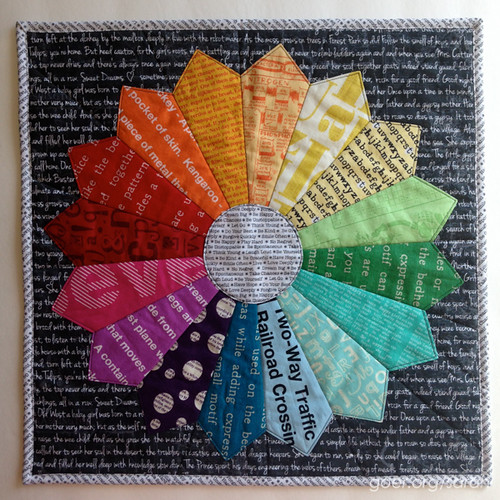
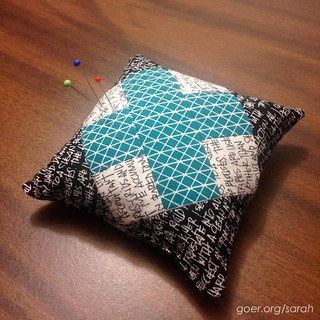
Hello. It's been a while. I'm happy to be back.
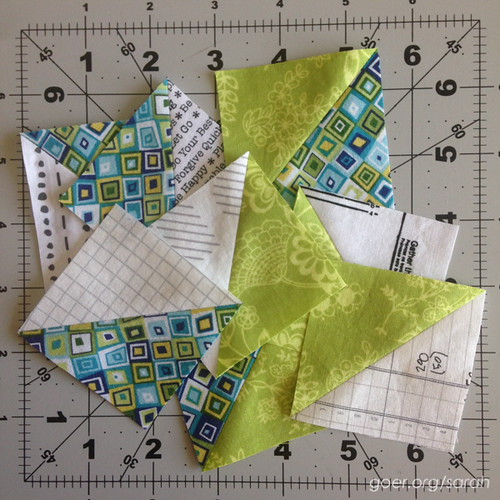
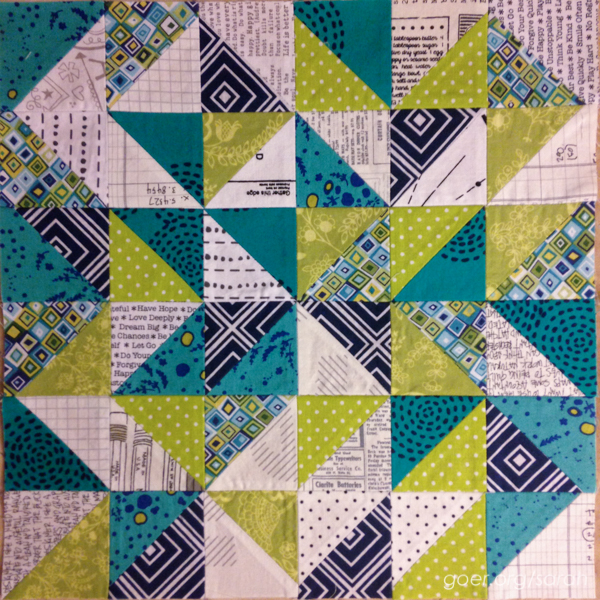
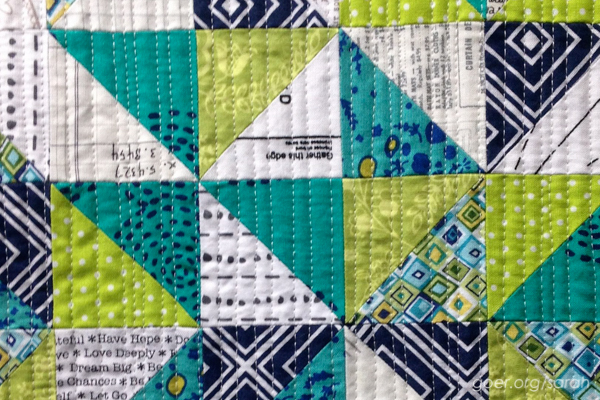
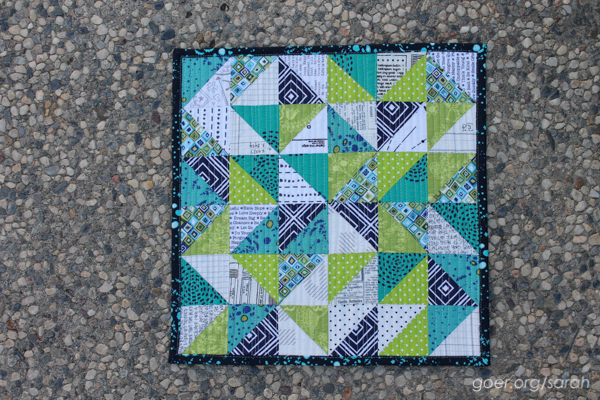
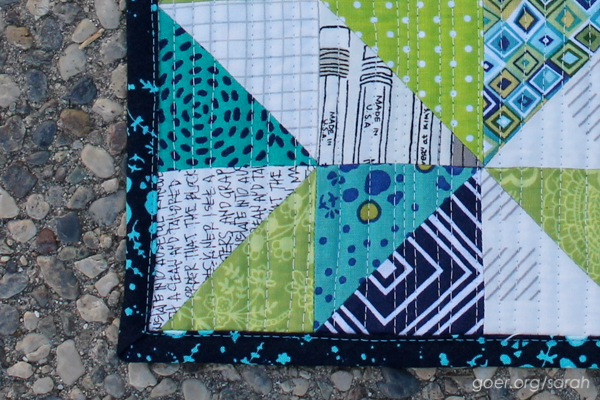
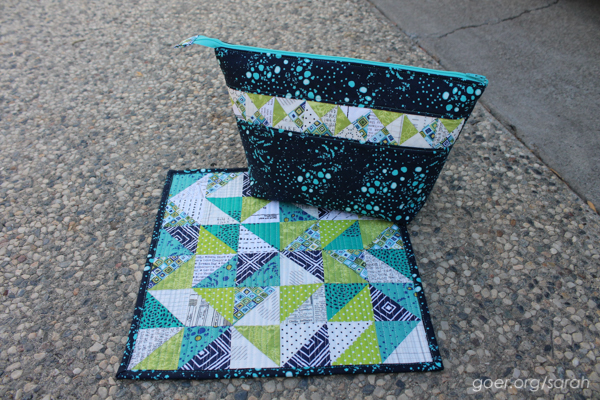
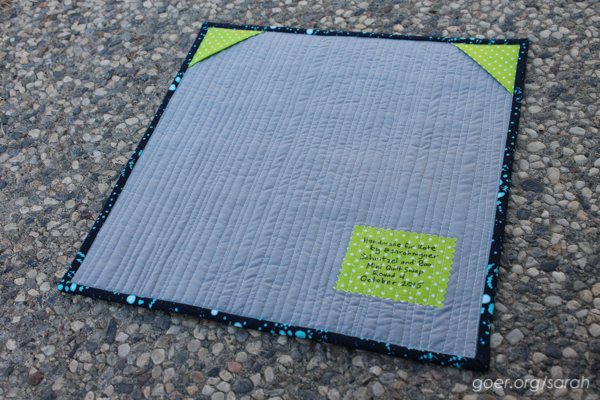
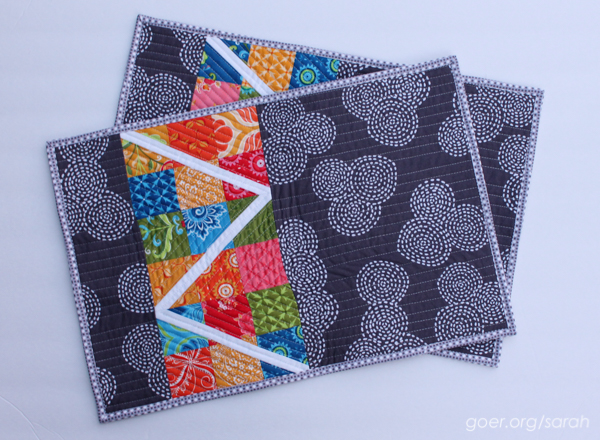
The Other Placemat. Here's a situation of how lacking a deadline really affects getting something done. My Zig Zag Placemat tutorial was published in mid-September. I only finished one of the two placemats in time for publication. The second placemat was pieced in time, but not yet quilted. I finally quilted and finished it at my guild's retreat at the beginning of November. I'm not 100% pleased with the quilting, but it's done. And the wonky part in the middle will be covered by the plate. ;-) Happy to check off another item from the lengthy WIP list and I know the recipients will not be as picky as me about a little wonky quilting.
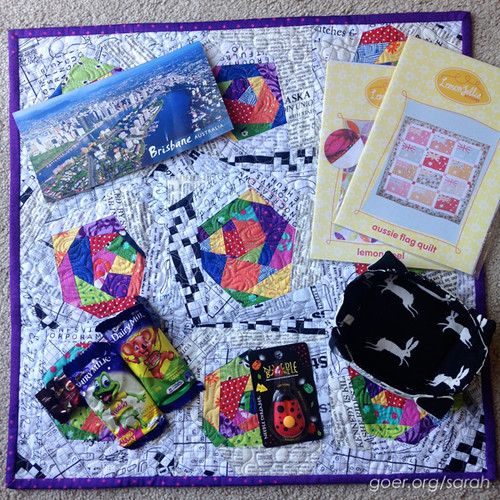
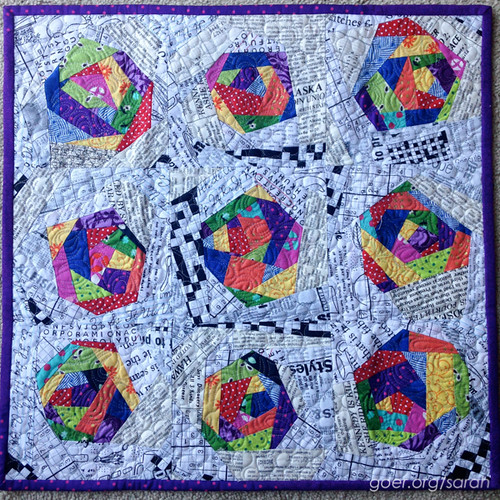
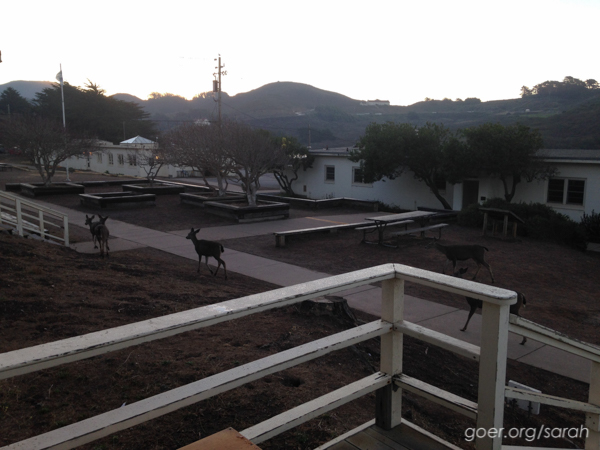
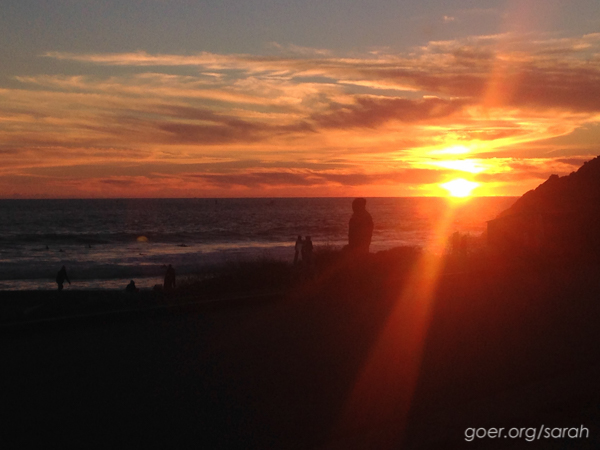
I'm a member of the Santa Clara Valley Quilt Association and this was the first time I took part in one of their retreats. They do two annual Marin Headlands retreats (where we were) as well as in-town retreats at a local hotel. I highly encourage you to participate in a quilting retreat if you haven't done so yet. I've been a member of this guild on and off since 2002 and over the years I've met a few people from the group at guild events, and more recently through blogs and IG. But this event really changed how connected I feel to the group. (And I got so much done!) The 3-day retreat was a nice long time to get to talk about quilty and other stuff with some lovely women. I look forward to my next retreat! And here are a couple of the pictures I took at the retreat. Such a lovely area!
Thank you for visiting!
I'm linking up to Adrienne's 2015 Q4 Finish Along post. See all my Q4 goals here.