The products featured in this post were given to me by Island Batik, including batting from Hobbs.
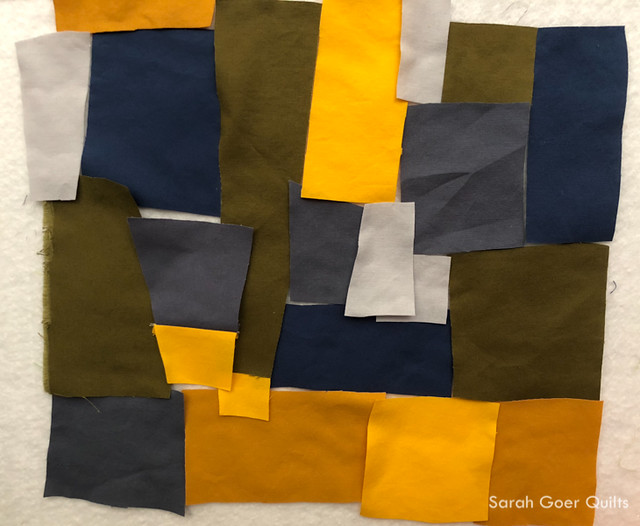
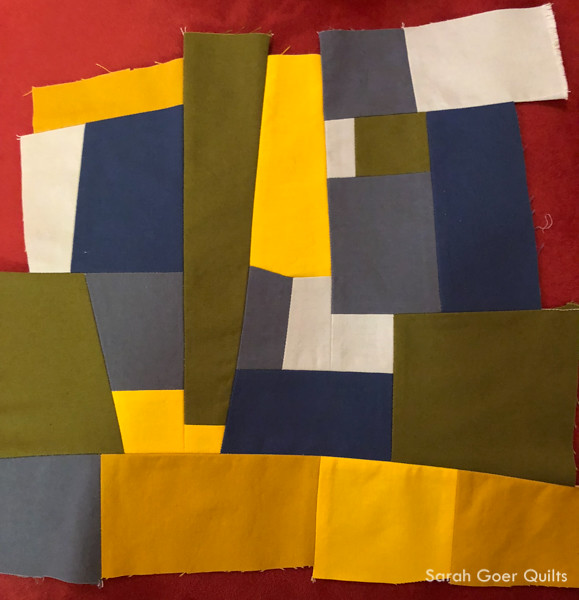
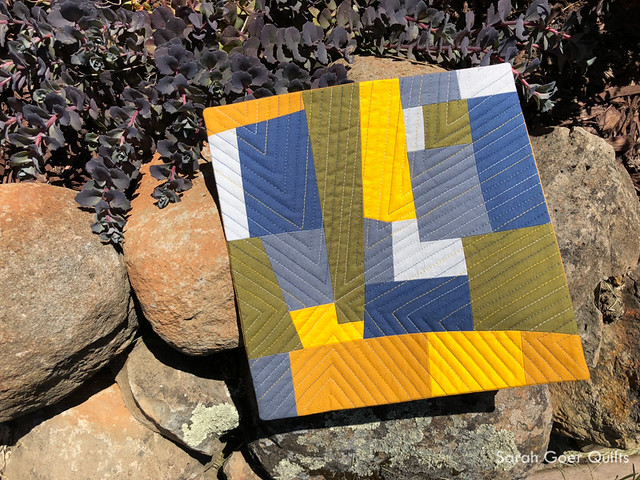
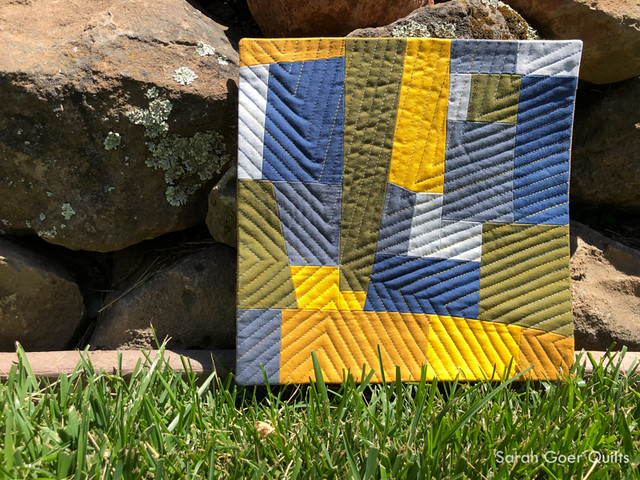
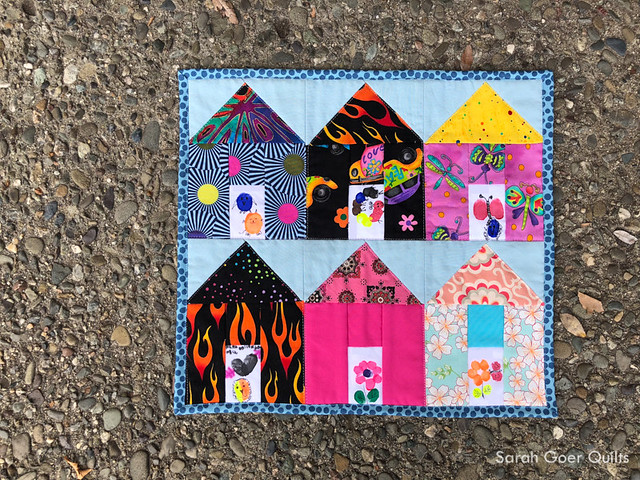
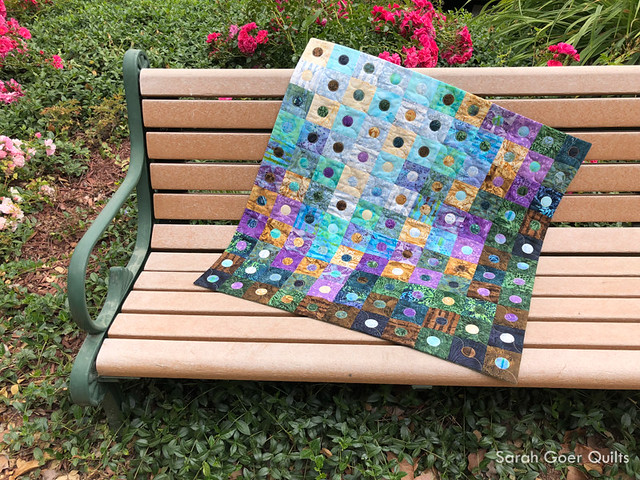
In March I tried a technique that was new to me. I actually tried a few new (or newish) techniques and tools. I used an Accuquilt Go! for the first time. I did fusible appliqué (which I had tried, but not many times). I used a "grab bag" system for pairing fabrics. And my overall composition was a color wash. The variety of values in the Island Batik Mountain's Majesty Stack of 10" squares was perfect for this look. I shared my finished quilt top and a bit about my inspiration and process. In May I finished the quilt, and dropped it off to the San Mateo County Fair where it hung for the June fair with nearly 400 other beautiful quilts. I shared a peek of my finish in my Quilts in the San Mateo County Fair post where I also shared my kids' quilts and my judges' evaluation forms.
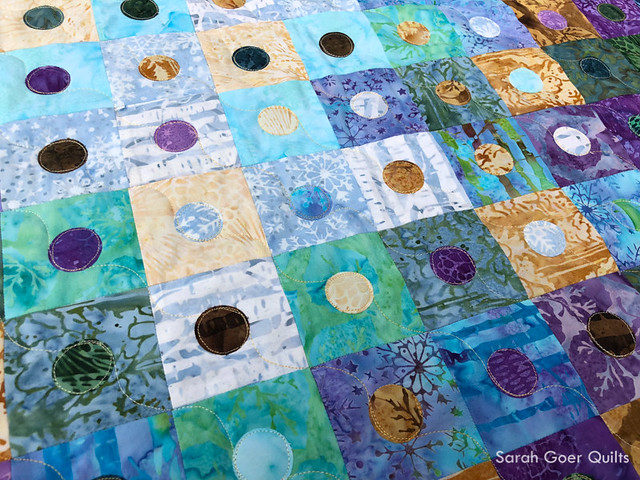
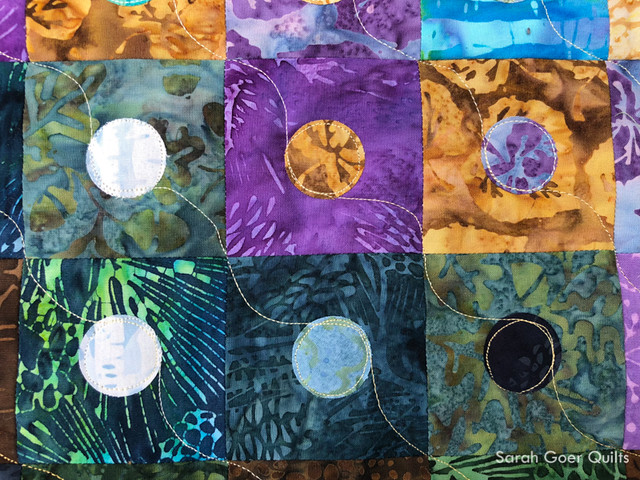
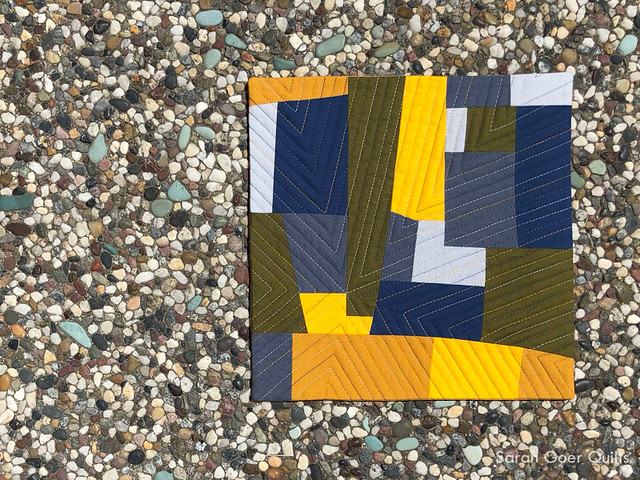
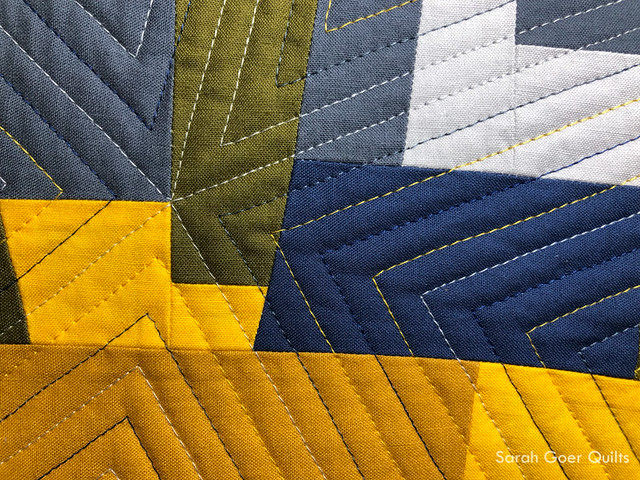
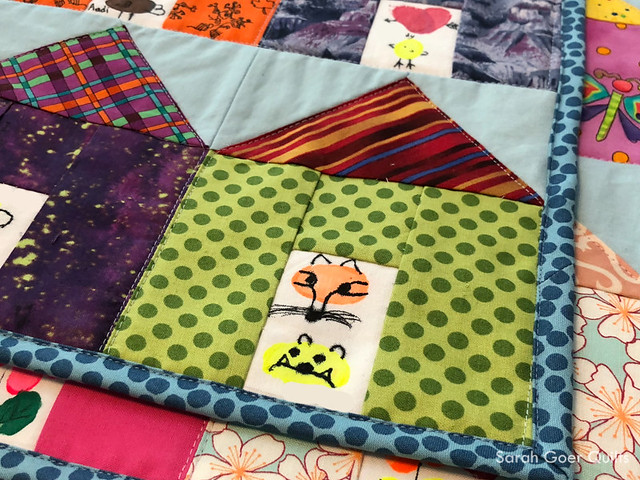
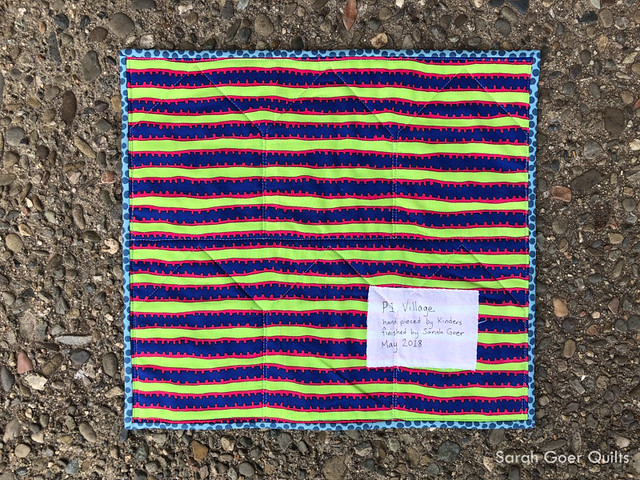
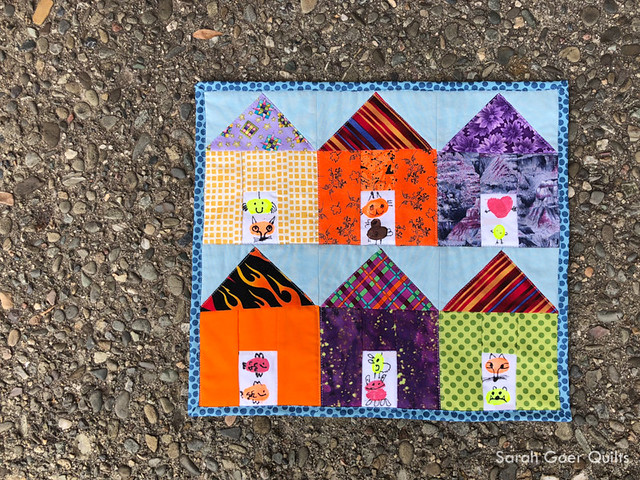
So, back to my quilt. Since my 1" squares were fused in place, I wanted my quilting to hold them down. (For those of you more experienced appliqué quilters, is there a fusible that will withstand washing without being stitched down?) I opted for a diagonal path to my free motion quilting. Starting at the corner I curved in to the center of the block, stitched around the perimeter of the circle, and curved down to the right to the corner of the block. I like the overall look and it achieved my goal of holding those little circles in place.
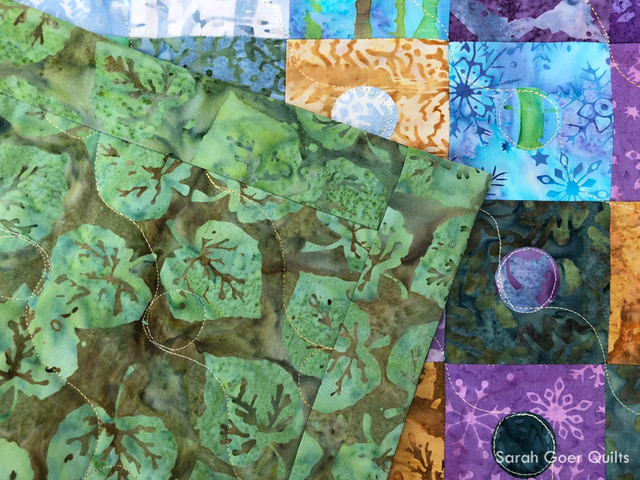
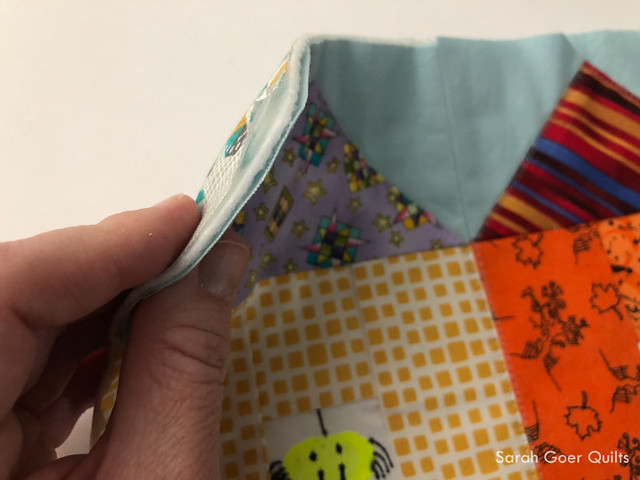
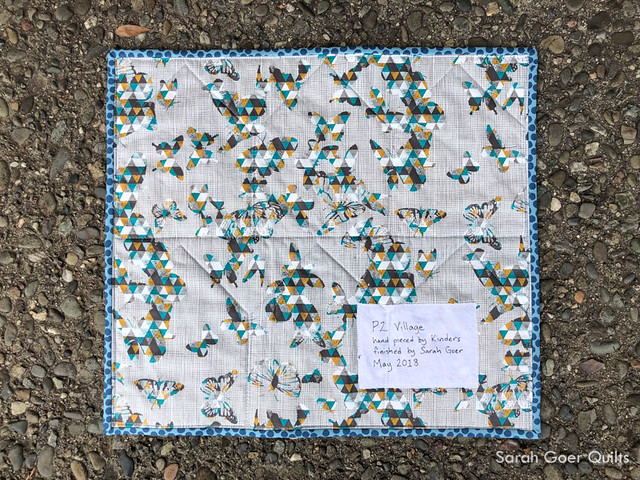
The quilt was finished with a faced binding. I really like the look of the facing on the finished quilt so the binding doesn't compete with the design of the quilt. I recently used faced binding on on i Mini and my Modern Batik Scrappy Squares.


I've linked up to 2018 Q2 Finish Along linkup. See my whole Q2 list.