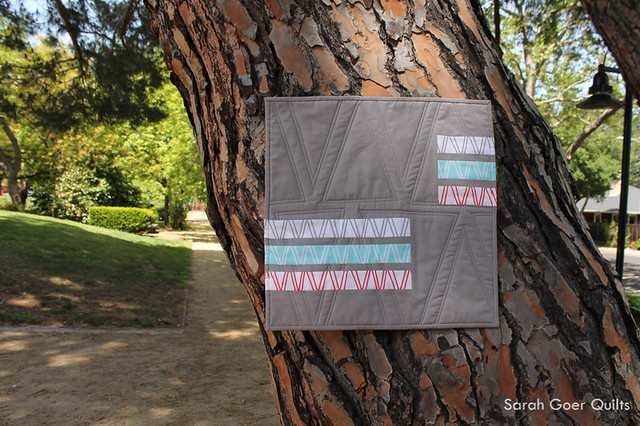
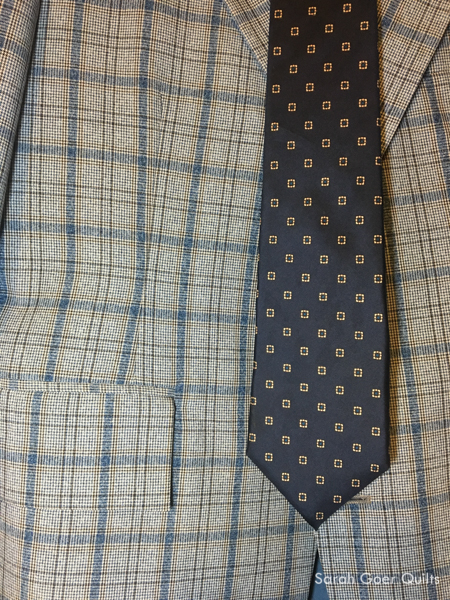
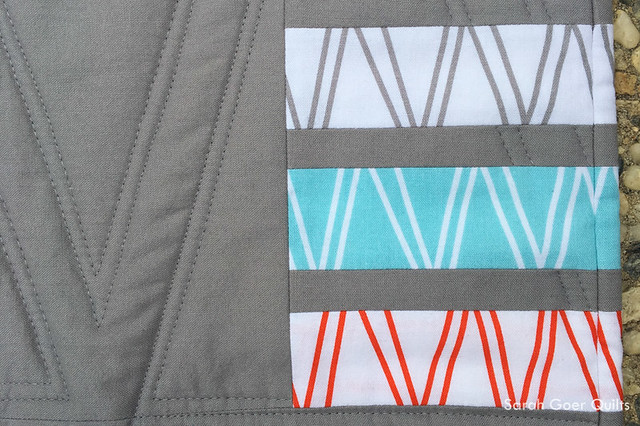
I opted in to participate in the Riley Blake Creative Rockstar Challenge with the Modern Quilt Guild and received a package of the challenge fabrics. We were allowed to add additional fabric from the line as well as any Riley Blake solids. I opted to order the additional colorway of the Rockstar Rhythm print (with the triangles) as it was my favorite in the line. I love the geometric design. I also ordered solid black and grey and ultimately decided on the grey in order to emphasize the quilting.
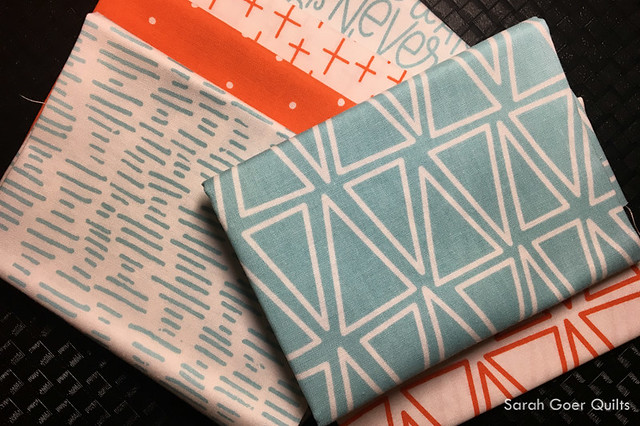
In designing my quilt, I decided to feature the three different colorways and fussy cut to show an interesting section of the print. I planned my quilting to emulate the design from the fabric in a much larger scale. I achieved this quilting motif by marking my fabric.
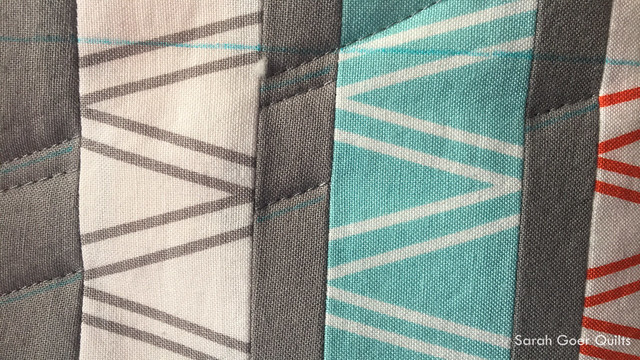
I used a straight edge to draw the different sized triangles and then stitched approximately 1/8” on each side of the lines. There were a lot of threads to bury, but I’m very happy with the results.
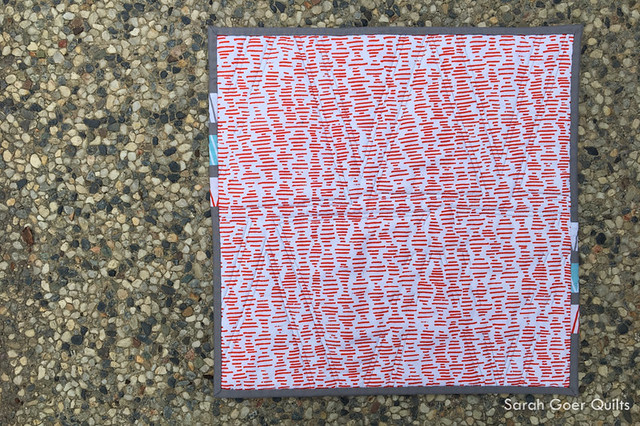
I had just enough leftover from my pieced strips from the quilt top to be able to piece them in to the binding to extend the quilt top design onto the binding.
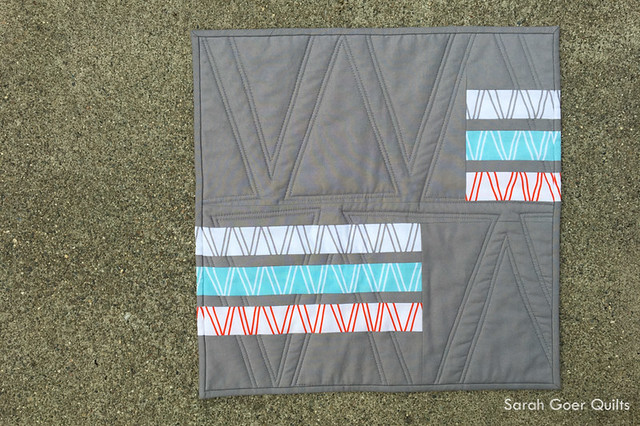
I completed my 16" x 16" quilt a full week before the deadline (Shocker, I know!) and submitted it to the MQG challenge. Winners are supposed to be announced this month.
I love seeing all the different takes on the challenge. There are quite a variety of styles! You can check out other entries at #mqgfabricchallenge on Instagram.