Tag Archives: challenge quilt

10 Comments

This week's final Project QUILTING challenge of the season was "Time Is Up." My initial thought was that I wanted to make a sundial quilt. I opted for a minimalist representation and started with a couple improv pieced curves before adding the triangular "dial" by machine appliqué. I used my free-motion quilting to embellish the design with the clock tick marks and the shadow. My mini quilt finished at 9" x 9".

A great big thank you to Kim (Host) and Trish (Challenge Designer) for a fun season of challenges. It was my first time participating, and I'm wiped out, but I'm really glad that I set aside the time and made it a priority to participate in all six weeks. My two favorite quilts that I made for this season's challenges were for the Tuned Into Texture and Brighter the Better challenges.

I'm linking up to Project Quilting Challenge 6. Voting starts at noon Central time on Sunday. You can check out all the entries and vote on your favorites. (Mine is #82.)

12 Comments

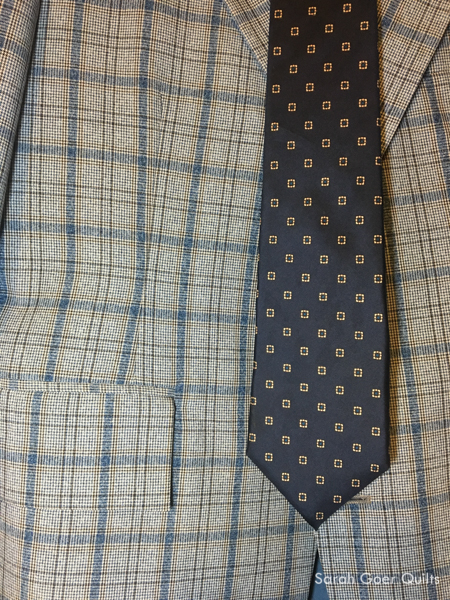
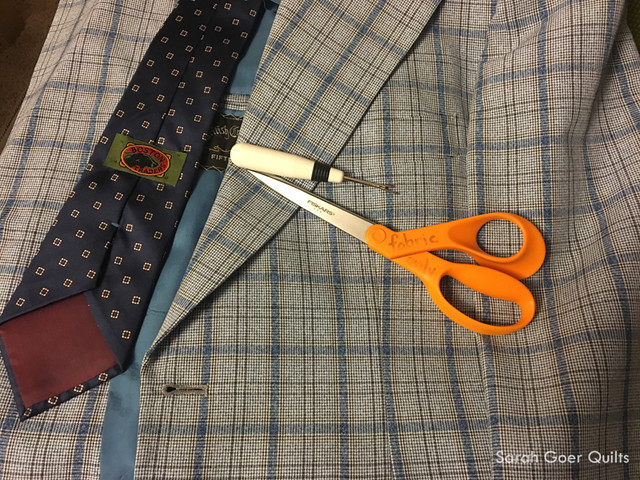
This week's challenge for Project QUILTING was "well-dressed man." On Tuesday, the kids and I made a trip to Goodwill in search for an inspiring men's jacket. I was interested in a jacket with elbow patches (which this one didn't have) and interesting buttons. I just couldn't resist this plaid jacket! And it had a great solid blue lining, too. We chose a tie to go with it. At the register the man helping us commented that "dad [was] getting a new jacket" and my kids prompted corrected him that it was for me. I laughed and said that I was going to make it into a quilt. He chuckled, then asked if I was serious. I explained the challenge and he asked if I'd bring in my finished quilt to show him.

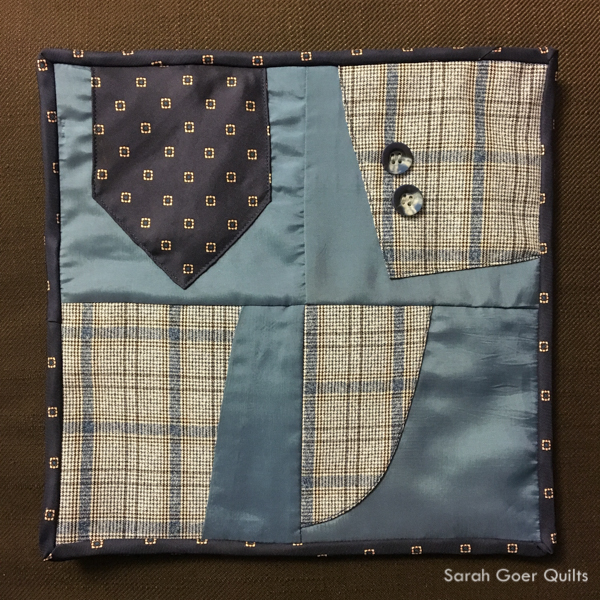
I knew that I wanted to highlight some of the features of the jacket, but I didn't really have a plan for the construction of my quilt.

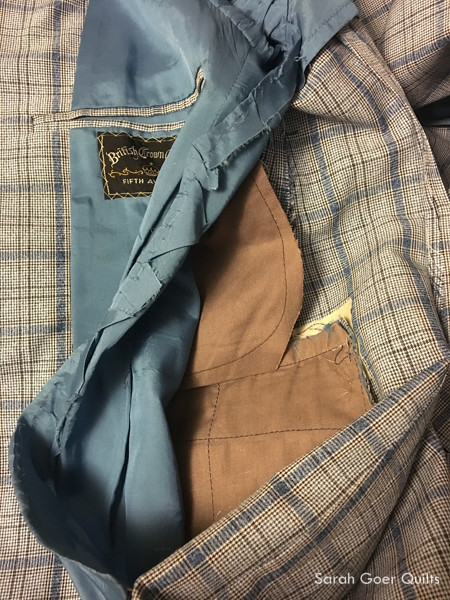
I finally got to work deconstructing the jacket on Friday night.

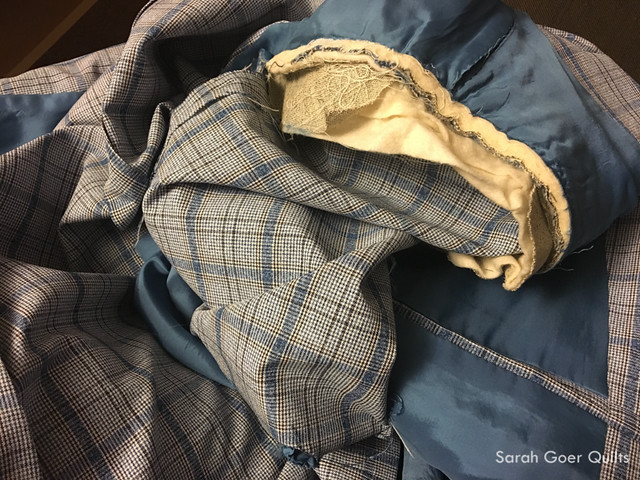
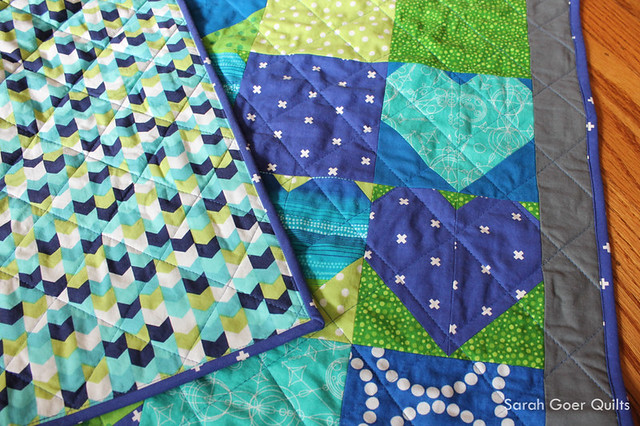
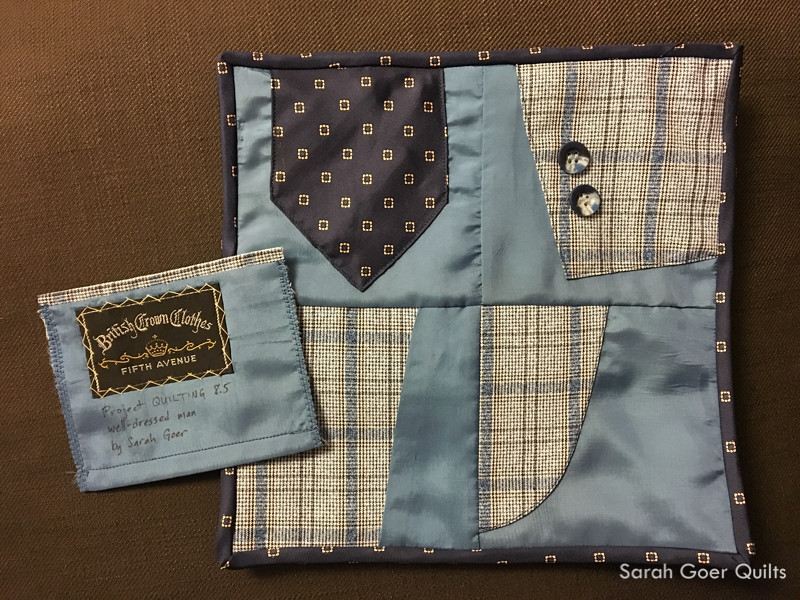
I cut out some sections that I liked, but didn't get back to my sewing machine until almost 10pm on Saturday. With about 12 hours left in the challenge, I knew I had to take my friend Mel's advise and work small. I edited down my initial ideas and decided on making the blocks even smaller than I'd planned. One feature that I liked was the section from the front of the jacket that had the full pocket. When I decided to make my blocks smaller, it eliminated the possibility of using it as a block. Then I realized if I trimmed my blocks down to 4.5" finished squares I could use the pocket as my backing. I used a remnant piece of batting and bound my quilt with the tie (deconstructed to only be the top layer of fabric).

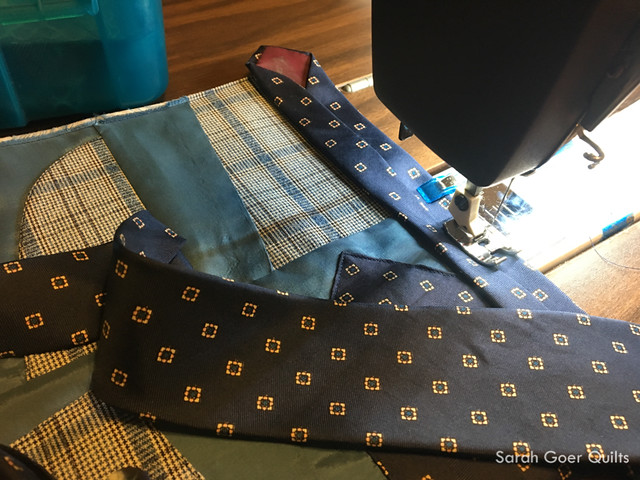
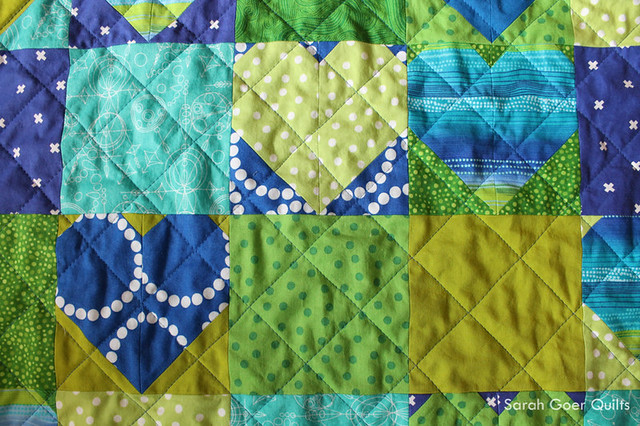
In the end my mini took me about 2 1/2 hours to sew and finish. The solid blue is the jacket lining fabric. My blocks feature the tie, the cuff of one sleeve with buttons, a section of the inside where the lining met the plaid fabric, and the bottom corner edge of the jacket. The section from the interior was just cut out and used as is, and I machine appliqued the other three blocks.

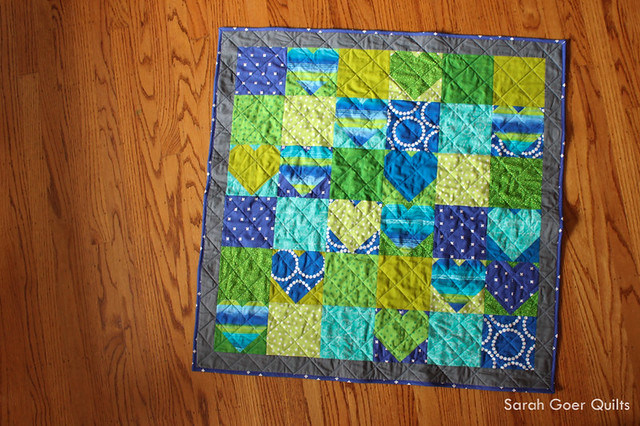
Here's the back with the pocket.

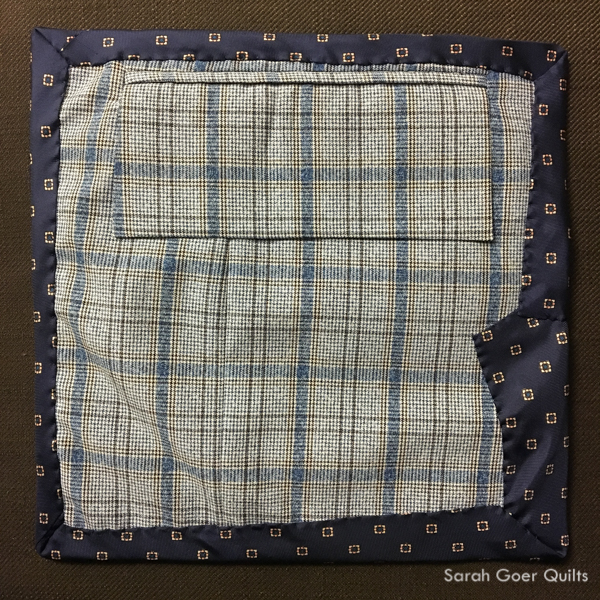
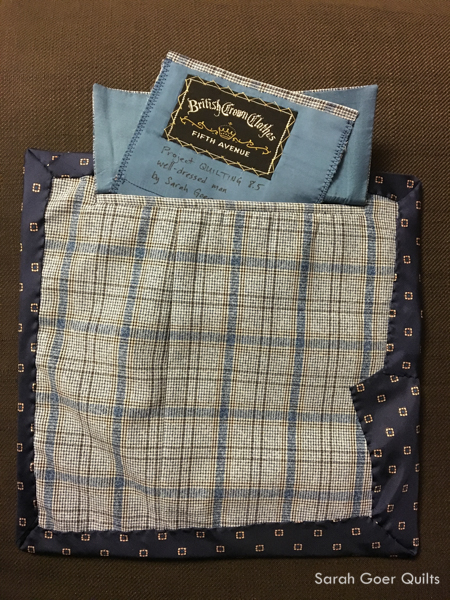
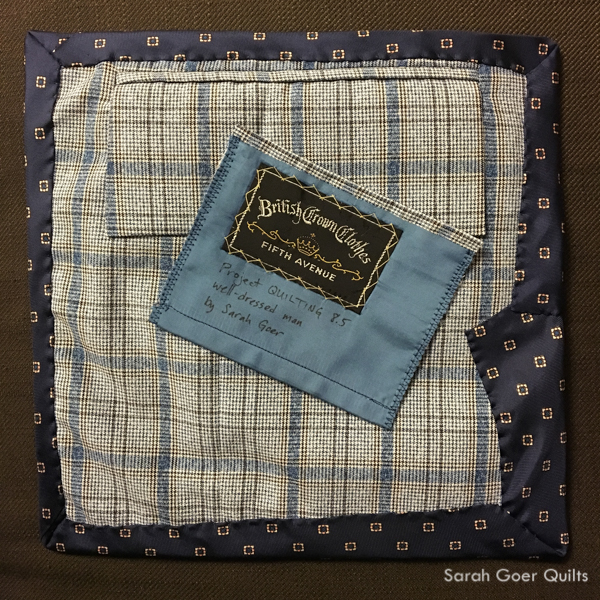
I loved this section of the inner lining. The plaid edge you see was the detail on the interior breast pocket. Early on I knew I was going to use it. Mel suggested I use it for my label, but I thought I might feature it on the front before I decided to work even smaller than planned. Once I decided on the smaller size, I knew it would make a fun label. I opted to finish it and tuck it into the pocket on the back.

I'm linking up to Persimmon Dreams for the Project QUILTING Well-Dressed Man Challenge.

Voting is open over on Persimmon Dreams. You may vote for your EIGHT favorites. You can find me at #51.

12 Comments

I'm happy to be participating in the fourth week of Project QUILTING. (You can find me at #110 if you'd like to vote for my project.) This week's theme is Brighter the Better. We were asked to crank up the saturation in our projects. Let me just say, my stash was made for this challenge. My initial pull of bright, vibrant fabrics resulted in a variety of bold stripes.

I was inspired on the morning of Valentine's Day by the heart blocks being posted on Instagram. I decided to go with fully saturated hearts for my project and chose one of my stripes to inspire the color palette.

I settled on the 5" finished size of the Simple Heart Block by Cluck Cluck Sew. I had a limited amount of the striped fabric and this size seemed to maximize the number of blocks I could create – seven. I cut a variety of background fabrics for these striped hearts. Then I went on to make additional pairings for more heart blocks. I decided early on I would include some square blocks interspersed with the heart blocks. In the end, I stopped sewing heart blocks when I got tired of making them. ;-) Inadvertently, I sewed 14 heart blocks on February 14th.

The next morning I filled in the remaining spots with squares and began work on a final layout. I could have spent days rearranging blocks on the design wall. I didn't want like fabrics to touch on an edge (corners were okay) and I wanted hearts (and more specifically striped hearts) in each row and column, and I wanted some balance.

I added the grey border so I wouldn't lose my points when I added my binding. I machine bind and it's not a perfect 1/4". I should probably do some work to figure out how to plan that my machine binding land in the right place by adding a little space around the quilt top when I trim it after quilting.

I thought I would walking food quilt crosshatch spaced 1 1/2", but when I started my quilting after 10pm last night I decided on 2 1/4". Two hours of quilting later, I finished that step at 12:40am. After I slept, my 4 year old daughter supervised my work attach the binding and then helped with my photo shoot. ;-) I had planned to bind it in grey to match the border, but decided in the vein of "Brighter the Better" I would use one of my blue fabrics. I had the perfect amount of this print! The backing fabric (also from my stash) was purchased a while ago to back a project that I recently gave away (in WIP status). I thought it was the perfect combination for this quilt.

My quilt finished at 34" x 34" which I think means it's the perfect size to go to a NICU.

I'm linking up to Persimmon Dreams for the Project QUILTING Brighter the Better Challenge and to TGIFF at A Quarter Inch from the Edge.

Thanks for visiting! Voting for Project QUILTING is open! You get to vote for your ten favorite projects. Mine is #110. Voting has ended. :-)