Sewing

13 Comments

May was a bit of a whirlwind. I was out of town twice (for the Tinkerbell 10K at Disneyland with my sister and some friends, and then to Monterey for a relaxing couple of days with my husband) and I threw a birthday party for my three year old daughter in between. For all these reasons and some previous procrastinating, the apron and chef's hat I had planned to make for her birthday was a belated gift. ;-)

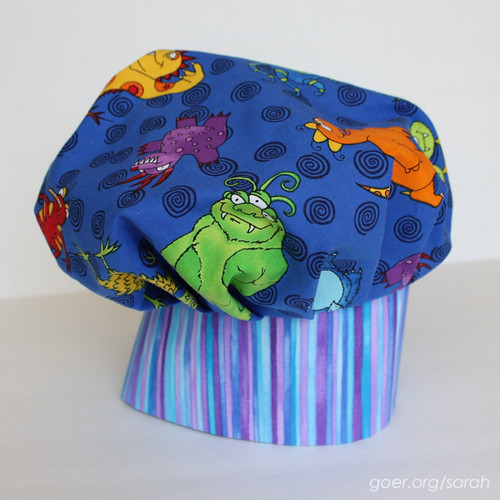
I've made three sets of these before and I just love them. The pattern (links to patterns available on Making It Fun) is thorough and it's a well finished product. My son loves his Very Hungry Caterpillar set and my daughter is quite pleased to have her own. She was even willing to do a bit of wiggly modeling.

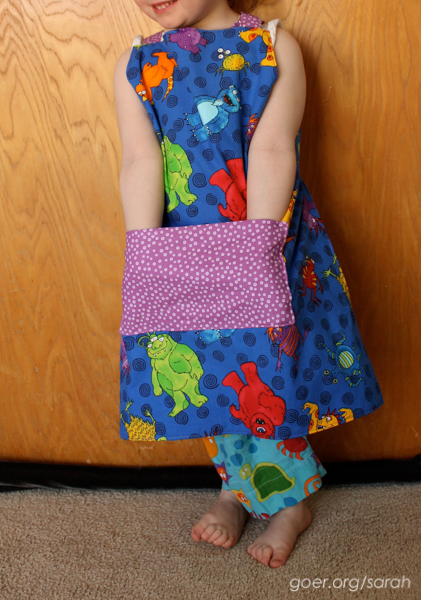
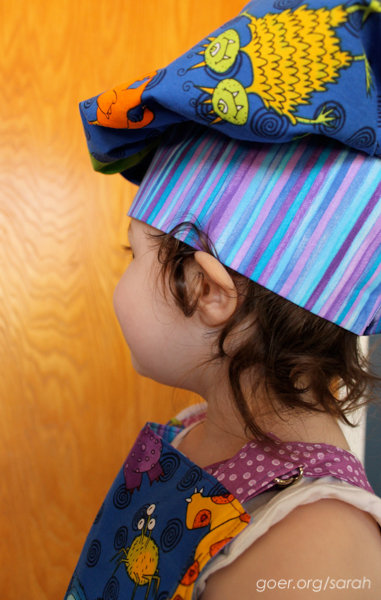
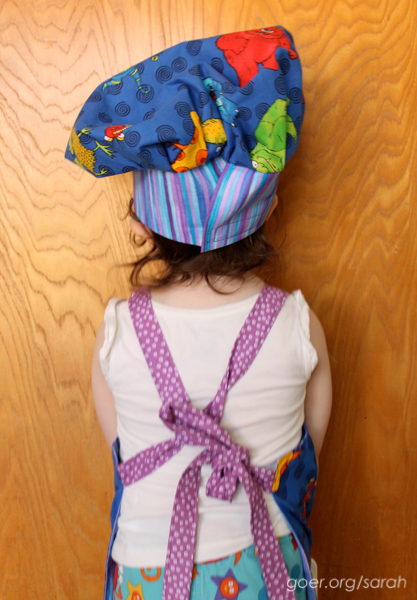
A little blurry, but I wanted to show how I tie the apron on the tiny child. The neck strap has an adjustable D ring, but if I cinched it up tight enough to keep the apron from nearly dragging on the floor it would be choking her. So, I put the waist straps through the neck loop before I tie them which keeps the apron up nicely. It will grow with her for many years. The hat has a velcro closure, so it will also fit for quite some time. Truth be told, it's a little big for her at the moment.

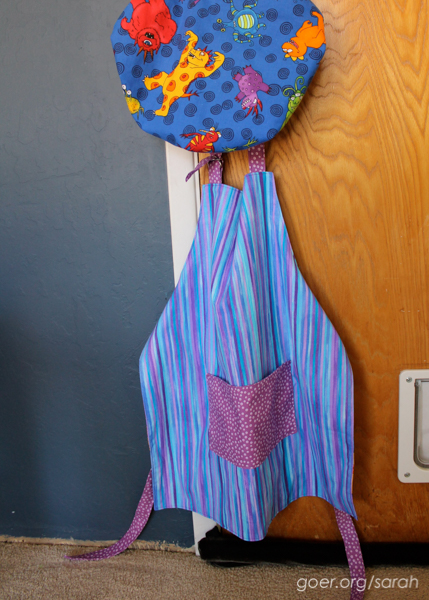
She was "over it" on the modeling so here's the other side of the reversible apron.

I'm linking up to A Lovely Year of Finishes for completing my May goal and the Sew Darn Crafty link-up.

Thanks for visiting!

This finish is one of my Q2 Finish Along goals. I'm linking up with the Q2 Finishes party.

8 Comments

I feel like my sewing has been a bit "go go go" lately, so I need to pick something a little less time consuming for this month's go to project. The weather has warmed up, so we're outdoors more, there are some non-sewing projects around the house that really need my attention, and my little one turns three this month. So, for my A Lovely Year of Finishes May goal, I intend to finish her apron and chef's hat. It's cut out and ready to sew (except maybe for interfacing), and I know she's itching to have it. When her brother is at school she borrows his, but she really wants her own. And it's been a long while since she picked out the fabric.


Here are the other chef's hats and apron that made in 2011 and 2013.

Want to make your own? Links to the PDF patterns can be found on the sidebar of Stardust Shoes blog.

Linking up to ALYoF May Goals party.

55 Comments

Welcome to those of you who are here to share a finish with TGIFF or to check out what everyone else has been up to. I'm excited to be hosting Thank Goodness It's Finished Friday! On Tuesday I showed you my first little Open Wide Zippered Pouches. I think I could easily become addicted. (There will certainly be some made as gifts soon.) Such a nice fast project! Participating in the Open Wide Pouch Swap on Instagram was a lot of fun. I've really enjoyed watching people share their creative ideas. I'm looking forward to the arrival of my package.

I knew that I wanted to piece the outer panels for the pouch I was sending to my partner. And, how can a person go wrong with Alison Glass fabric? So I used the her Mercury prints and designed a rainbow panel for the outside. I have to say, I'm kind of in love with it and it was really hard to send away. Perhaps I will make myself something similar.

front
back
inside

The pattern from Noodlehead has three sizes and includes measurements for a pouch with one fabric on the exterior or a pouch with a contrast bottom (two exterior fabrics). I started with this option but knew I wanted more "work room" for the piecing in my upper section, so I made my contrast bottom pieces smaller (5.5" tall) to accommodate this change. This left me 6.5" by 14" (unfinished) for my upper section.

I don't have process pictures/diagrams, but here are my measurements for the upper portion of my pouch (for one side).

The upper (attached to the zipper) text piece is 14" wide by 2" tall.

The lower (attached to the black print *with a 1/2" seam allowance*) text piece is 14" wide by 2.25" tall.

The pieces for the rainbow panel in the middle are 3.25" tall. The text pieces are .75" wide; the 5 colored panels in the center are 1.75" wide; the blue and pink end pieces are 3.5" wide. When I pieced them I pressed the seams to the colored pieces with a 1/4" seam allowance. I trimmed this strip to 14" once it was pieced. Then I attached it to the upper and lower text pieces with a 1/4" seam allowance. From here I continued with the directions on the Noodlehead tutorial.


I also had scraps from the awesome rainbow fabric large enough to make a small sized pouch... well almost. I pieced in a black and white strip of fabric to stretch my scraps to be large enough. I used the same black and white print for the lining. I thought I was making this to give away. Now I'm not so sure. ;-)

front
back
inside


Thank you for visiting! If you're new to my site, here are some of my latest quilt finishes:

Follow on Bloglovin


I've linked up to Needle and Thread Thursday.

This finish is one of my Q2 Finish Along goals. I'm linking up with the Q2 Finishes party.