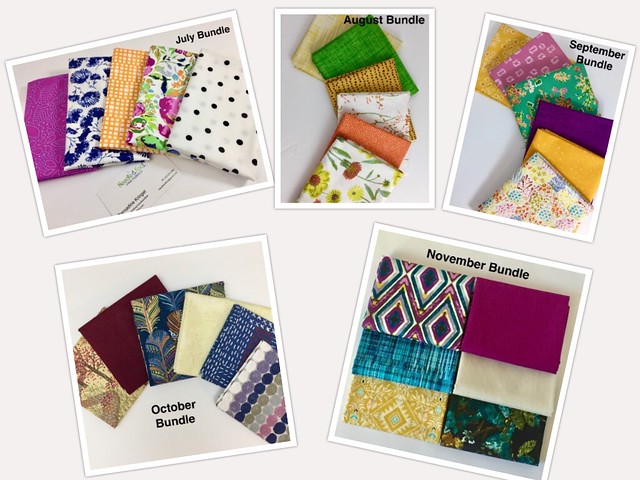
This tutorial features fabric given to me by Island Batik.
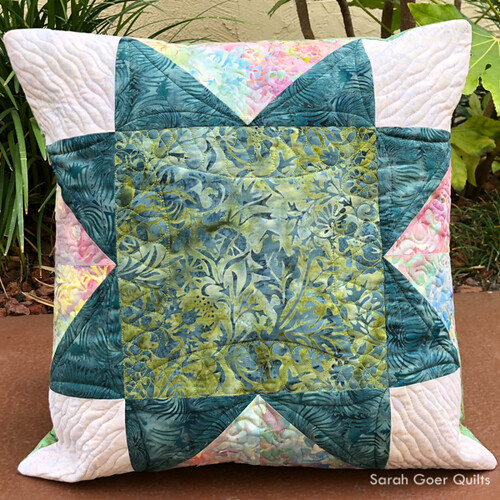
My two favorite ways to make HSTs (half square triangles) are to make them 2-at-a-time or 8-at-a-time. For my September Island Batik project I chose to make sawtooth stars. 8-at-a-time HSTs are perfect for these blocks, so I thought I'd put together a tutorial for you!
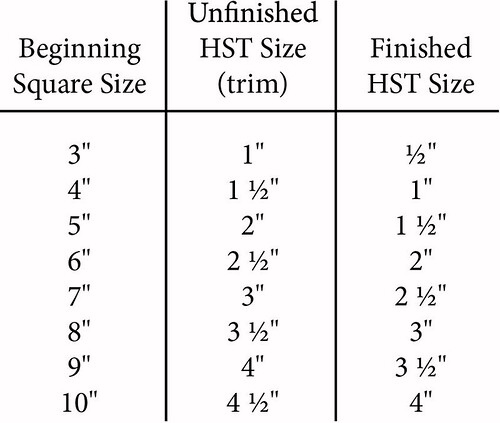
For this project I used precut 10" squares, but they work with any size squares. See the table below for size of squares and size of HSTs you can create. Two starting squares will create eight HSTs.
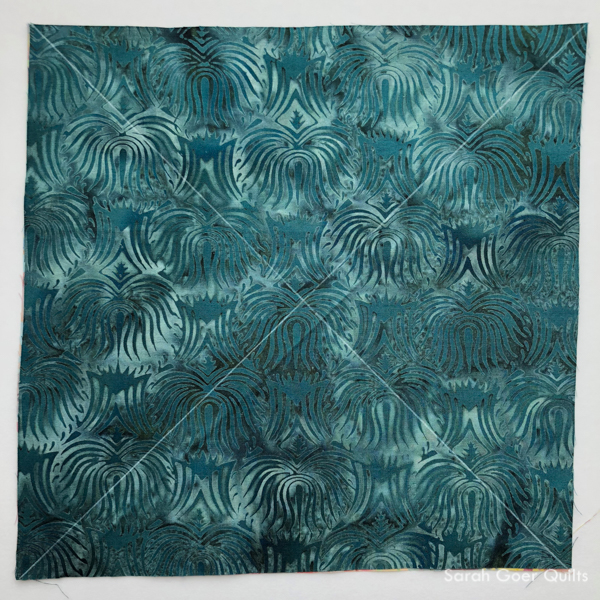
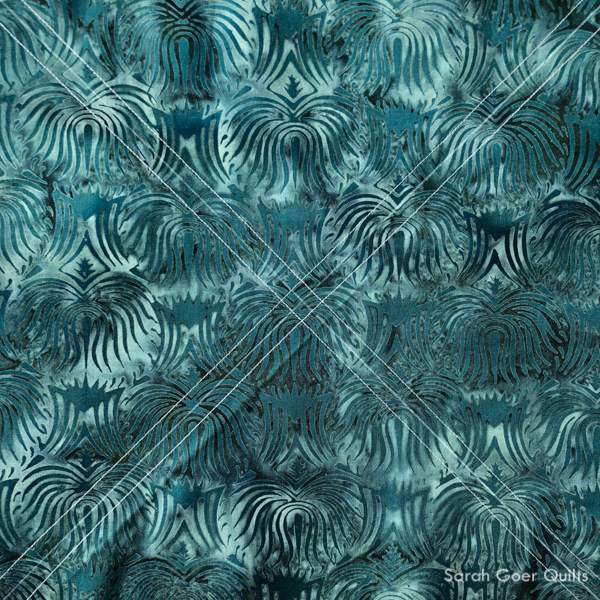
Step 1: With right sides together, mark the two diagonals on the wrong side of one square with your favorite marking tool. When marking the second diagonal it helps to make sure that one of the lines of your ruler lies on the previous line. This will ensure that your marked lines are perpendicular. My preferred marking tools are Dritz Dual Purpose Marking Pen (for light fabrics), Fons and Porter White Mechanical Fabric Pencil (for dark fabrics -- that's the one I used here), and a Hera marker (which I generally use for solids).
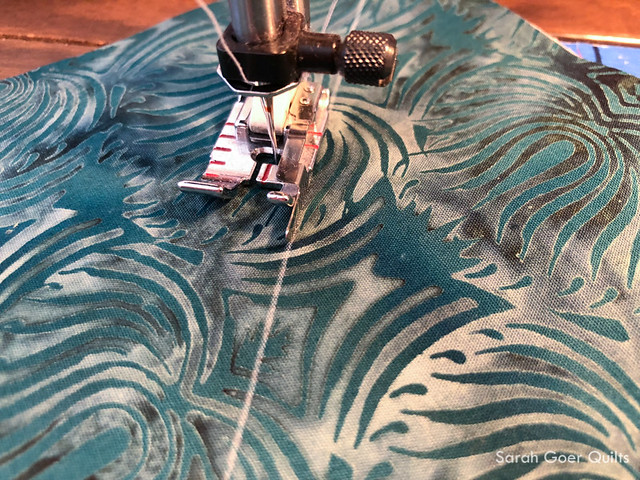
Step 2: Stitch 1/4" on either side of each line. I use my 1/4" foot. If you don't have a 1/4" foot, you may want to mark your lines before sewing.
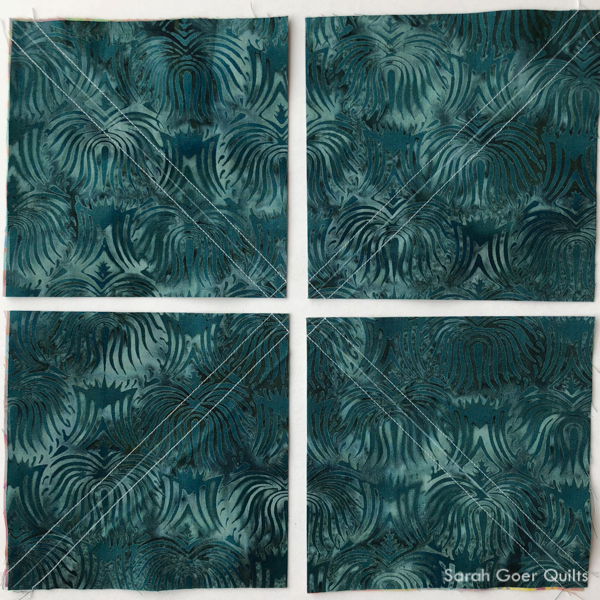
Step 3: Cut the square in half in both the horizontal and vertical directions to make four squares.
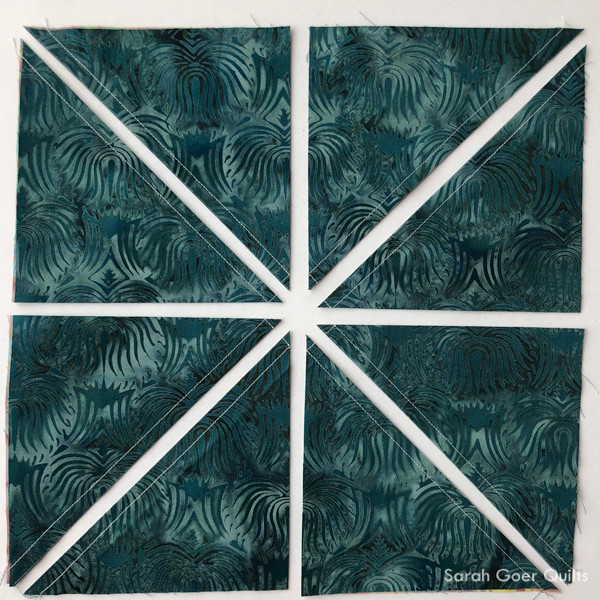
Step 4: Cut on your original marked diagonal lines.
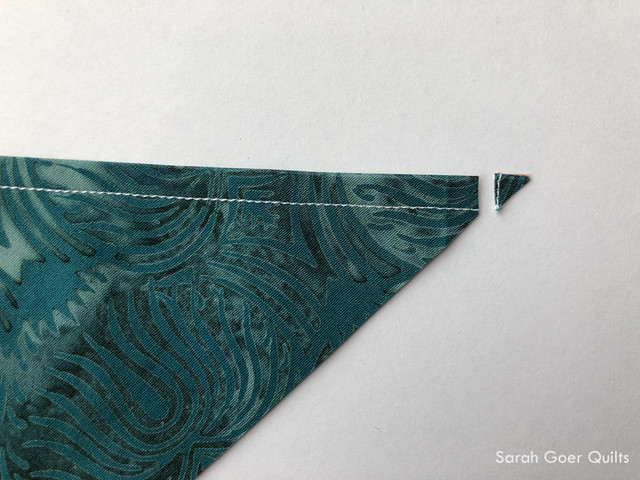
Step 5: Press seams. Note: If you are pressing seams open (which is my preference), you'll have to trim off the stitches in your seam allowance as shown in the first picture below. This can be done with scissors or your rotary cutter.
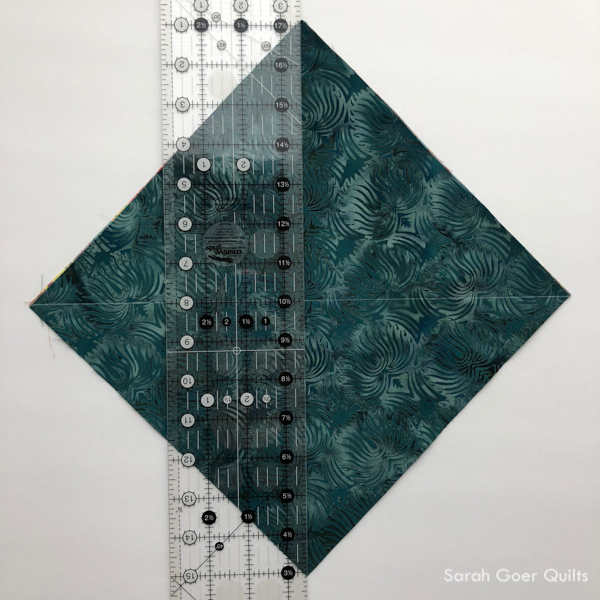
Step 6: Trim down each HST to the desired size. Use the chart below to determine the largest HST you can make from each starting square size.
Happy quilting!