Monthly Archives: March 2018

13 Comments

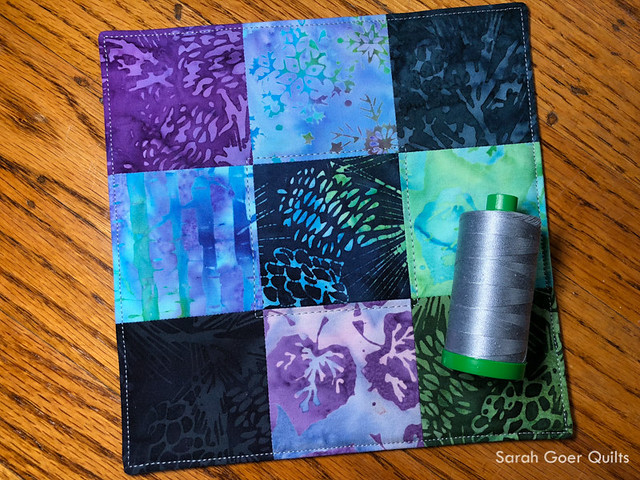
The products featured in this post were given to me by Island Batik, including batting from Hobbs and thread from Aurifil.

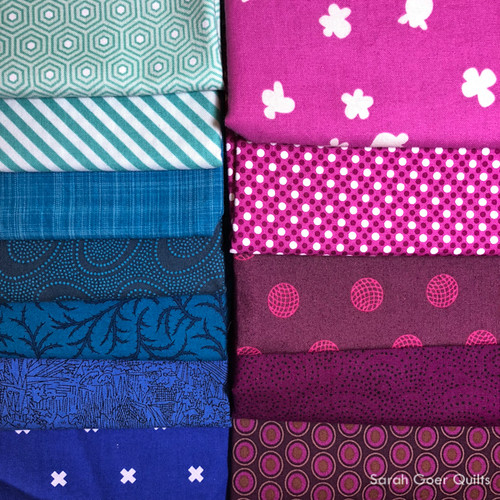
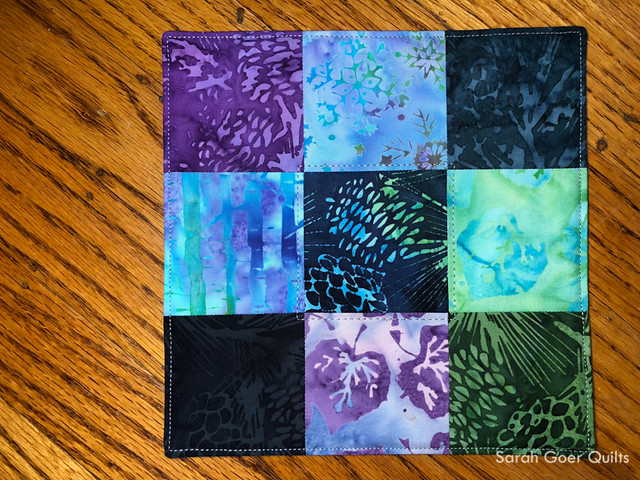
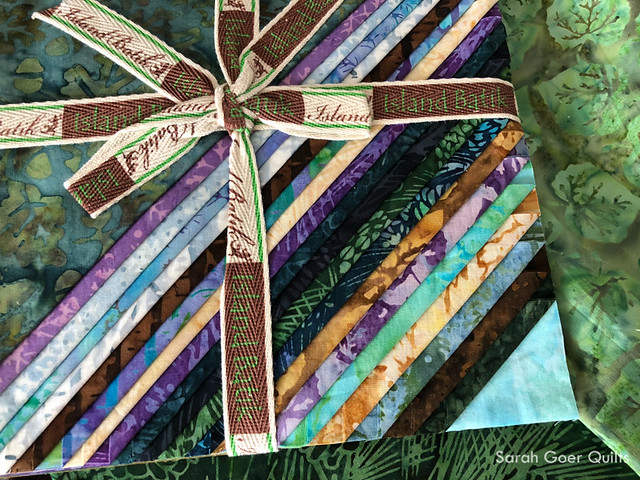
This month's Island Batik challenge for the Ambassadors was Try a Technique. I immediately knew that I wanted to try my first color wash quilt. I've been inspired by the work of Jaye Lapachet (Fabric of the Year 2013, 2014, 2016) and Timna Tarr (Gallery). I chose the Island Batik Mountain's Majesty Stack of 10" squares since it had such a great variety of values.

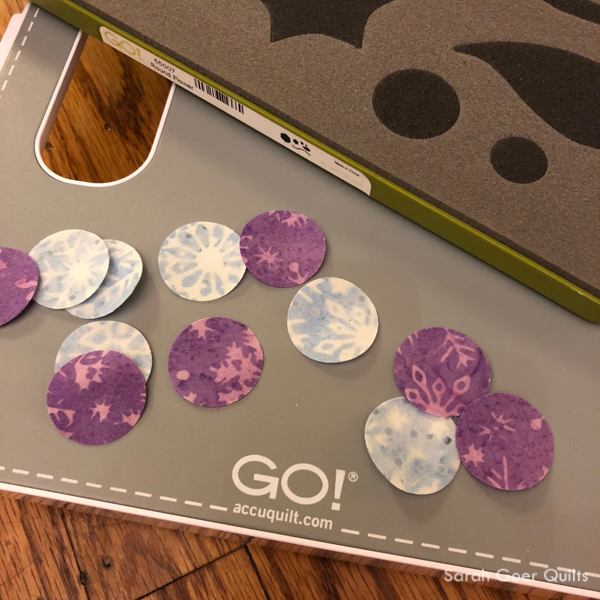
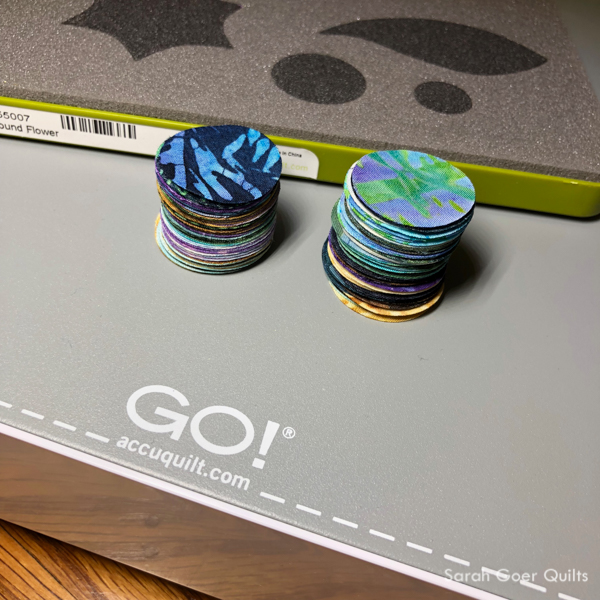
My units were constructed with 1" circles fused on 3" squares of fabric. Size was dictated by what I could get out of 10" squares. I cut six 3" squares from each of 21 fabrics and put fusible (I used Misty Fuse) on a section big enough to cut out six 1" circles per fabric. I began by using an AccuQuilt Go (borrowed from a friend) to cut out 6 circles from each of the 21 fabrics. I'd used die cut systems for paper over the years, but this was the first time using the AccuQuilt or cutting fabric with a die. It was a quick and easy way to cut out 126 circles... and for them to be perfectly round!

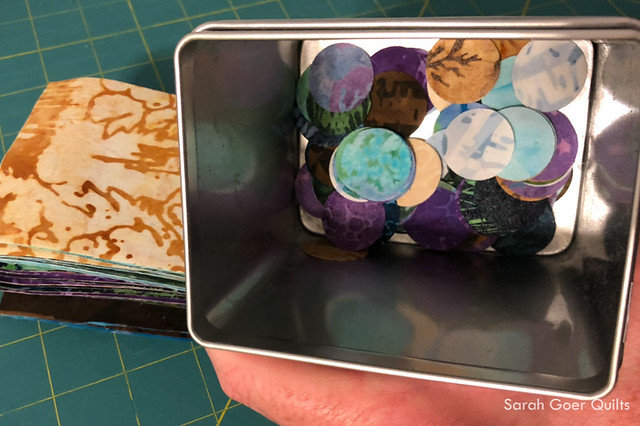
At that point I created my units randomly. I chose a circle at random from my tin to fuse onto the center of each square.

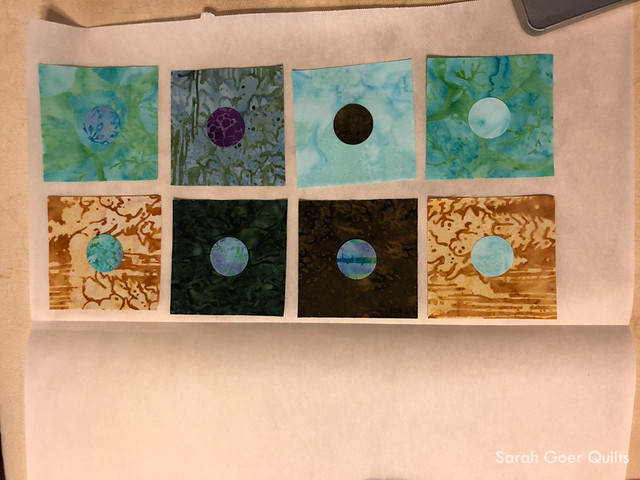
I used the system I learned in Lyric Kinard's class for fusing, by putting the pieces inside a folded sheet of parchment paper. With parchment on top and bottom of my fabrics I didn't need to worry about getting the fusible on my iron or my ironing board.

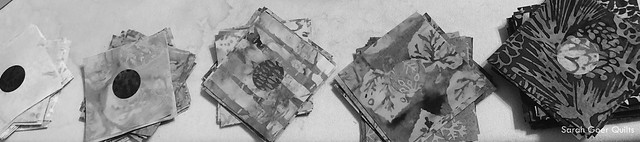
Once I created my 126 units I organized them by value. I use a black and white image of fabrics to detect slight value differences. In this case I organized them into five sections by value.

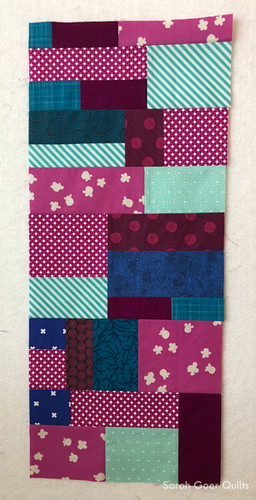
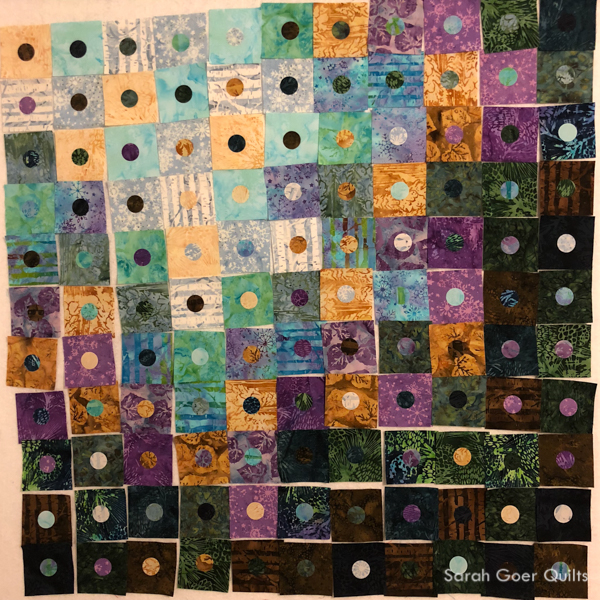
Then I started with the leftmost pile and began laying out my pieces on the design wall. (No process photos here.) I started in the upper left and arranged the pieces so that there were no squares of like fabrics touching on an edge (touching on corners was okay). I ignored the fabrics on the circles. I moved down and to the right as I went through each pile. I had five extra squares which helped with making everything work out since I had extra to swap in if there was a problem area.

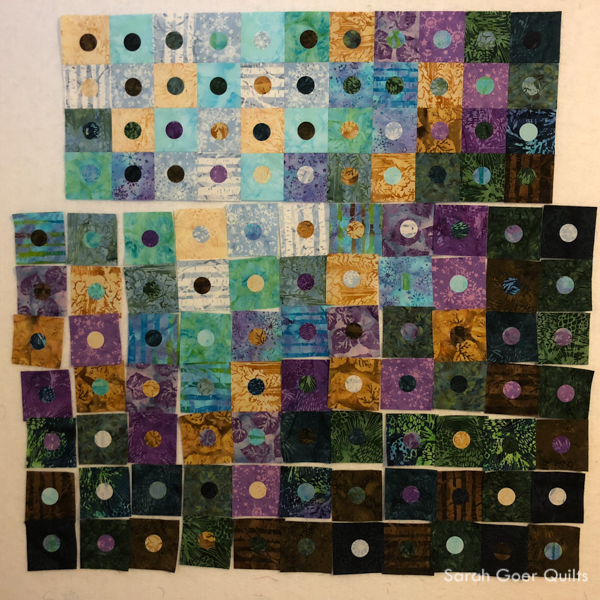
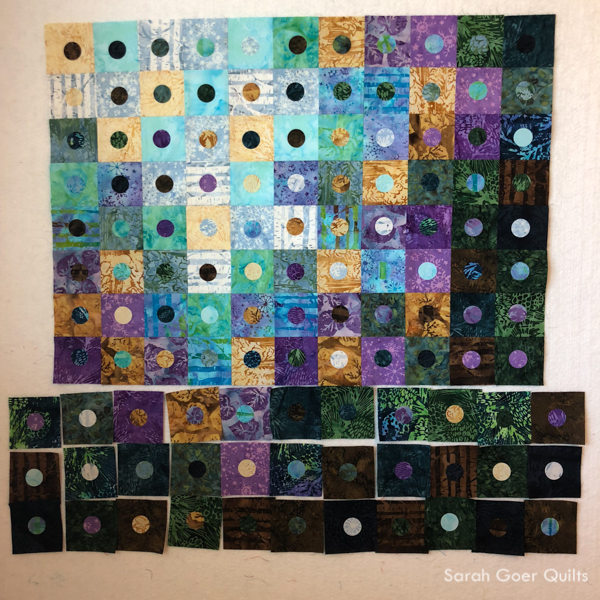
I love how a project on the design wall shrinks up as it is pieced.
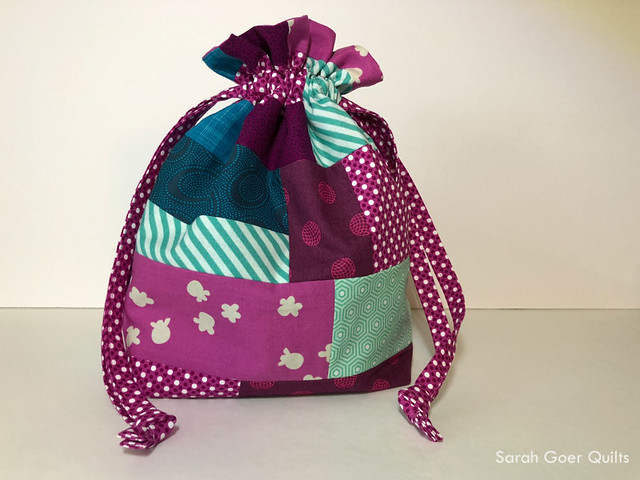
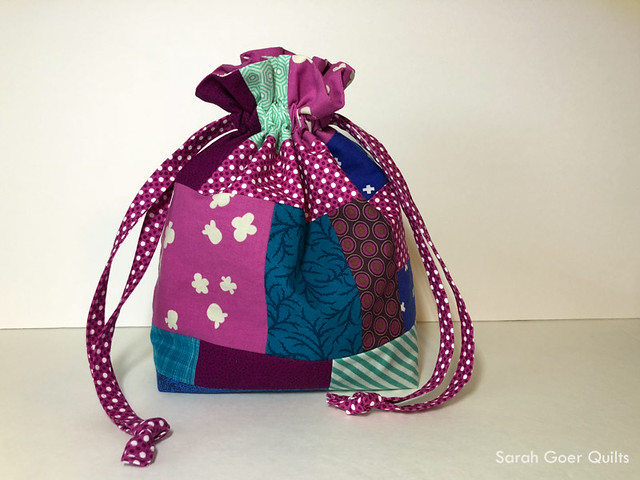
And finally...

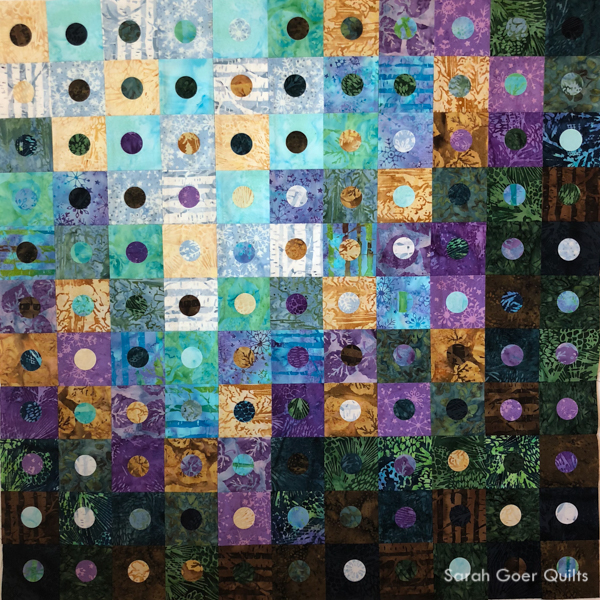
I'm super happy with this mini, which is 28" square, and I'll totally be playing with color wash again! I have some simple quilting in mind, but I'd love to hear how you'd quilt this. It's worth noting that I didn't stitch on my circles after fusing so the quilting needs to hold them in place. ;-)

Thanks for visiting!

SaveSave

SaveSave

18 Comments

Thank Goodness It's FINISHED Friday!

Welcome to TGIFF! Thanks for joining us this week!

It is nearly the end of the last one-week Project QUILTING challenge of the season. The challenge for this week is SCRAPtastic and requires that we use at least 12 fabrics. I started with one of my newsletter palettes from this week and built a fabric pull from my stash around those colors.

At this point I didn't have a solid plan for what I'd make and I had one day. I considered a workshop sample or another mini quilt based on a letter of the alphabet, and I finally settled on making a lined drawstring bag as a gift for a friend. I made an open wide zipper pouch as a gift for an earlier Project QUILTING challenge this season.

Since the theme of the challenge was SCRAPtastic, I decided on some improv piecing. I basically sewed slabs together and then cut them up to attach the pieces to other units. Just like my quilts, the slab was stitched with Aurifil 50wt thread and seams were pressed open. I needed a panel that was 10 1/2" by 24 1/2" for the exterior of the bag. (I opted to not have an accent fabric along the top of the exterior.) I worked from yardage, but this technique could easily be applied to scraps!

I love this tutorial and have made numerous lined drawstring bags in the past. It's a quick project. I sewed this up, including the scrappy exterior, in an afternoon. And it doesn't require any interfacing or hardware. Quick and easy!


In Other News...

Voting is open for the Craftsy 2018 Quilt Designer Fellowship. I'm a finalist and I'd be so excited to win! If you haven't voted yet today, click over to see the work of the ten finalists and vote for your favorite. Voting ends on March 23 at 11:59pm MST.

I'm linking up to Project QUILTINGNeedle & Thread Thursday, and Finish It Friday.


SaveSave

6 Comments

I decided to go simple and small for this week's Project QUILTING theme of A Stitch in Time.

The products featured in this post were given to me by Island Batik, including products from Aurifil.

This week I was working on two other Island Batik projects, a super secret rep sample of a not-yet-released collection that I'll just say is full of saturated color -- just what I love, and my March "try a technique" project which I'm using my Mountain's Majesty 10" stack for. The stack includes two each of 21 fabrics. (The full line has 46 fabrics!) I prepped my fabric for that project and used about 3/4 of one set of the squares, leaving me a scrap pile of rectangles, one piece of each of the 21 fabrics. I'd already decided to go simple for this week's Project QUILTING challenge and had landed on a 9-patch block mug rug. Ya know... cause A Stitch in Time... Saves... Nine. The Mountain's Majesty collection is a beautiful assortment of neutrals, blues, greens, and purples. I'll be using it all in this month's Island Batik challenge. But for my PQ challenge, I chose my nine favorite prints from the pile to make my 9-patch. I especially love that deep purple in the top left!

I opted for a pillowcase binding and super simple quilting. Just a border around the edge and a square echoing the center square on the 9-patch. The quilting was done with Aurifil 40wt Light Blue Grey (#2610). It is backed with Aspen Leaves in Leprechaun and finished at 8"x8".

I'm linking up to Project QUILTING 9.5. Be sure to check out all the submissions and vote for your favorites (starting Sunday). (Mine is #24.)

SaveSaveSaveSave

SaveSave

SaveSave