Yearly Archives: 2016

16 Comments

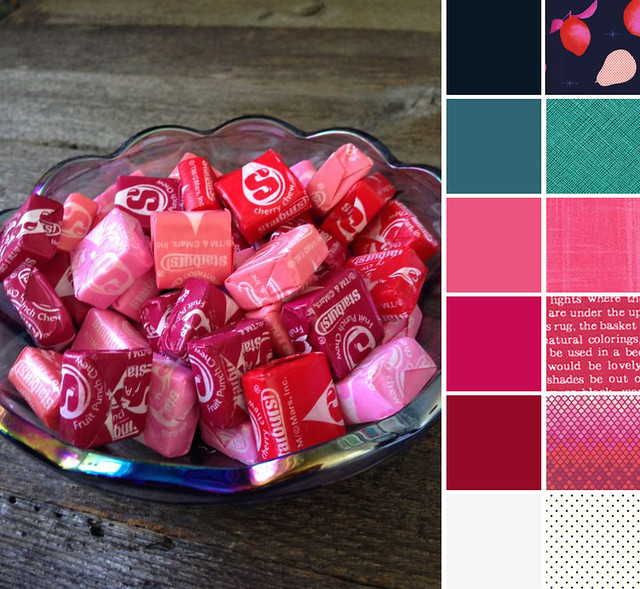
Welcome to Color Play Friday. I missed last week when they featured a building in Minneapolis. This week we have this photo of a lovely bowl of Starburst candy. At first glance the photo reads as really PINK, which isn't exactly my favorite color to work with. Taking a closer look, there's actually an amazing number of color options in the reflection on the edge of the bowl. In addition to the pinks and reds from the candy, my initial color palette included a variety of blues and jewel tones in purples, blues, golds, and greens. I also had some grey in there as well.

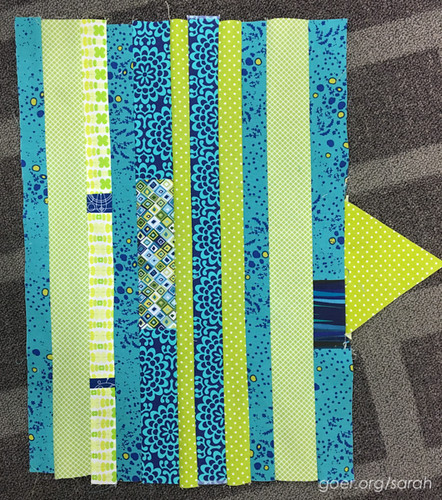
As I worked through fabric selection I narrowed my palette. The first fabric I locked on was the Fruit Stand. I loved it for the colors as well as the play on the fruit flavors of the Starburst. I wouldn't be surprised if others chose this fabric as well this week! It would have worked in either color way, but I liked that this one brought in the navy color from my palette. And I loved how the Tula Pink Mosaic pulled in all the Starburst colors and worked with the colors in Fruit Stand. From there I moved on to blenders.

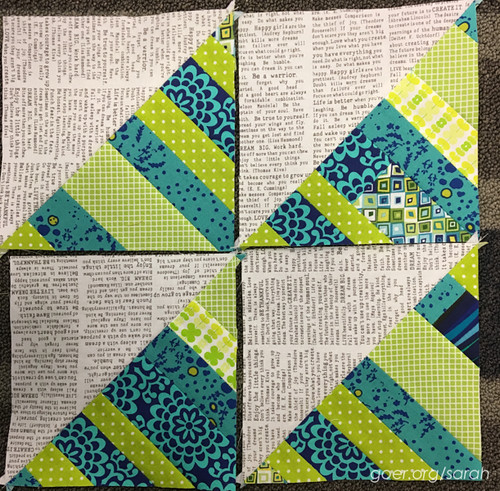
It's hard to tell from the thumbnail, but some of the print in the Fruit Stand fabric is in polka dots, which is what drove me to add a polka dot fabric to my palette. And while the Ultra Marine Crosshatch is a little out there and didn't match my green swatch perfectly (trust me, I hunted to find a better matching green in the photo!), I really liked what it added to the overall palette. The Lecien modern text fabrics had a number of possible colors from my original, larger palette and I really wanted to work one in since I love text fabrics.

There are NINE of us participating this week. (Links below.) I can't wait to see what everyone else came up with.

I created my palette with Palette Builder 2.1 by Play Crafts.

Solids:
Kona Nautical
Kona Everglade
Kona Punch
Kona Pomegranate
Kona Rich Red
Kona Snow

Prints:
Fruit Stand in Navy by Melanie Miller, Cotton & Steel
Crosshatch in UltraMarine by Carolyn Friedlander, Robert Kaufman
Painter's Canvas in Lipstick by Laura Gunn, Michael Miller
Text in Pink by Lecien
Mosaic in Magenta by Tula Pink, FreeSpirit Fabric
Le Cr'eme Swiss Dot Navy by Riley Blake Designs

Check out the other palettes this week at:

If you'd like to participate in Color Play Friday you can visit In An Otter Life or Laurel, Poppy and Pine for the rules, their contact information, and next week's photo. Additionally, this month there's an opportunity to purchase Lorinda's bundle or Trina's bundle (or both) at Stash Fabrics. And visit Lorinda and Trina's blogs for a chance to win their bundles!

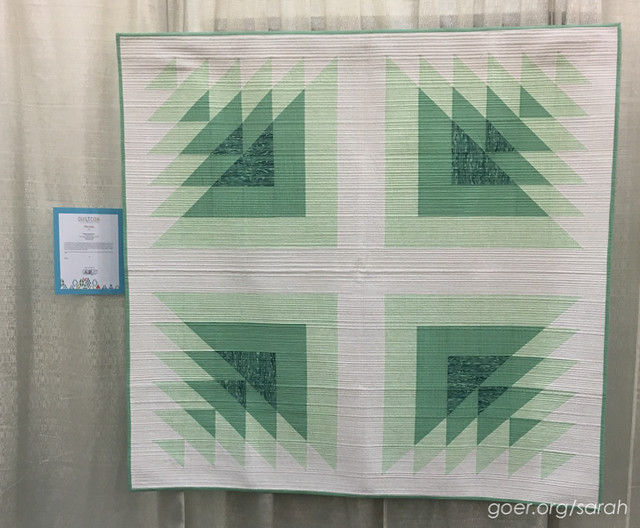
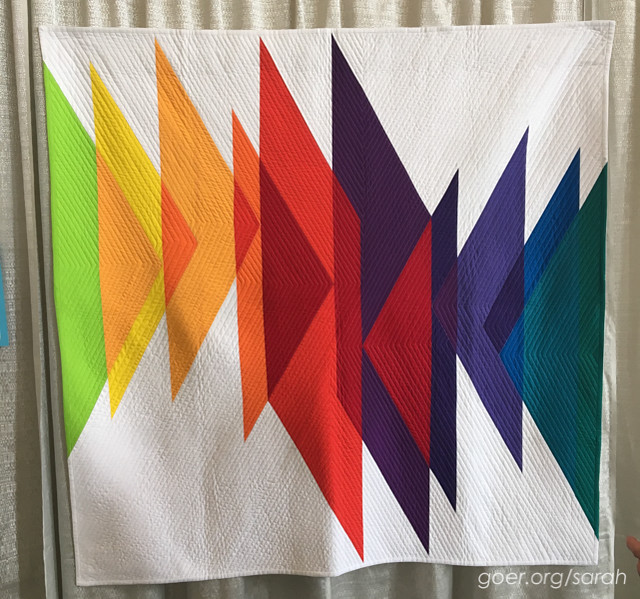
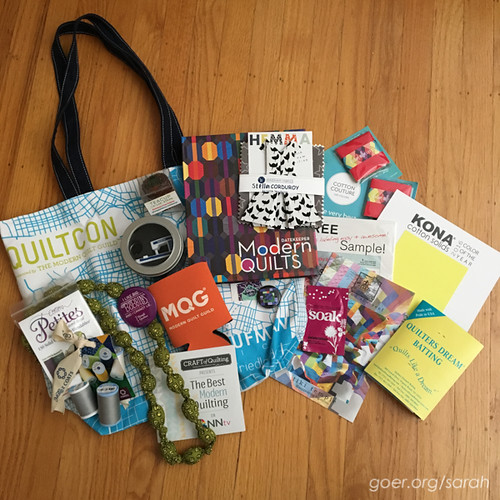
Thanks for visiting. If you're new here, check out my last three posts, where I'm sharing about the classes I took at QuiltCon and giving away a bundle of my QuiltCon goodies. :-)

21 Comments

Friday was my day to explore the quilt show. My sister lives in Orange County and came up to spend most of the day with me, visiting the vendor booths and viewing the show. That evening I took Jeni Baker's Creative HST Piecing Class.

The class focused on techniques in Jeni's book, Patchwork Essentials: The Half-Square Triangle. She brought in a variety of fun and interesting examples (that you'd have thought I would have taken photos of!) to get our creative juices flowing. After a short intro into the many different options for doing something different with HSTs, Jeni gave us a ton of time to sew. As we worked, she walked the room checking in with everyone about what they were working on and assisting as needed. Jeni was delightful and encouraging.

I chose to work with my Swoon scraps, because quite frankly, they are my favorite color palette at the moment. Most of my fabrics were in strips, so I began by piecing a large slab of mostly strips. The strips that were pieced from multiple pieces of fabric were necessitated by using smaller scraps. (That wonky triangle attached to the right side was just so I'd be able to cut out my third square.)

Once my slab was created I cut three 6.5" squares (mostly because I had a 6.5" square ruler with me) on point from the slab. I have some usable sections left, but without further piecing, three was the max I could get out of my slab.

Then I paired these pieced squares with 6.5" squares of my white text fabric to make half square triangles. These were made using the two at a time method of marking the diagonal and sewing 1/4" on either side of it.

Finally I used navy squares paired with the above HSTs to make these units, using the same method as the previous step. From my initial three squares cut from my slab I'll have twelve of these units, but I ran out of time and navy fabric for making more during class. I'm looking forward to finishing these twelve and continuing further with this project.


Today I'm sharing a couple of my favorites from the show that featured transparency. I love the play with fabrics to achieve this look. It's a bit of an optical illusion. First, from the Piecing category, Triangle Transparency by Yvonne Fuchs. I love her large-scale, graphic design. Her artist statement reads:

As a Quilt Design a Day (QDAD) participant, one of the challenge prompts is to try to use transparency in your design. Triangle Transparency was one of my earliest QDAD designs, because the color palette for the day worked well with transparency play. I carefully curated a group of modern fabrics to turn the design into reality. My goal with the quilt is to show how powerful modern tonal prints can be when used in a large, graphic design meant to emphasize dramatic color play.


This next one had the added draw of a rainbow of color. I love how the quilting added to the design of the piecing. Color Study (Triangles) in the Use of Negative Space category is by Erika Mulvenna. Her artist statement reads:

I first studied Color Theory as a painting student, following exercises in mixing pigments to learn about color principles and interactions.

The inspiration for this piece comes directly from one of those primary Color Theory exercises; use the 12 colors of the Artist's Color Wheel to create a subjective color model. Red, my favorite color, is centered in the design. As the shapes intersect, the 12 colors of the wheel move back and forth out to the very edges.

Creating this design with fabric was a challenge. After experimenting with several piecing techniques, I used a large-scale foundation piecing method.


Giveaway *closed*

I'm sharing some of my goodies from QuiltCon with one of you. I'll draw one winner on March 24th at 1pm PST out of all entries on my five posts about my QuiltCon classes. (This is the third of the five posts.) The drawing is open to everyone. To enter, please comment below and tell me your favorite quilting book. Followers can get a second entry by posting a second comment to tell me how you follow me (Bloglovin', Instagram, etc.). Thank you! Thank you to everyone who entered. The winner is Anja of Anja Quilts!

15 Comments

On Thursday I shared about my first class at QuiltCon. After a one hour dinner break, my second class on the first day was English Paper Piecing with Johanna Masko. Again I ended up in class with a guildmate, which I enjoyed. Our whole table was filled with lovely people. I think we chatted more in this class due to some combination of the late hour and not having sewing machines between us.

Johanna asked us to introduce ourselves and share why we chose to take the class. A number of people before me shared that they love handwork. When it was my turn I promptly shared that I do not like handwork, but that I am at a stage in life where I keep finding myself in places where it would be beneficial to have a handwork project to bring along. I have no grand dreams of queen-sized hexie quilts, but I'm pleased to have added a skill to my repertoire. I'd like to get a hexie kit together to keep in the car for the times that I am a few minutes early to school pickup, or I'm waiting for the kids at a class.

It was a great beginning class, focused on how to English Paper Piece without purchasing specialized templates or tools. Johanna led us in making our own templates and we used the freezer paper method for prepping our hexies before sewing them. I had a little trouble with the freezer paper coming loose and moving around as I was trying to baste them, so I might try paper templates and use wonder clips to keep the edges folded over while I baste. I'm pleased at the progress I made that night. I still need to throw the pile into the car so I'll have them with me when I want them. I'm still just not likely to sit down with handwork at home. (I don't even hand sew my binding most of the time!)


A few more of my favorites from the show. This first one is Samarra Khaja's Candy Dots quilt, from the Minimalist Design category of the show. My photo doesn't adequately illustrate the 3D design of the dots. That lovely shadow on the lower portion of the dots was simply the shadow that the overhead lighting cast from the raised dots. (I missed getting a close-up photo of Samarra's artist statement.)

The next two are from the Michael Miller Glitz challenge. (I showed off another from the challenge in my last post.) First, my friend Tami Levin's Putting on the Glitz. I admired this on IG and then was excited to see it in person at a guild meeting. It was so fun to see it hanging in the show. I just love it. Her design. Her choice of pop colors. Her perfect quilting! Tami's artist statement reads:

The Michael Miller challenge fabrics reminded me of the glitz from Art Deco designs. Keeping that in mind I wanted the overall look to be on pointe. The squares were a bit too static which is why I opted to slash organize sub sections on the diagonal for each block. They were filled with contrasting solids that made me think of trees wrapped in fairy lights during the winter months, thus the surrounding white corner triangles.

This next one is Linked In by Julie Anderson. I really loved the geometric design of the rectangular links. And the quilting was a perfect complement to her design. Julie's artist statement reads:

Linked in... Even before creating the piece I wanted to challenge myself to use a piece from each fabric that was a part of the challenge set.

Linking all the squares and rectangles together before machine appliquéing them to the background.


Giveaway *closed*

I'm sharing some of my goodies from QuiltCon with one of you. I'll draw one winner on March 24th at 1pm PST out of all entries on my five posts about my QuiltCon classes. (This is the second of the five posts.) The drawing is open to everyone. To enter, please comment below and tell me your best EPP tip. If you don't English Paper Piece, share a general quilting tip. Followers can get a second entry by posting a second comment to tell me how you follow me (Bloglovin', Instagram, etc.). Thank you! Thank you to everyone who entered. The winner is Anja of Anja Quilts!