Tag Archives: mini mini quilt

6 Comments

Thanks for joining me for TGIFF (Thank Goodness It's Finished Friday). I am happy to be hosting and chose to finish a little pile of quilts for this post.

My friend Isabelle pieced an AMAZING quilt for the 2024 QuiltCon Fabric Challenge using all 1/8" finished strips. When I was teaching an improv workshop in the middle of 2024 using slice and insert with strip sets (photo below left) I asked Isabelle if I could have a piece of her leftover quilt top (photo below right). (She had mentioned that she trimmed it down, so I knew she had a remnant piece.) I used her amazing quilt top to make tiny little strips to insert into squares of five of the challenge fabrics.

I love the fabric challenge category of QuiltCon to see what folks all do with the same palette. This palette of Windham Artisan Cottons was chosen by Jacquie Gering: White/Aqua, Grape/Dark Pink, Red/Royal, Turquoise/Copper, Aqua/Blue, and Apple Green/Chartreuse.

I chose thread to coordinate with each solid fabric, 50 wt Aurifil in Medium Purple (#2545), Wedgewood (#4140), Light Leaf Green (#1147), Magenta (#2535), and Medium Teal (#1125). And I cut up remnants of my strip sets for the back of the coasters. Once I quilted the quilt top to the batting I trimmed the quilted top and backing to 5" squares, sewed around, turned right side out, and finished. (Check back soon for a tutorial of my full process for finishing my coasters.)

Here's the finished set of five 4 1/2" coasters.

And my strips on the back!

What have you finished lately? I look forward to seeing what you link up below. Thanks for visiting.

You are invited to the Inlinkz link party!

Click here to enter

8 Comments

This week the Project QUILTING challenge is Sew Not a Square. Specifically, the quilt could not be a square or have any squares in it's composition. "use no square shapes in doing it"

I was out of town until Monday evening on my trip to QuiltCon and came down with symptoms and tested positive for Covid on Tuesday evening {whomp whomp} so I've been isolating from my family. I've also had limited energy as you can imagine. I still wanted to participate in this week's challenge so I grabbed a few supplies from my studio to bring into isolation.

When starting a quilt challenge with just a day left until the deadline, it is wise to think of how to get it done. Here were my rules for myself.

▪️Work very small.
▪️Limit options.
▪️Don’t overthink it.

I knew it would all be hand stitched. And I decided I would make it round. I began by cutting out a small circle from my batting (not sure why I didn't trim after the piecing). Then I pieced my smallest, irregular scraps using pearl cotton thread.

Once I was done stitching the quilt top I trimmed the backing fabric, and then the quilt top, to match the batting circle.

Once it was all trimmed, I cut strips of fabric a bit wider than 1/4" on a bias and stretched the strips a bit to fray the edges. Then I used more pearl cotton to kind of couch my fabric strips over the raw edge of my quilt. I'm not sure what to call the stitching I used... is it a blanket stitch?

1084 days from the start of the pandemic to my first case. (I'm thankful that after a few days I'm starting to improv.) And I have never made what I have considered a Covid Quilt or Pandemic Quilt... so this is My Little Covid Quilt. It's about 2 inches in diameter.

Thanks for visiting! I'm linking up on Kim's blog for the Project QUILTING Sew Not a Square challenge.

As a longtime participant of Project QUILTING, I'm excited to be a sponsor this year. Each week as a Weekly Sponsor I have contributed a PDF pattern to one winner. I'm also a Grand Prize Sponsor. The prize is a spot in one of my self-hosted open enrollment live virtual workshops.

Happy quilting!

6 Comments

Another late night Saturday start for this week's Project QUILTING challenge, A Novel Project. 67 minutes from fabric pull to finished mini mini quilt this evening. Woo hoo!

At the beginning of the week I shared other quilts I have made that were inspired by books, but I had a hard time deciding what I wanted to make for the challenge. Earlier in the week, I scrolled through my Goodreads of what I've read in the last couple years and wasn't particularly motivated by what I have read recently.

I've been inspired by Margaret Fleisher's improv book cover blocks. See a few of them in this Instagram post and hear Margaret talk about her book cover project at about 6 minutes in to this video. You can also scroll back farther in her instagram feed to see the posts of each cover in 2020.

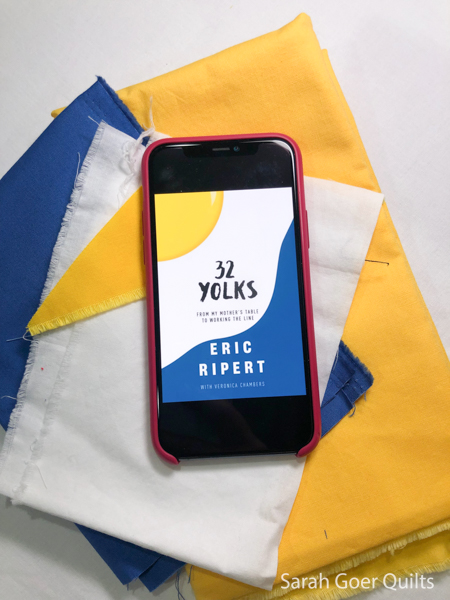
One of my basic tenets for Project QUILTING is to work small. While I admire those who make a baby quilt, lap quilt, or larger, in a week, I know that my schedule and bandwidth do not allow for that. I usually aim for 16" square or smaller. And the later in the week I get started, the smaller my quilts tend to be. This week was emotionally and physically challenging, and while I considered options and looked for inspiration numerous times, nothing was grabbing me. This evening before I settled on my back up idea, I took one more scroll through the books I've read in the last couple years and this time the cover of 32 Yolks by Eric Ripert stood out. I really like the strong graphic nature of the cover. So I pulled some fabric and got to work.

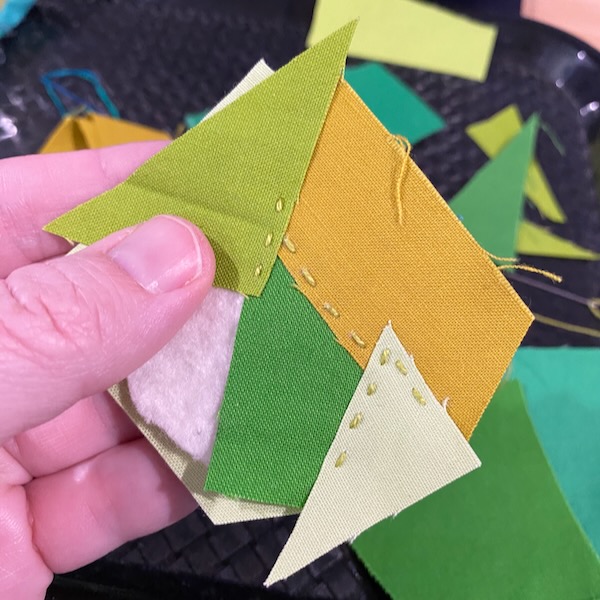
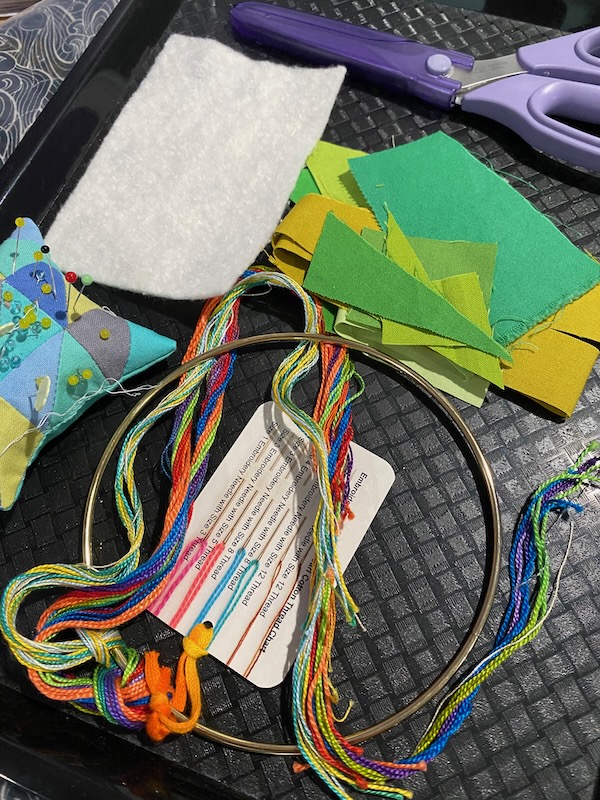
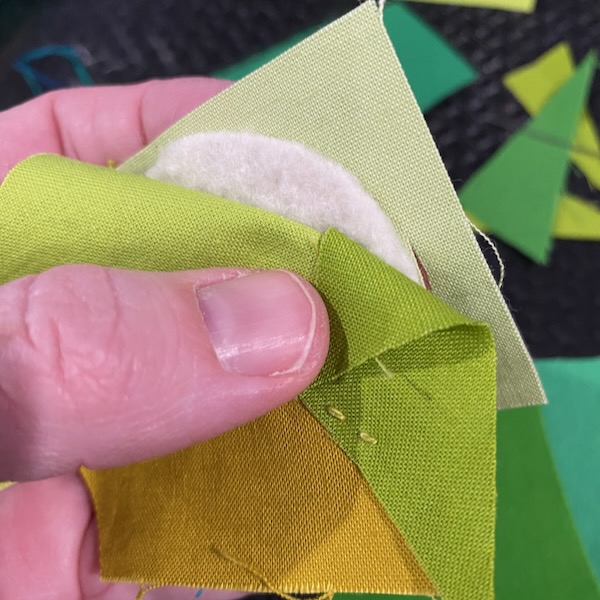
While I could have done some improv curve piecing I wasn't in the mood for the potential fussiness of that avenue. And I really loved the frayed edge of my scrap of yellow fabric. This drove two decisions. (1) I would use fusible appliqué. And (2) my yolk wouldn't be a curve at all, instead using what I had with the frayed piece of yellow. I got out my MistyFuse and improv cut a piece of blue fabric for the lower right. (I cut this one twice before I had a shape I liked.) Then I picked at the curved edge to fray the edge of the blue fabric to complement my frayed yellow fabric. Next, I cut MistyFuse to fit my yellow and blue fabrics and appliquéd them in place. Note: the fusible was applied just inside the frayed edge so that element could be a little bit dimensional.

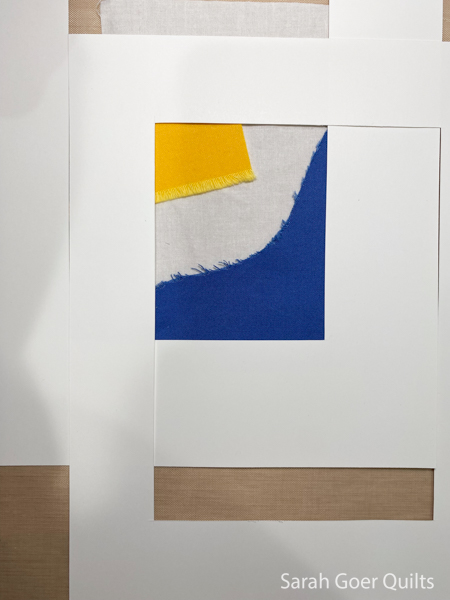
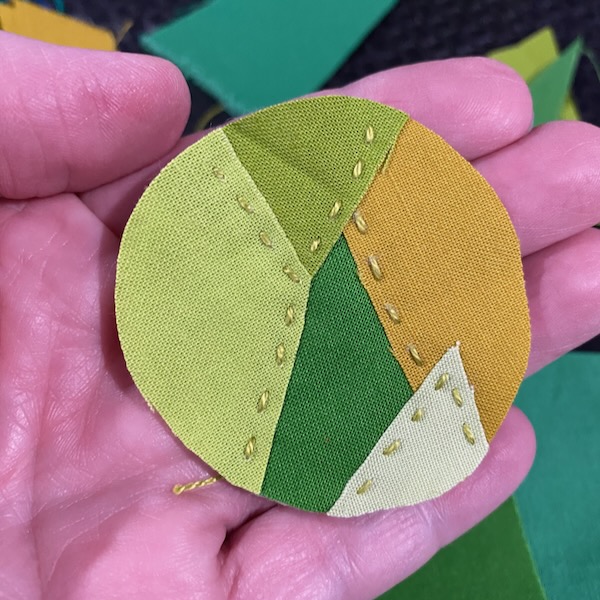
I used two cardstock mats to envision the trimmed composition, added minimal quilting along the inner edge of the yellow and blue fabrics, and trimmed it 1/4" larger in each direction than the finished quilt would be. Then I used my 1/4" food to topstitch 1/4" from the edge around the quilt twice, then I trimmed down to 1/8" beyond my topstitching.

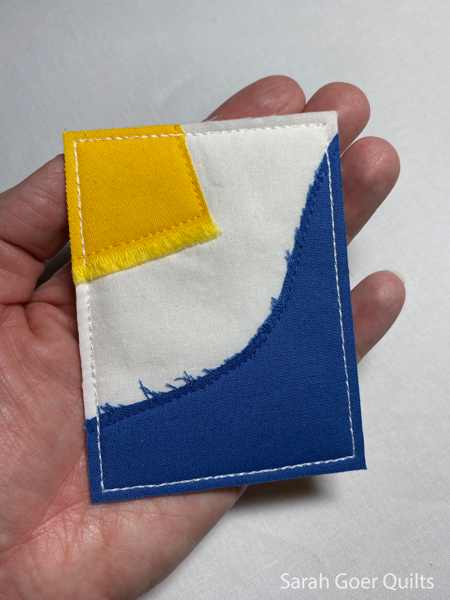
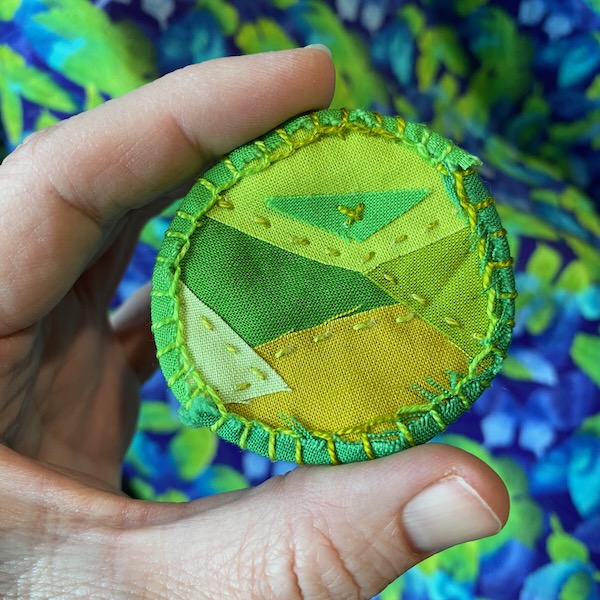
My mini mini quilt, Just One Yolk, finished just under 3" x 4".

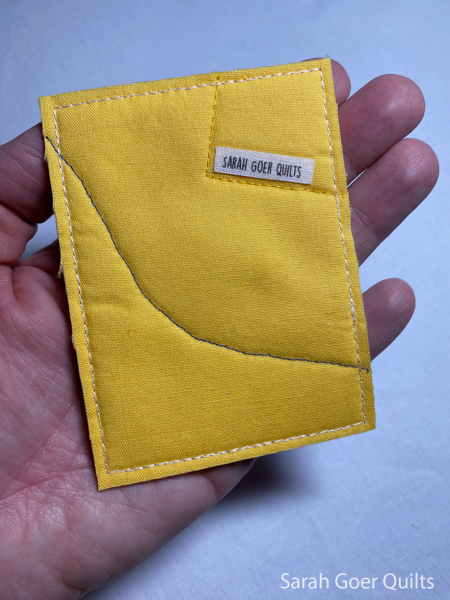
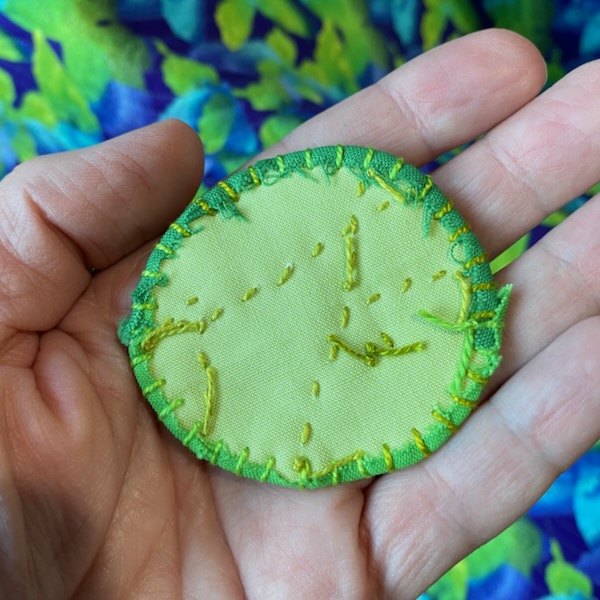
The back has my fusible "Sarah Goer Quilts" label.

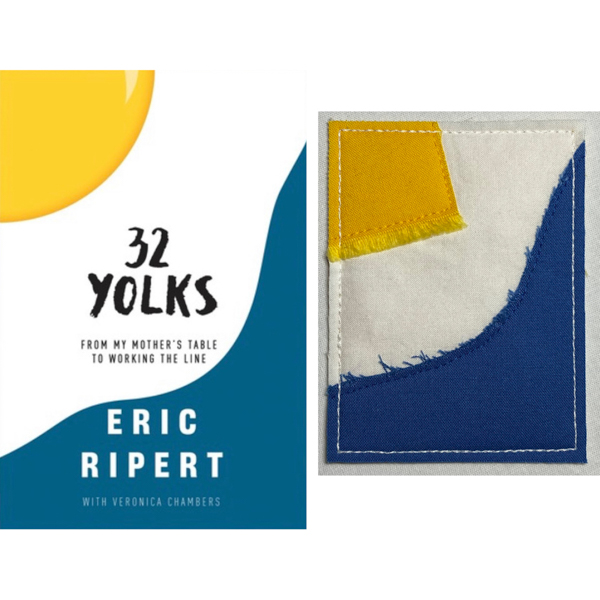
And here's my finished quilt next to the cover. Thank you to Margaret for the inspiration!

Thanks for visiting! I'm linking up on Kim's blog for the Project QUILTING A Novel Project challenge.

As a longtime participant of Project QUILTING, I'm excited to be a sponsor this year. Each week as a Weekly Sponsor I have contributed a PDF pattern to one winner. I'm also a Grand Prize Sponsor. The prize is a spot in one of my self-hosted open enrollment live virtual workshops.