My kids go to a Montessori school. They were each in Primary this past year, which includes kids ages 3-6, preschoolers and kindergarteners. In the classroom the students have a lot of choice time for work (less so in kindergarten, but it's still there). And one opportunity they have is sewing. I blogged about my son's sewing experiences as school when we started his first quilt a year and a half ago.
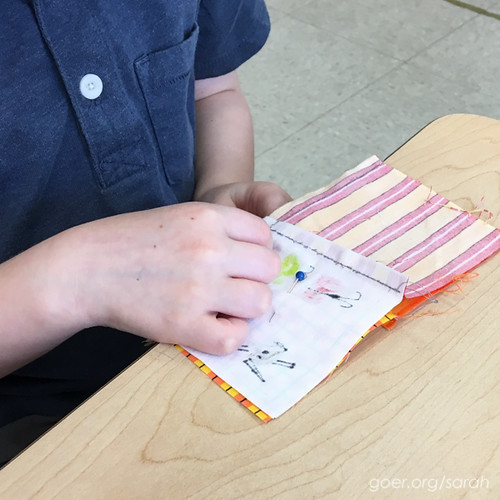
My son's first step sewing in the classroom was to stitch using a tapestry needle and embroidery floss in plastic canvas. G started at the outside corner and spiraled his way to the center, stitching (with a running stitch) through each square. His second project was to stitch, again with a tapestry needle, on a piece of burlap with a picture drawn on it. (Sometimes the kids like to add sequins when they are stitching.) The third project he did was to make a stuffed bear. For this one he used a woven fabric and thread with a standard (sharp) needle. He used a running stitch, approximately 1/4" from the edge.
Last Fall, I was asked by my son's teacher to take on the project of making a class quilt with each class of kindergarteners. Um, yes! Of course!
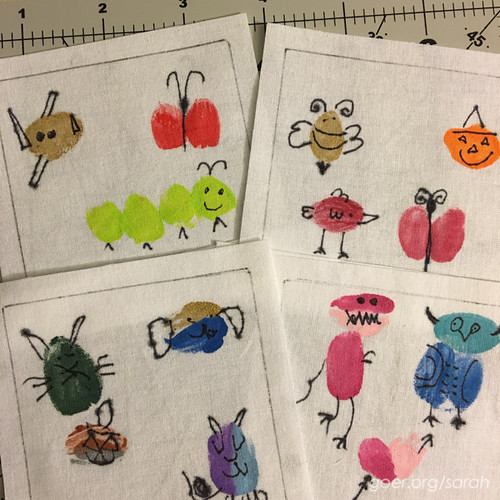
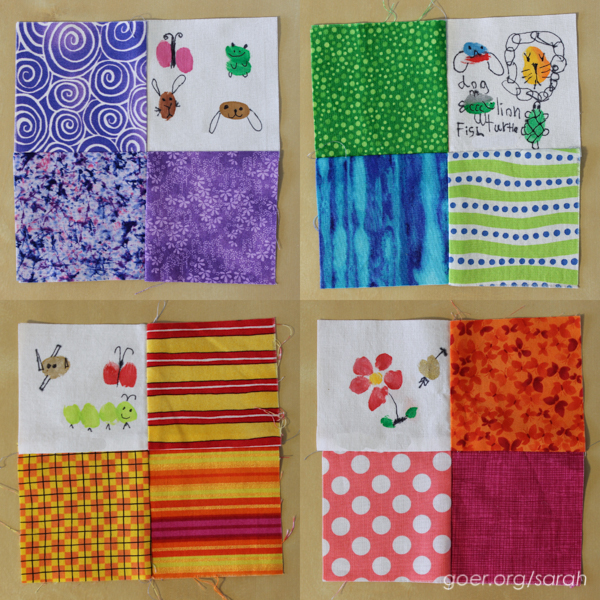
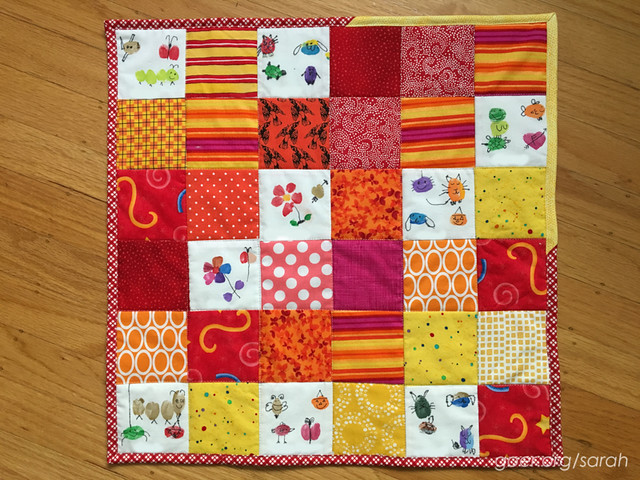
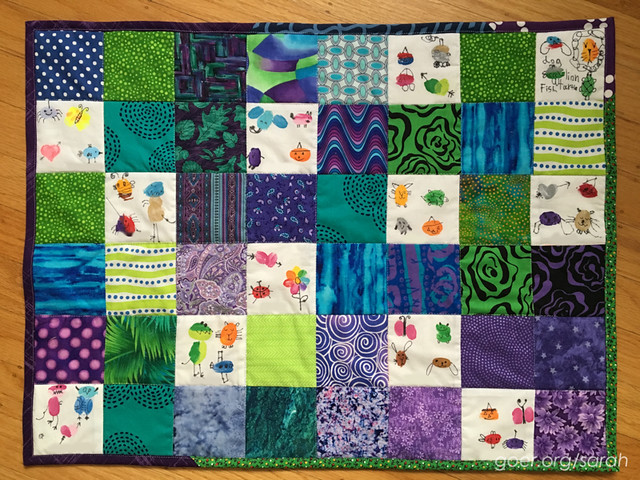
I was excited to take on this project with the kinders. The teacher and I met to plan the scope of the project and to set a timeline. There were 9 and 11 kinders in the two classes, respectively. They each had some sewing experience. A few had done all three projects above, while some had less experience. We decided for each student to make a 4-patch block and to personalize their work by letting them do some painting on one white square of fabric. The painting part of the project was done with the help of one of their teachers before I arrived on the scene. She used Ed Emberley's fingerprint book for inspiration and the kids used fabric paint to make their fingerprints, then used fabric marker to draw on the details. Their names were also written on these squares (though I've removed the names from the photos for this post).
I began with each group of kinders by sitting on the floor in a circle and sharing a finished quilt and a quilt in progress, so they could see what a quilt was, and what parts went into making it.
For the fabric they would paint, I cut the pieces larger and marked their work area with a Frixion pen, then trimmed them to size after they were painted.
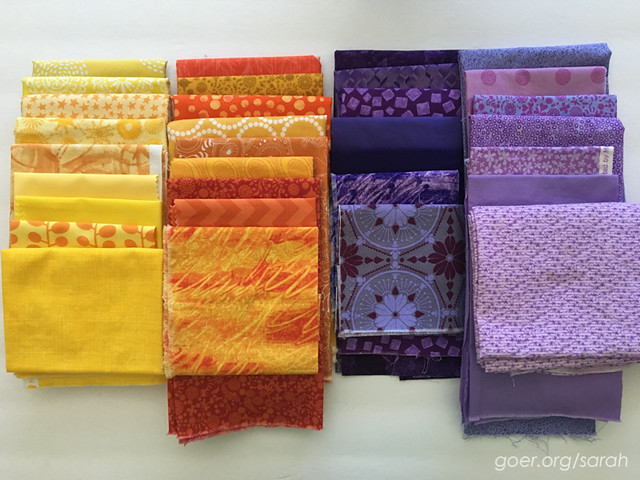
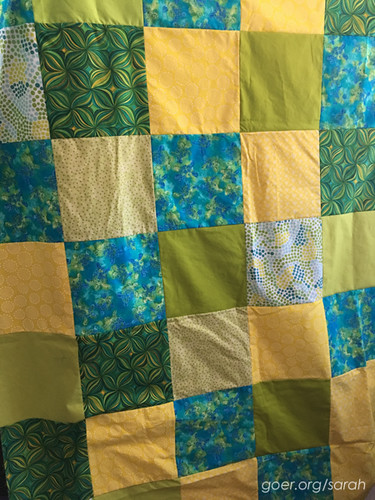
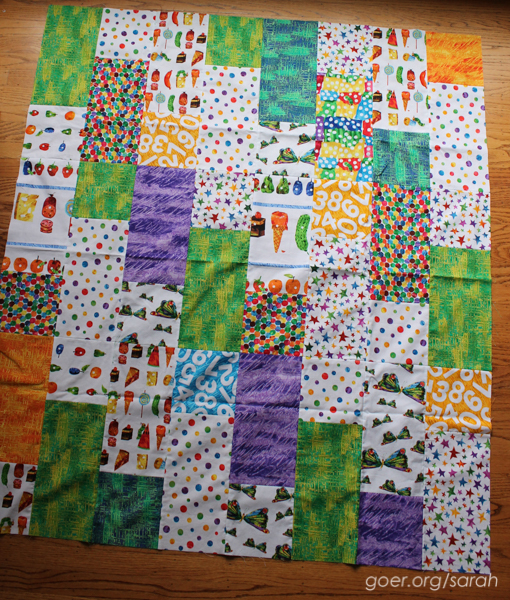
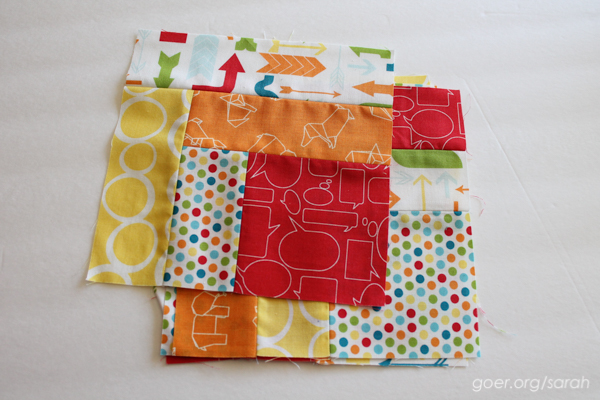
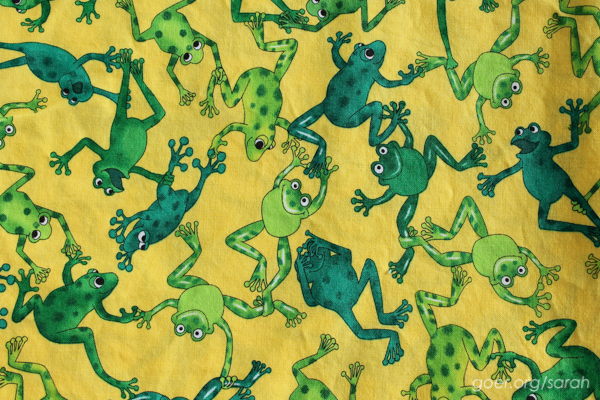
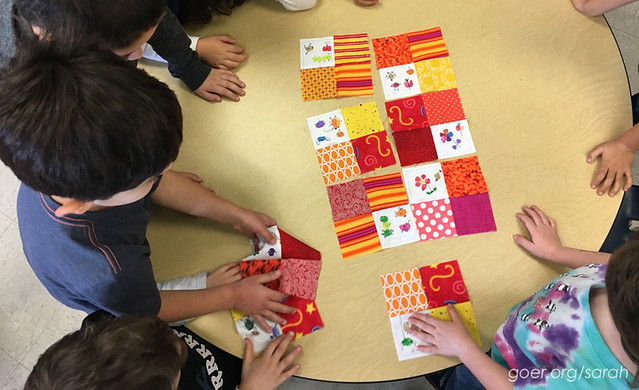
I pre-cut a variety of colored fabrics from the scraps in my stash into 3 1/2" squares and decided that one class would use warm colors and the other would use cool colors, both so that the two quilts would look different, and so that each would have some cohesion within it. This sparked a discussion with the kids about warm and cool colors during my initial quilt talk. Then I spread out the fabrics on the floor and we went around the circle three times for each child to choose their three pieces of fabric to accompany their painted square.
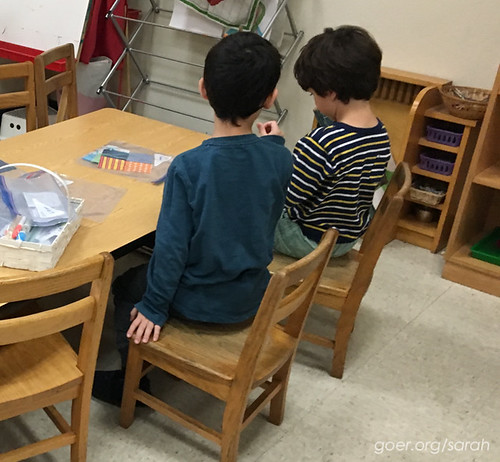
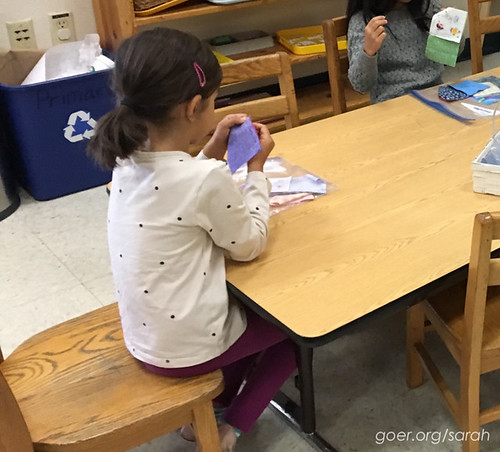
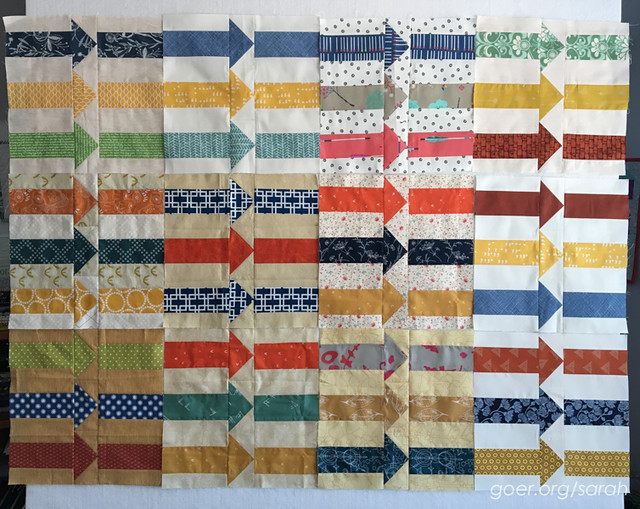
 At this point I worked with kids in smaller groups (4-6 at a time) to get them started on their stitching. We determined that it was easiest for the kids to have their squares pinned together and to have a line drawn to stitch on. (Some preferred lines on both fabrics, front and back.) Oh, they also like their thread tied onto their needle, so the needle doesn't easily slip off when they pull too far. One class seemed to be a little more self-motivated than the other. I ended up checking in with them regularly, but most made progress when I wasn’t in the classroom. The other class had some more reluctant sewers, so I spent small amounts of time many times a week with them. Some were willing to take only 6 stitches each time I visited. Eventually, everyone finished their 4-patches. Here are a few.
We worked as a full group again in each class to talk about composition of the overall class quilt. Specifically, we discussed having the blocks placed so that none of the white squares shared a side, and so no like fabrics were adjacent. In one class we had two students choose three identical fabrics, so we discussed having them placed farther apart so that was less noticeable to the eye.
After these discussions, I took the blocks home to press them and machine piece the quilt top. I also did some machine quilting (in the ditch-ish) and bound the quilts using remnant binding pieces. The quilts are now hanging in the classrooms. Here they are!
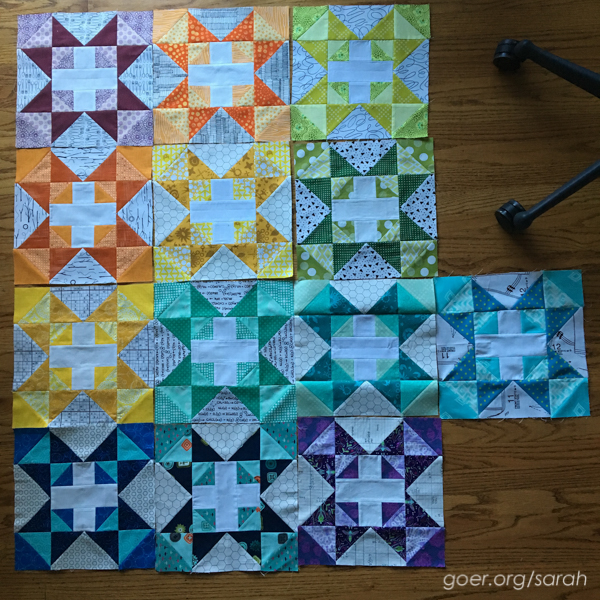
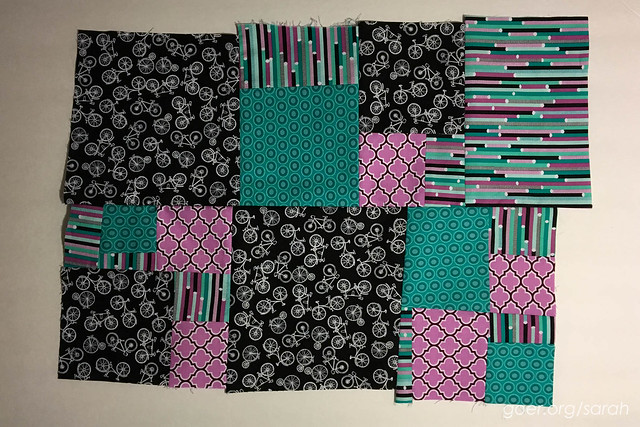
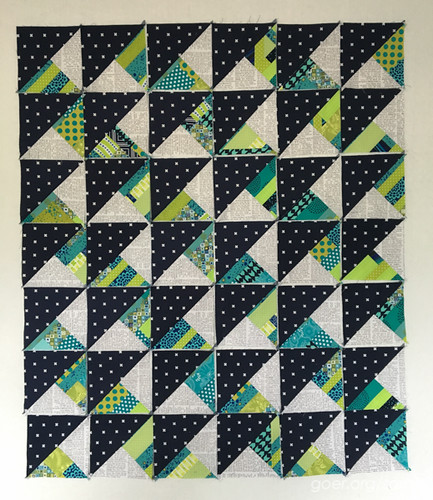
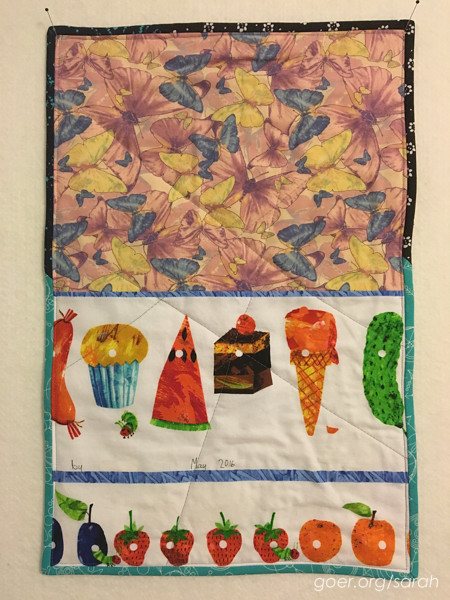
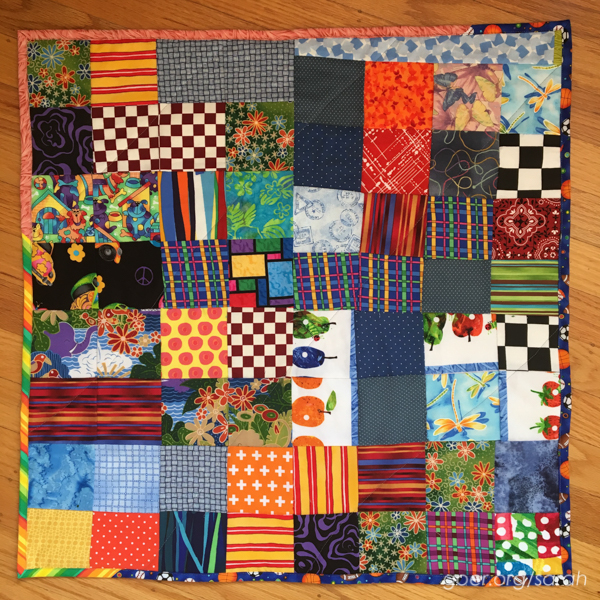
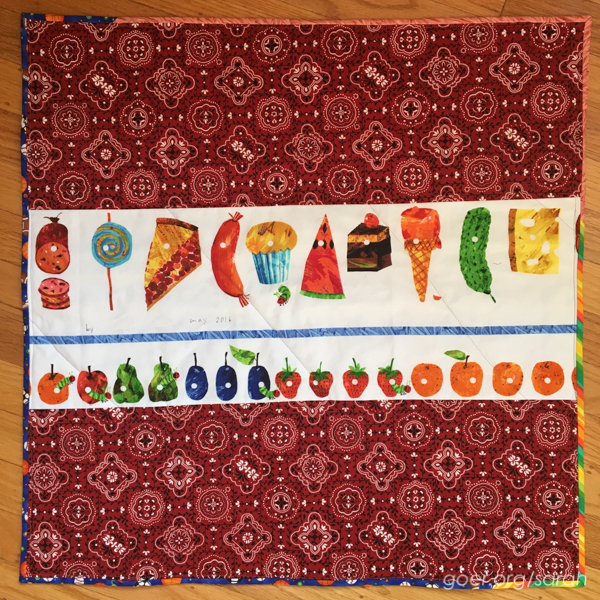
In one class, many students did bonus sewing. Four kids did a significant amount of bonus sewing. One girl has a quilter in the family, so she worked on her project outside of class as well as in class. She didn’t want finishing help and intends to get help from her family to finish her first quilt. Another girl meticulously pieced 24 squares to make a finished 12” x 18” quilt. She hand pieced the entire top. A boy, with the help of a friend, completed a 24" x 24" hand pieced quilt top. There were a couple generous seam allowances and some not quite square pieces of fabric which resulted in the two halves not lining up, so I offered to piece in some filler fabric so we wouldn't have to trim off excess from one half.
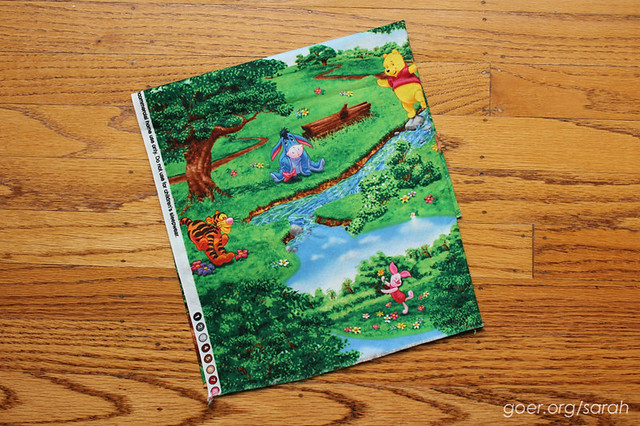
For both students, I pieced their chosen backing fabric, then met with them to label their backing fabric, to work with me to pin baste the quilt, and to choose fabrics from my leftover binding bin. I brought my sewing machine to school so that they could each machine quilt their projects, and I finished the quilts at home by trimming them up and binding them.
Hers:
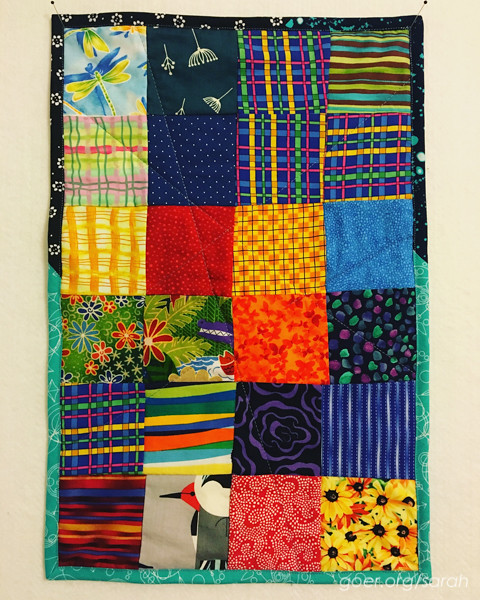
His:
I had a great time working with the kids on the class projects as well as these extra quilts. Unfortunately (for me), both of the students who made their own quilt have moved out of the area, so I won't be able to work with them at school next year. I sure hope that they will keep sewing!
Linking up to Needle and Thread Thursday, TGIFF and Finish It Friday.